Here is very simple concept sketch showing the general idea
Start by coming up with some sketches of what your interface could look like. Get feedback from your friends.
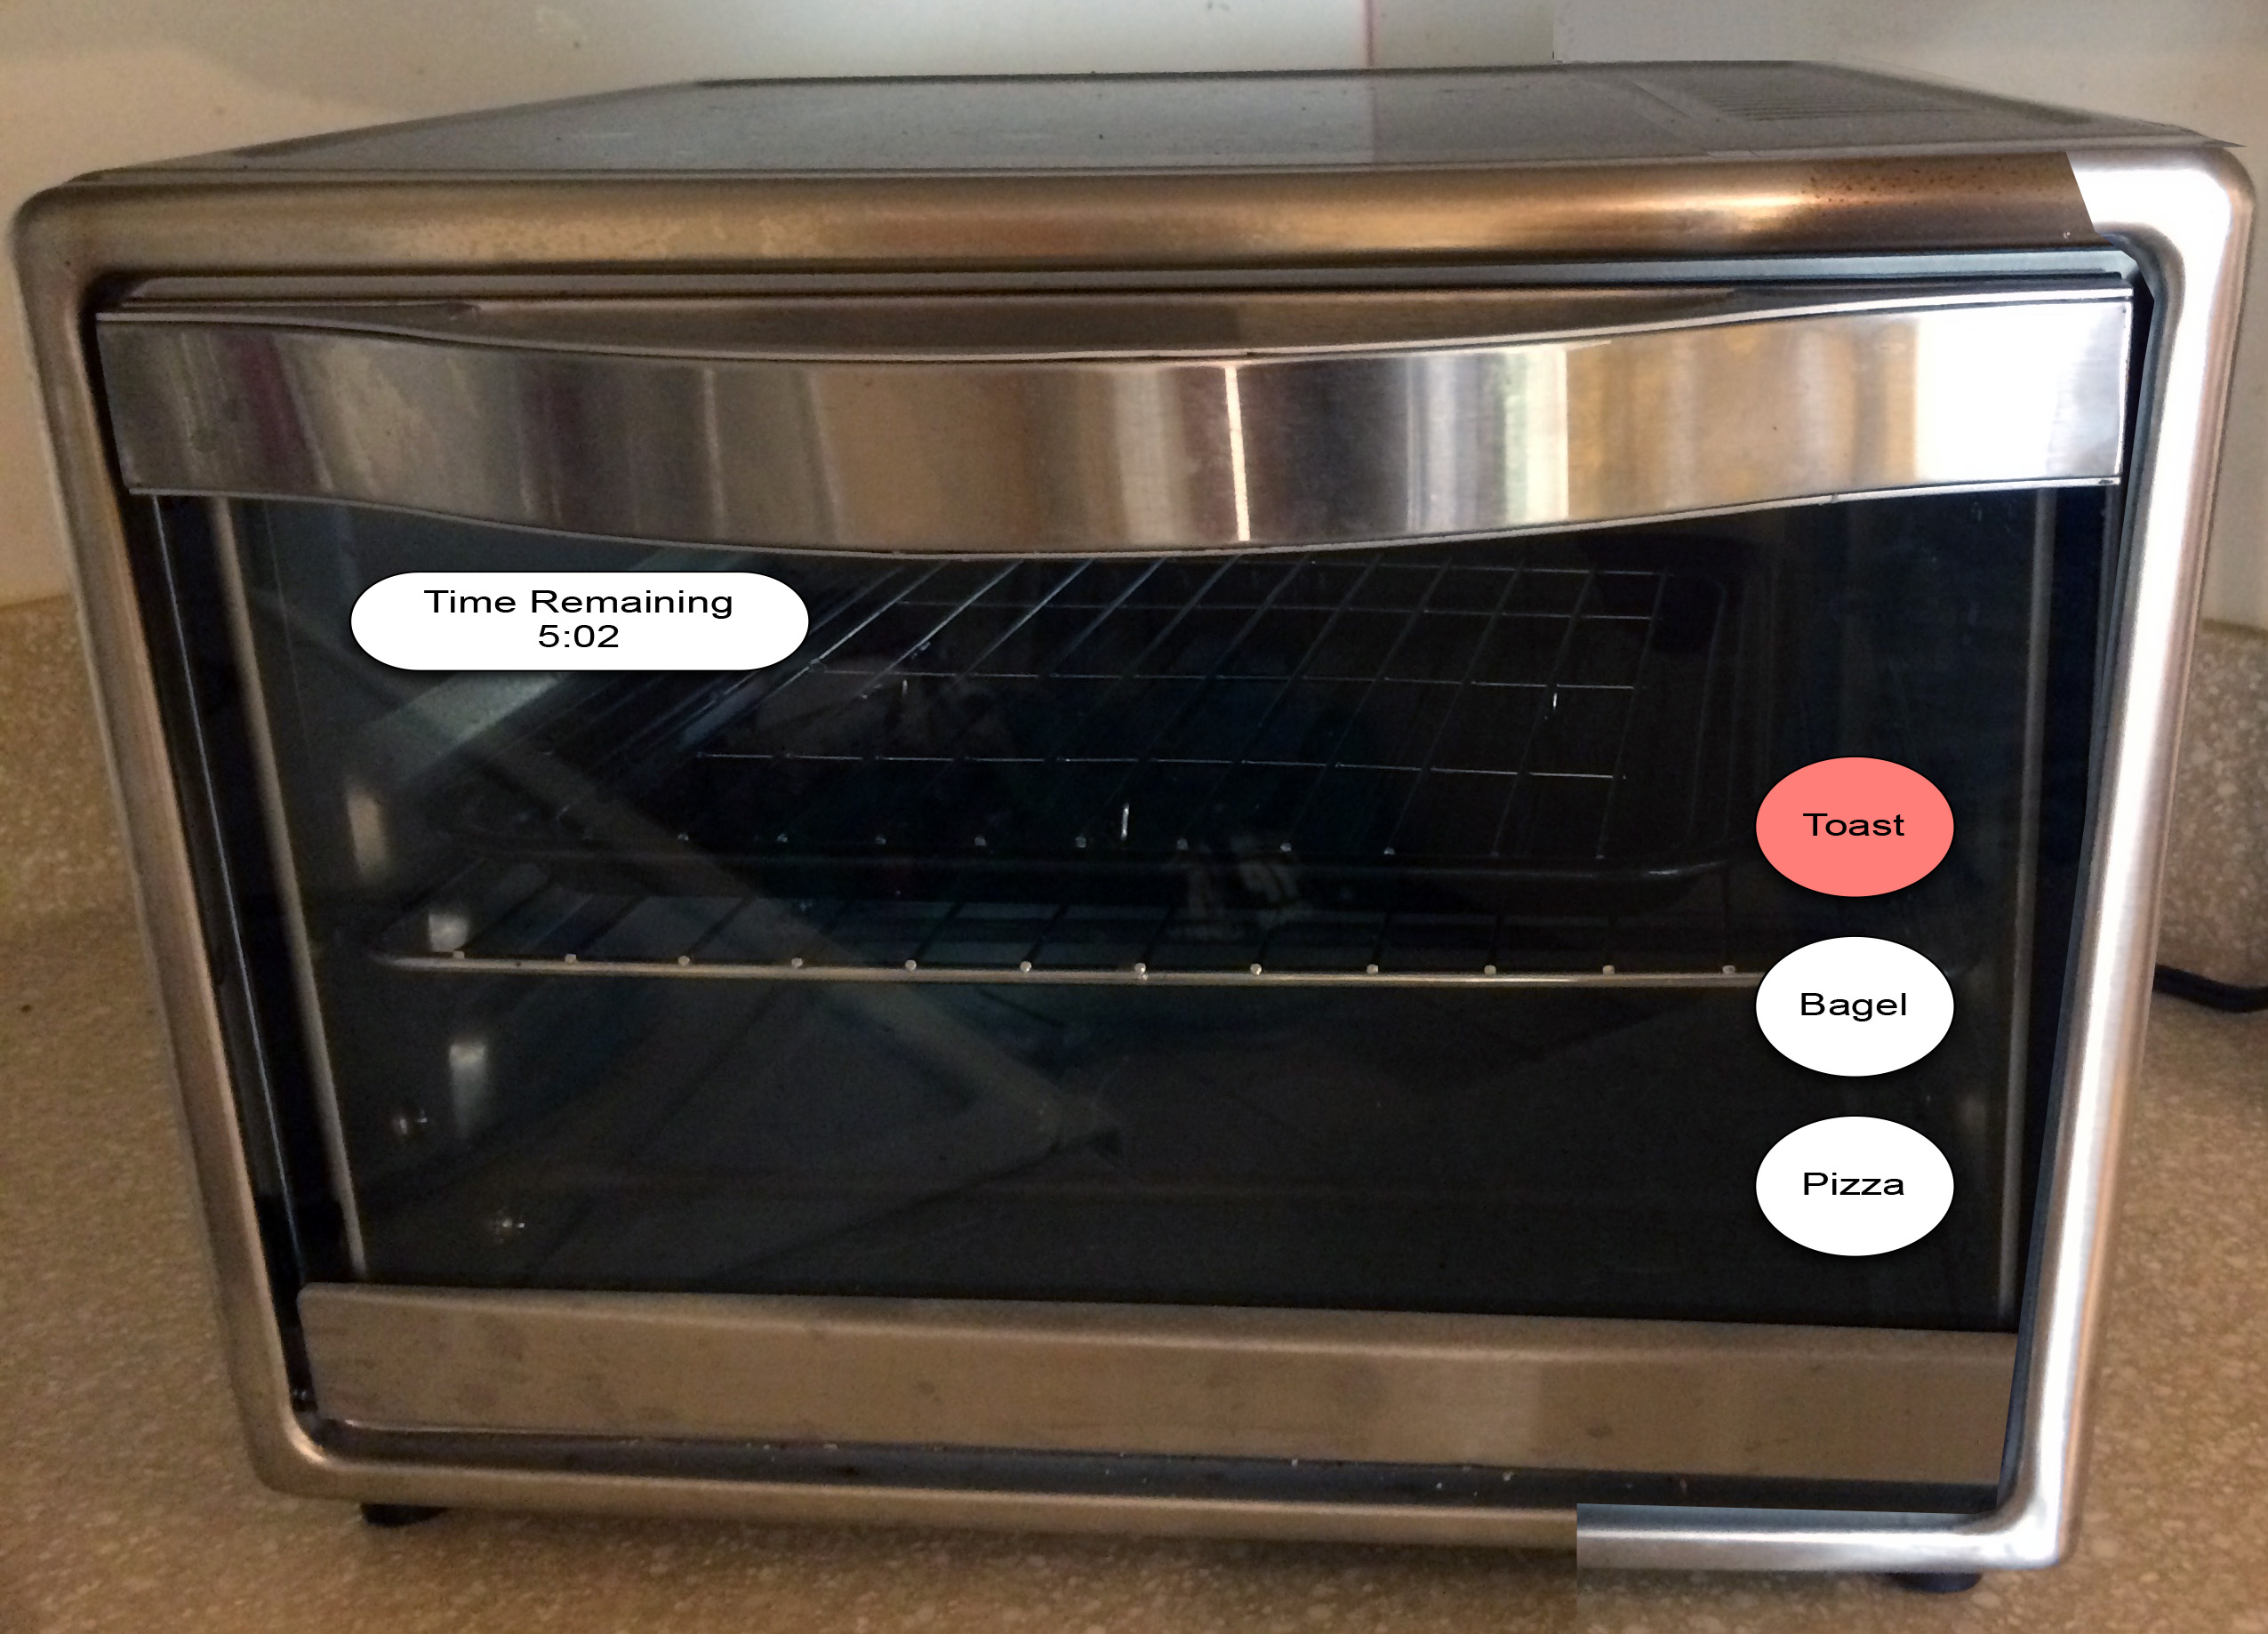
The interface has the following basic requirements:
- indication of whether the oven is on or off
- ability to set the desired temperature
- display of what the current temperature inside the oven is
(in F and C)
- ability to set a timer, get feedback on time remaining, and get feedback when the timer is done
- ability to select heating mode (e.g. bake / broil / toast / bagel / pizza / convection bake), and display of the current mode
- control over the amount my toast / bagel is toasted
- the user should be able to see the state of the food inside, so make sure your interface doesn't take up too much space
- the touch screen controls should be an appropriate size to
touch, and any text or numbers must be legible
Implementing that interface well gets you a C. To get an A or a B you need to add at least five more USEFUL additional functions and create a really good user interface.
While your
interface will not be controlling a real toaster, the
timer should work. If you are a graduate student in the
course then you also need to make the temperature ramp up
and down in a believable way based on the control
settings.
Implementing Project 1
We are using Processing and Processing.js for the projects.
This is a toaster oven, not a laptop or a phone, so you should not be constrained by interface elements designed for other platforms. The user interface should be suitable for everyone, not just people who are familiar with computers, or even phonesand their user interfaces.
There are many external Processing libraries out there. You should check with andy before you start using one. Most likely libraries that do not deal with displaying graphics will be ok, but remember that many of these libraries will not work with Procesing.js and you need to turn in your project on a web page running with javascript and Processing.js not java. You can use applications like Photoshop or illustrator to create images to use in your interface. If you have questions about whether a particular tool is legal, ask first.
Assume you have a drawing area of 1280 x 800 pixels.
Each person will work individually on this project; this project is NOT a team project.
It is expected that all of the code used in these programs will be written by you. You can use code from the web as examples and a guide to writing your code, but the code you turn in for the project must be your own.
Any libraries, images, icons, or other elements borrowed from others must be fully cited in your application itself and on your webpage documentation. i.e. if you find a set of open source icons or sounds you want to use then that is OK, but you must cite the source.
I would advise that you look into getting a public webpage up quickly either through UIC or google or a provider of your choice, and start testing your interface on that website as well as locally. The page must remain visible and accessible to everyone in the class until the term ends.
Your Processing.js project will be run and evaluated on the wall in the classroom running a modern chrome browser. You will create a public webpage for your user interface so all we need to do is point the chrome browser running on the classroom wall to your webpage. You REALLY REALLY REALLY should check your interface on the actual wall before its time to turn it in.
Turning in Project 1
You should create a set of public web pages (available to anyone for the duration of the course) that describe your work on the project. This should include:
- 1 page containing your application
- 1 page with links to all the source code
- 1 page on how to use your application and the things you can do with it.
- 1 page on why you think you have created a good interface.
- 1 page on your sketches
all of which should have plenty of screenshots with meaningful captions. Web pages like this can be very helpful later on in helping you build up a portfolio of your work when you start looking for a job so please put some effort into it.
You should also create a 2-3 minute YouTube video showing the use of your application including narration with decent audio quality. That video should be in a very obvious place on your main project web page. The easiest way to do this is to use a screen-capture tool while interacting with the application, though you will most likely find its useful to do some editing afterwards to tighten the video up. Its also a good idea to have a video like this available as a backup during your presentation just in case of gremlins. You can also shoot your video on the classroom wall if you wish.
The web page including screen snapshots and video need to be done by the deadline so be sure to leave enough time to get that work done. Once you have your webpage done, send the URL to Andy before the deadline. I will respond to this email as your 'receipt'.
I will be linking your web page to the course notes so please send me a nice representative jpg or png image of your application for the web. This should be named p1.<your_last_name>.<your_first_name>.jpg or p1.<your_last_name>.<your_first_name>.png and be roughly 1024 x 768 in size.
Presenting Project 1
An important part of creating user interfaces is getting feedback and using it to improve your design. Given the class size, this can be a bit of a challenge. After the project has been turned in, we will have some group discussions and presentations about the solutions to Project 1.
On Tuesday 2/7 the class will break into groups. Each group will compare notes on their solutions to the problem and come to an agreement on a single revised interface design, so bring a printed screenshots of your design (or have them accessible on a laptop or tablet) to this class meeting to share (the web pages you created to turn in the assignment should be able to do double-duty here). This revised design does not have to be implemented; it should be presented as a series of screen snapshots / mockups for the major functions. It is expected that this design will not be the same as any of the previous designs - your goal is not to pick the best previous design - your goal is to come up with a new best design that is better than any of the previous ones.
Before Thursday's class on 2/9 each group should create a web page with the team members' names, the screen snapshots for the revised design, and a description of how the revised interface will be used. The address of this page should be emailed to the TA before class begins on Thursday.
On Thursday 2/9 each of the groups will give a presentation on the revised interface that their group came up with, using their web page, showing the snapshots and giving a brief description of its functionality. The length of the presentation will be determined once we know the number of groups, but most likely around 5 minutes.
Very likely later on in the term the class will break into different groups and revise these revised designs again, so keep them around.