Implementing the Project
You can start with the general model of the lab (mostly the main lab and the classroom). It has many models created by Arthur Nishimoto, as well as freely licensed furniture models, and one sound from soubdbible.com. This project also has two different navigation modes - one, Interact with Keyboard, for use with keyboard and mouse for testing, and the other, Interact with Wands, allowing you to teleport with one wand or fly around the scene with the other in VR. Both allow you to pick up the evl mugs in the scene to interact with them. Be sure to activate the appropriate control scheme in the inspector and deactivate the one you are not going to use.
The sample project file to get you started can be found here
Move the zip file to your computer, unzip it in some appropriate place, start up Unity, and open that folder as an existing project.
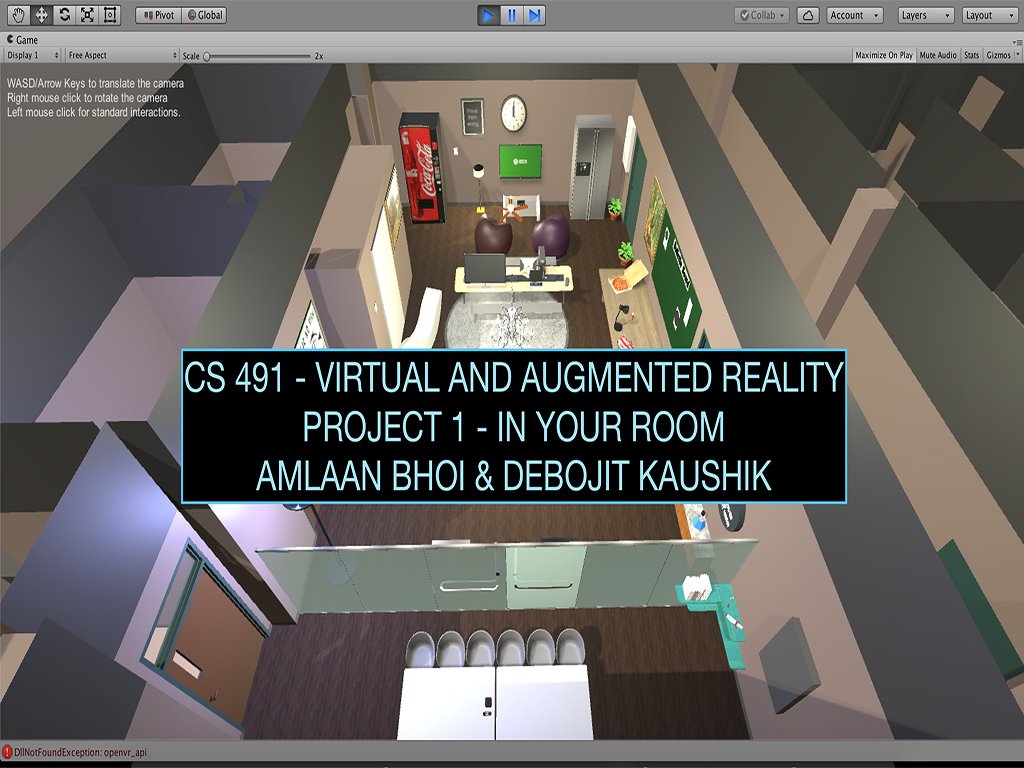
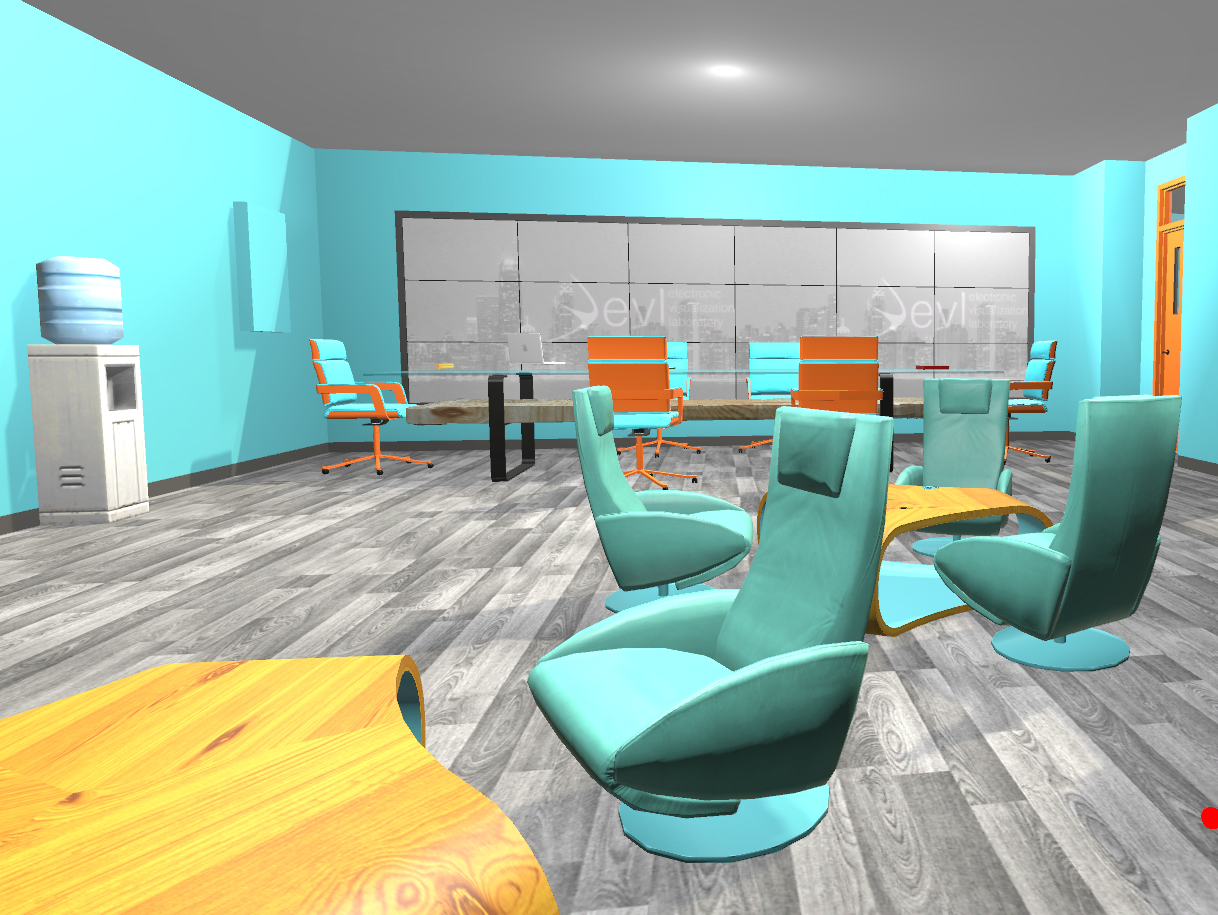
Running the project you should start out in a virtual version of the classroom.
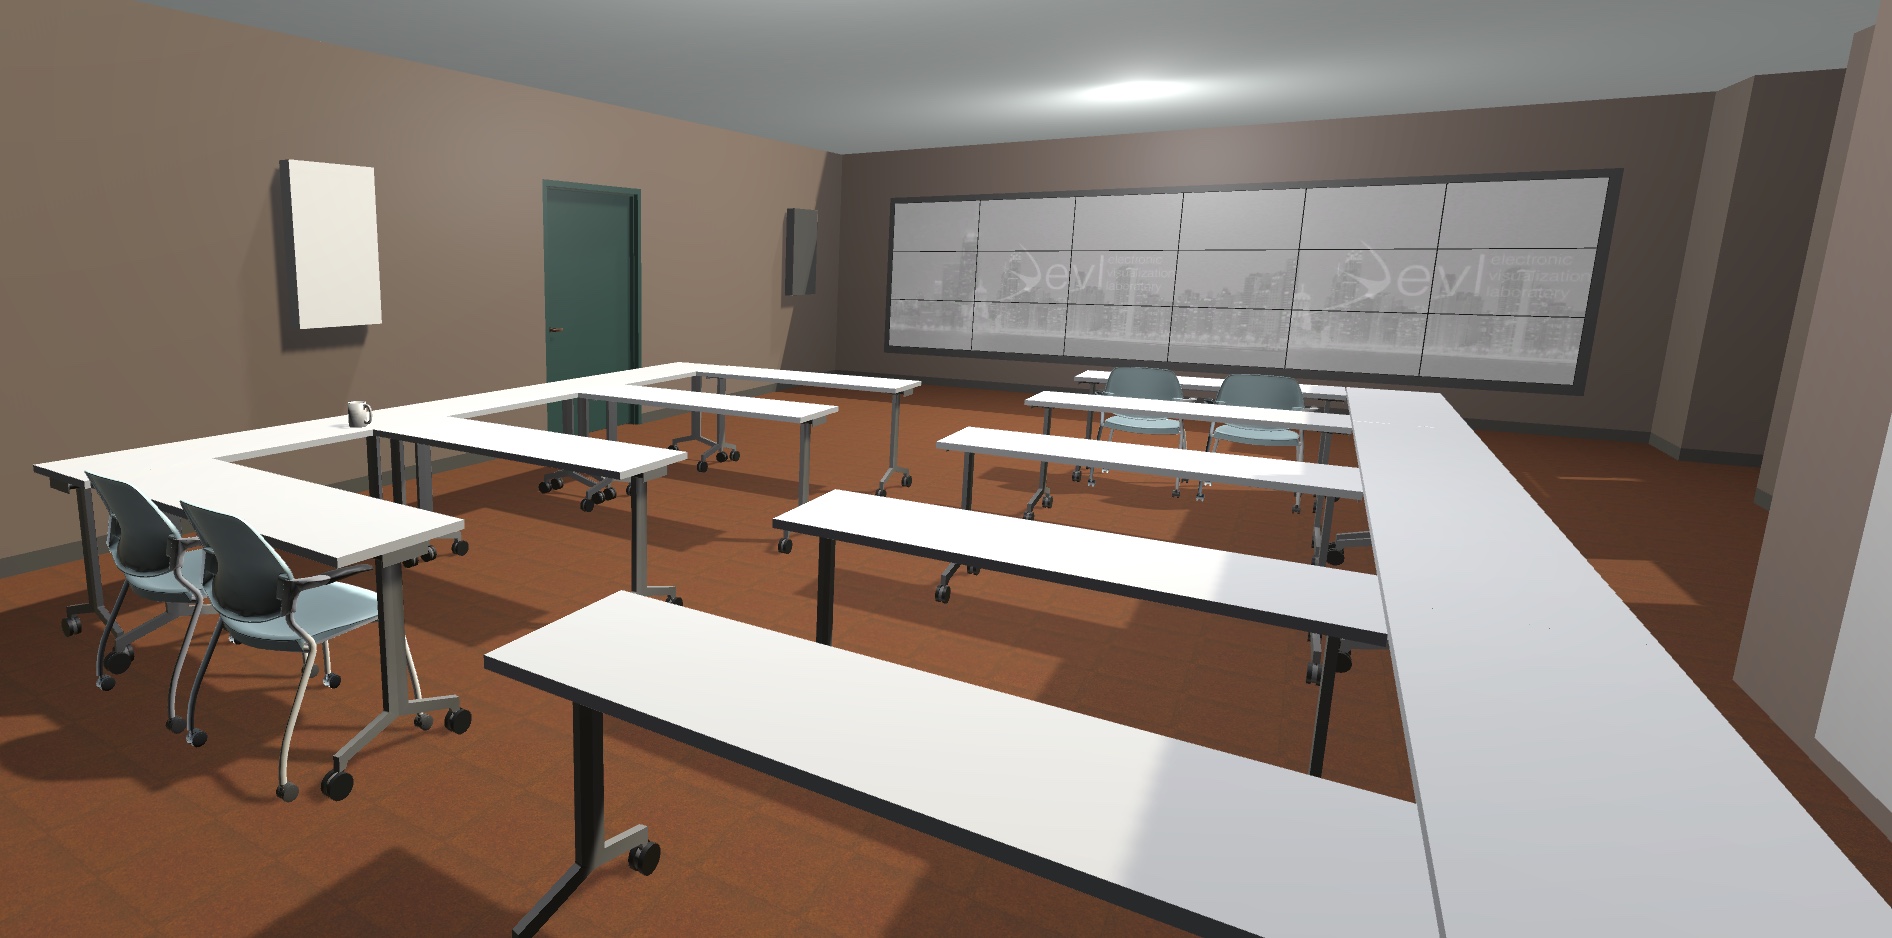
With the keyboard controls active, the text overlay will tell you how to navigate with the keyboard and mouse. With the Wand interaction active for the VIVE you can use the large circular area on top of one controller as a D-pad to move forward / backward or to turn left / right, and pressing on that same area on the other controller will allow you to teleport in the classroom and the main lab. The trigger on each wand will allow you to pick up the evl mugs scattered in each room. In the classroom you should hear some typing in the center of the room.
To get a C on the project ...
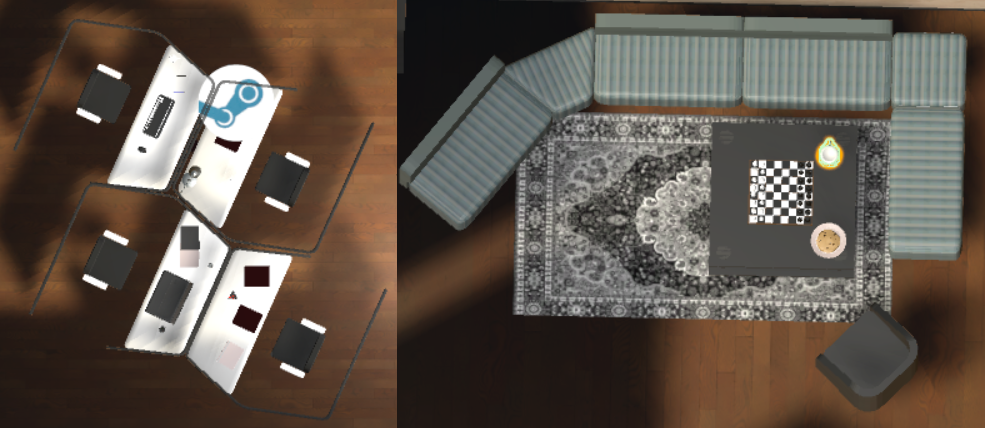
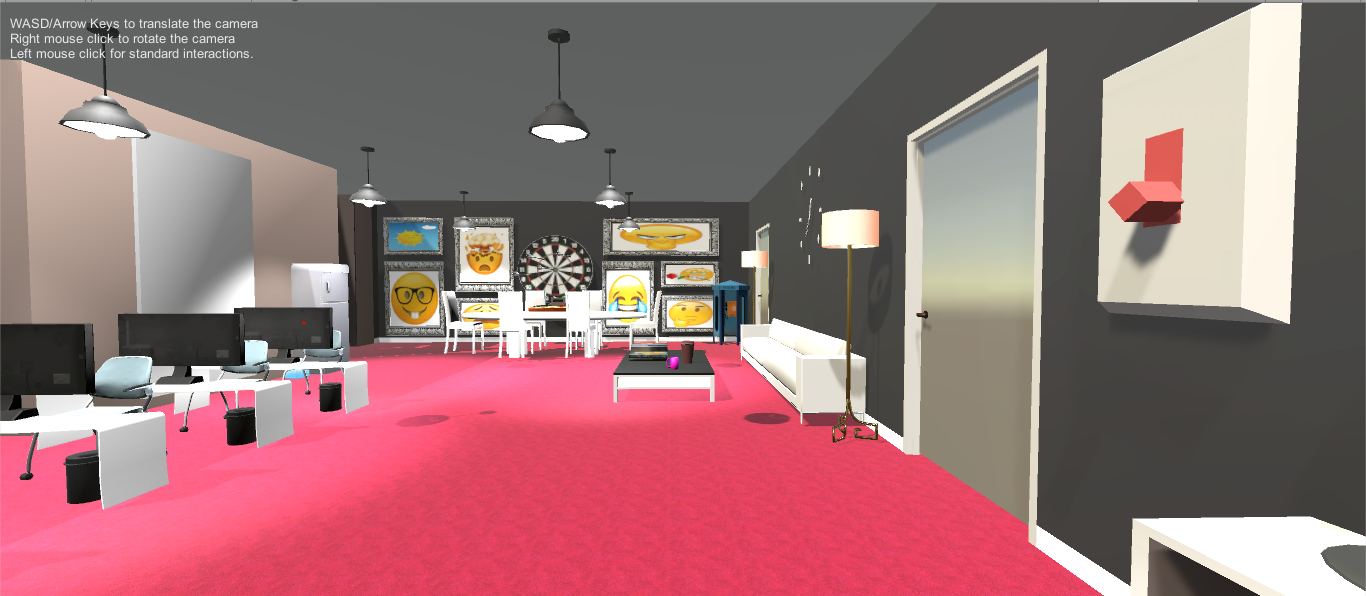
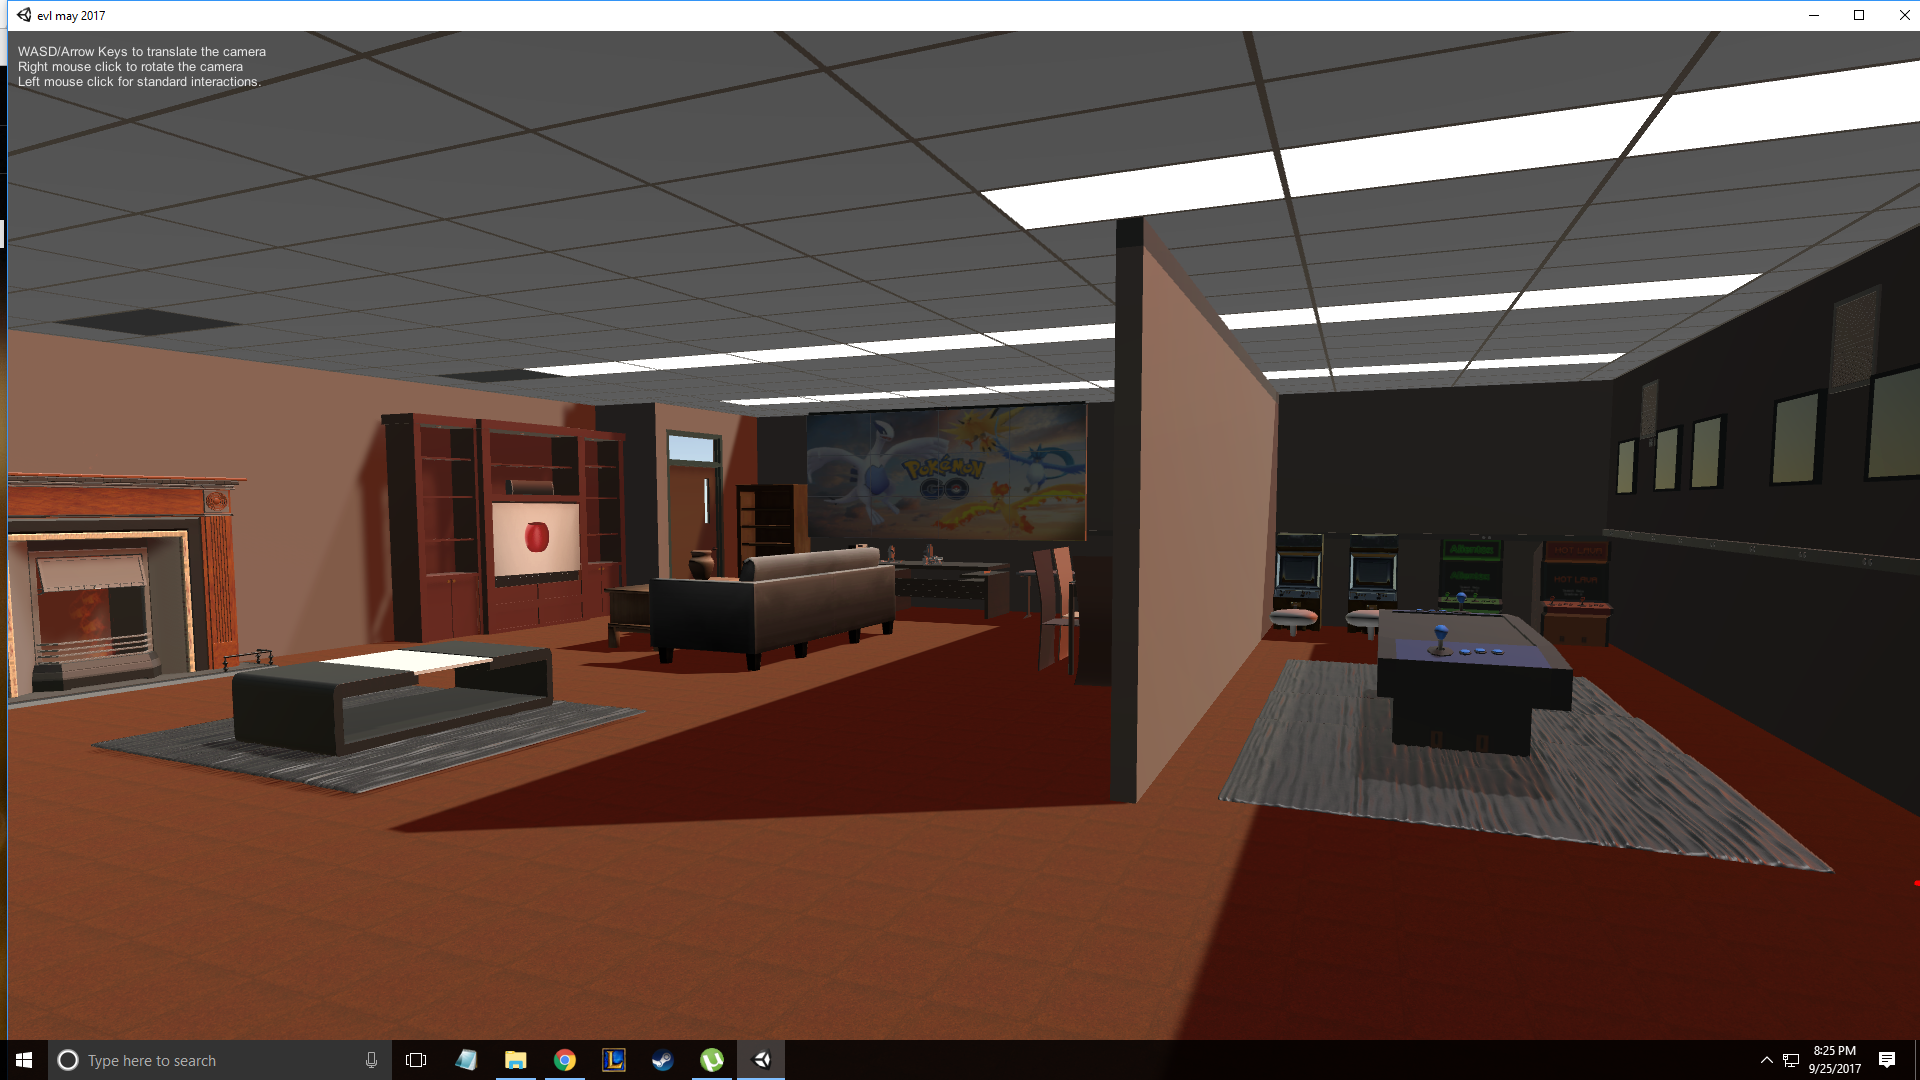
- customize the classroom
space into your ideal office with your own style of floor
and ceiling, including at least unique 10 models at
appropriate locations
- add in appropriate
lighting
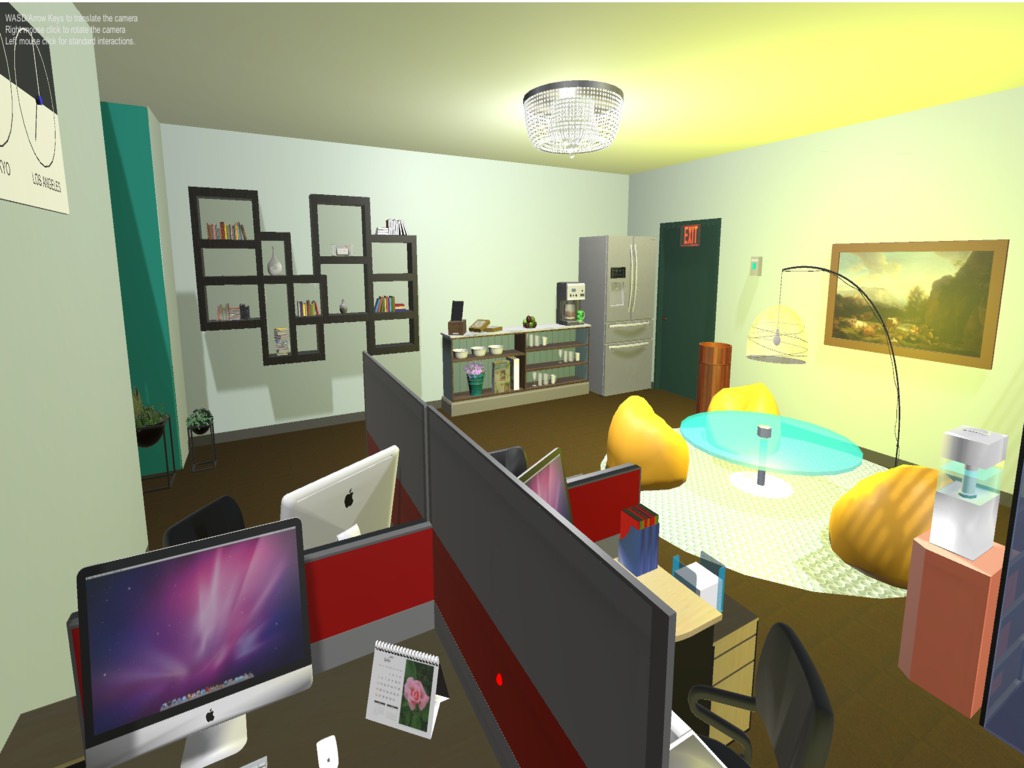
To get a B you need to add ...
- an additional 5 unique
models
- create 2 unique models of your own to put in the space
- give the user control over the lighting
- add in at least one
ambient sound
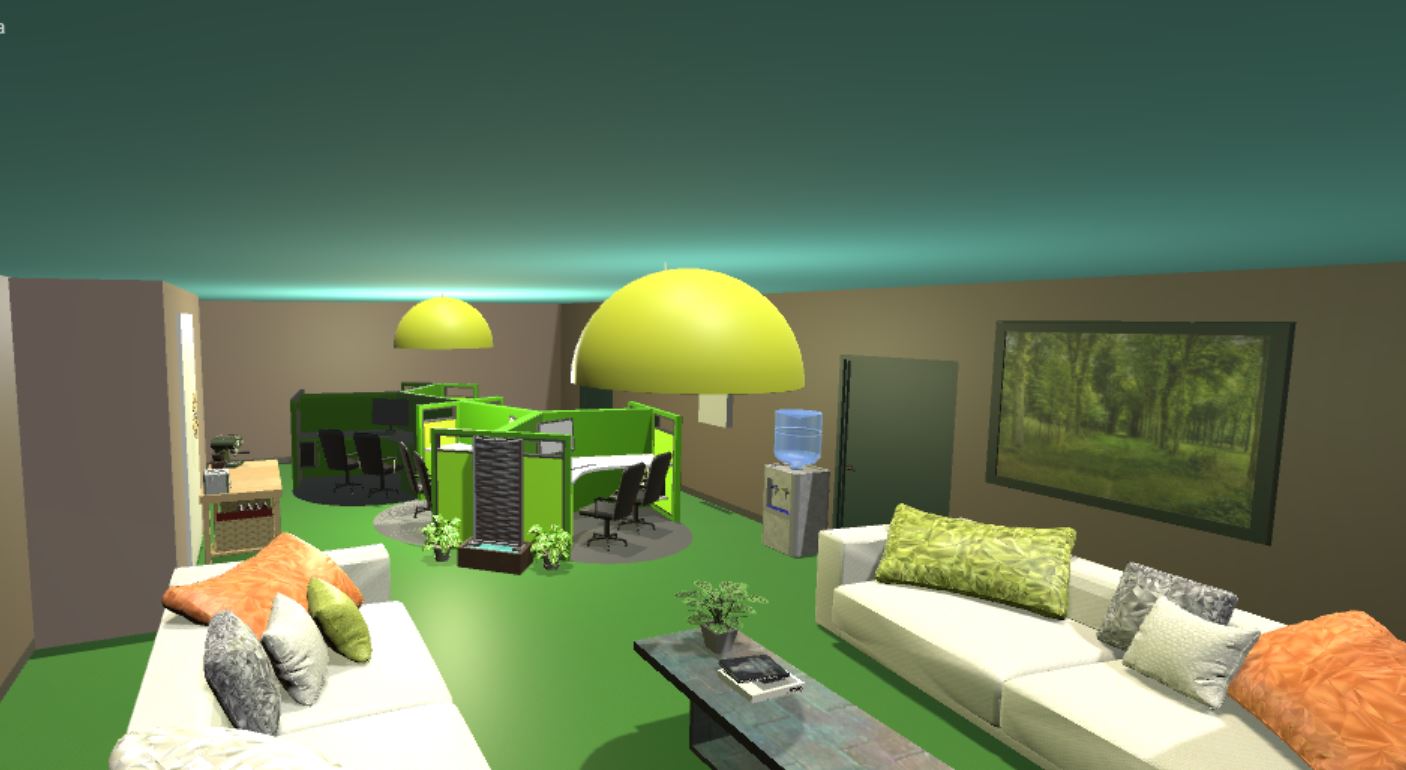
To get an A you need to add ...
- an additional 5 unique models
- add appropriate physics
to at least 10 objects in the scene
- create 3 more unique models of your own to put in the space
- add in 4 other sounds
that are triggered by the user moving close to certain
objects in the scene or interacting with certain objects
Graduate students in the class also need to create 5 additional models of their own.
Be careful when you are collecting or creating models for your space as the polygons start to add up and you want to make sure you maintain a good interactive frame rate in stereo on the classroom VIVE PC
Also, keep in mind that your objects can be at different scales - some of them might be the size of tables that help fill the space but others might be smaller objects on a table.
Note that there is a big difference between getting something working and getting it working well. The first is not that hard. The second takes much more time. You are expected to have things working well, so be sure to test on the actual hardware regularly.
Testing the Project
The classroom should be free for testing on Tuesdays after 4, and most of the day on Friday. If there is no one in the classroom then try knocking on 2028 ERF or 2032 ERF. The PC in the classroom should automatically reboot into the account for the class.
Note that if you are running OS-X and like to run the latest OS that Unity is not happy with High-Sierra, or in particular with the new file system that came along with it. If you try and load a unity project from the new APFS (2017) file system it will seem to be missing all its assets. If you try and load the same files from the older file system or even EXFAT then things are fine. If you try to download new assets (like re-importing steamvr then they will not get imported, even if you run unity from a partition using the older file system. Presumably there will be fixes for this soon, but will probably only apply to the current Unity3D builds.
If you try to run your project on the classroom PC and it doesn't start up in VR mode (i.e. you have no head tracking) check a couple things:
1 - you should have the keyboard interaction turned off and the wand interaction turned on with the checkboxes in the IDE
2 - make sure the data folder for your executable has a Plugins folder with openvr_api.dll included inside. If not you can copy one from the 491 unity executable on the desktop.
Sound on the VIVE / front wall is controlled from the Alienware PC that the VIVE is connected to. If you don't hear any audio coming throuhg the room speakers then check to make sure that the audio on the PC is going to Speakers (2 - ClearOne Converge Pro 2 128U... and then you can use the volume control on the top of the keyboard to control the levels.
Turning in the Project
When you are ready to turn in your project, or just to test it on the classroom PC, build an executable for target platform windows x86_64. The classroom VIVE PC will have a folder on the desktop named 491VRAR_Project 1. You should create a folder there with a filename matching your name or the name of someone in your group. Inside your groups folder you should put a copy of the executable and the data folder for your project. Be sure to test and make sure your project runs well through the VIVE and its controllers on that PC as that is where they will be shown in class and officially graded.
You should create a set of public web pages (available to anyone for at least the duration of the course) that describe your work on the project. You can host your web pages at UIC (http://people.uic.edu) or the provider of your choice, as long as they remain publicly available to all. You can use any publicly available templates as long as you cite them, or create your own.
These pages should include:
- description of how to
use your application and the things you can do with it
- links to all the source
code and any assets (models, textures) that you used along
with instructions on how to build your application on the
classroom PC
- link to a zipped folder
containing your entire project which can be moved to the
class PC to be run
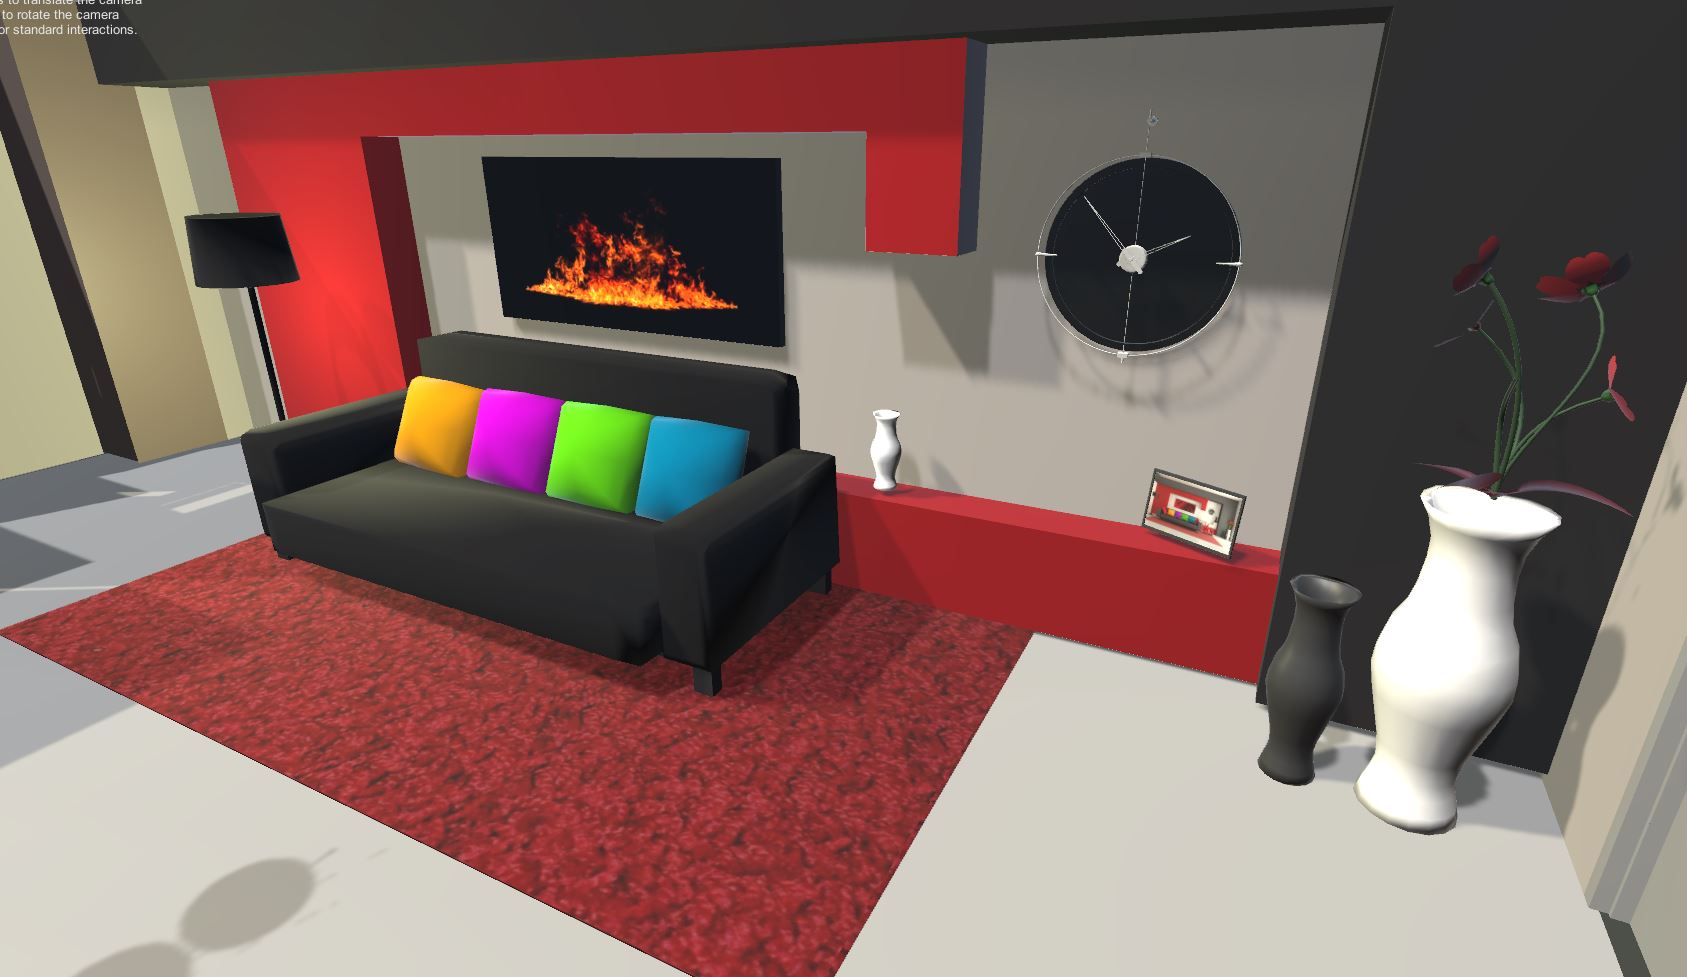
- enumerated list with images of the n models you used and the ones you created for your application to make it easy to see that you have those n models in your scene (one good way to do this is to take some high resolution screen shots of your scene and put numbers next to each of the models and then have a textual list showing where the models came from or that they were created by you)
- enumerated
list of the sounds you used and their sources, or state
that you created them
- discussion comparing navigation using teleporting and wand-based navigation
- discussion
of how the virtual room 'feels' to you compared to the
actual room - do they feel the same size? What cues help?
what are some cues in the real world that are hard to
replicate in the virtual one?
all of which should have plenty of screenshots with meaningful captions. Web pages like this can be very helpful later on in helping you build up a portfolio of your work when you start looking for a job so please put some effort into it.
You should also create a 2-3 minute YouTube video showing the use of your application including narration with decent audio quality. That video should be in a very obvious place on your main project web page. The easiest way to do this is to interact with your application in the classroom in front of the main wall or the EVL main lab in front of the screen showing what you are seeing - this way people watching can see you interacting and what you are seeing. You can try to narrate while interacting but you will most likely find its useful to do some editing afterwards to tighten the video up.
The web page including screen snapshots and video need to be done by the deadline so be sure to leave enough time to get that work done. Once you have your webpage done, send the URL to Andy before the deadline. I will respond to this email as your 'receipt'. I will be linking your web page to the course notes so please send me a nice representative jpg or png image of your application for the web. This should be named p1.<your_last_name>.jpg or p1.<your_last_name>.png and be roughly 1024 x 768 in size.
When the project is done, each person in a group should also send Andy a private email with no one else CC'd ranking your coworkers and yourself on the project on a scale from 1 (low) to 5 (high) in terms of how good a coworker they were on the project. If you never want to work with them again, give them a 1. If this person would be a first choice for a partner on a future project then give them a 5. If they did what was expected but nothing particularly good or bad then give them a 3. By default your score should be 3 unless you have a particular reason to increase or decrease the number. Please confine your responses to 1, 2, 3, 4, 5 and no 1/3ds or .5s please.
Presenting the Project
An important part of creating VR applications is getting feedback and using it to improve your design.
We will be spending time in class for each person/group to show off their work. Given the number of groups, each group will have 6 minutes to present their project.
Teams
| 1 |
Amico,
Simone Foglio, Matteo Milanta, Andrea |
link | 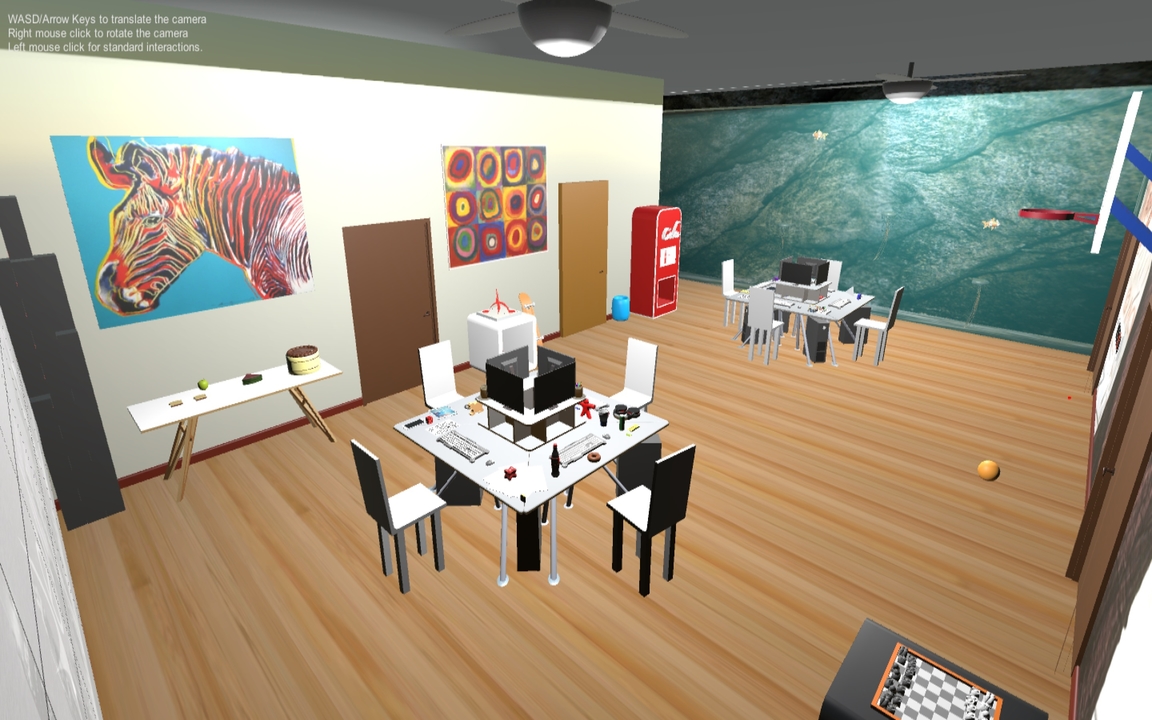 |
| 2 |
Choh,
Timothy Poulos, George Zalenski, Edmond |
link | 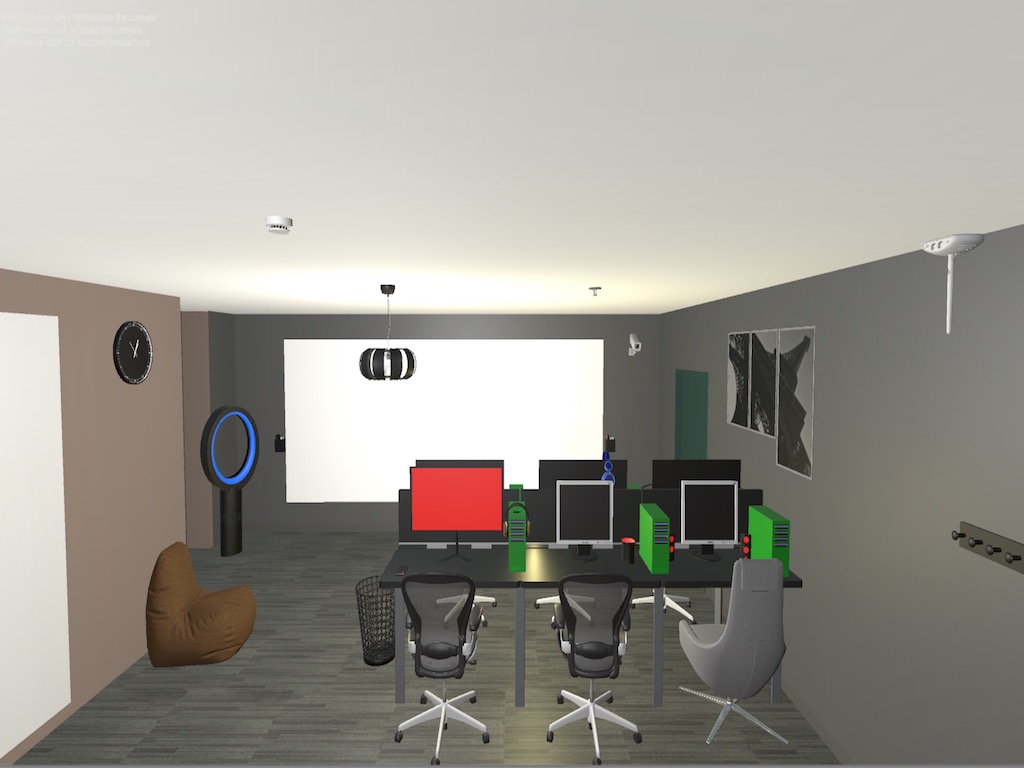 |
| 3 |
Monna,
Giovanni Marcantoni, Francesco Mantovani, Francesco |
link | 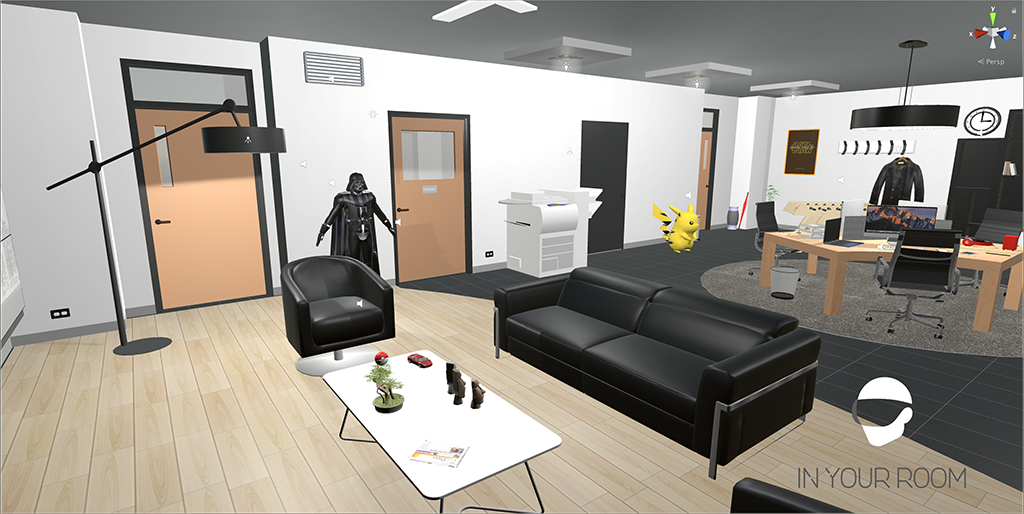 |
| 4 |
Pandiarajan,
Vasanth Arisetty, Bhargav |
link | 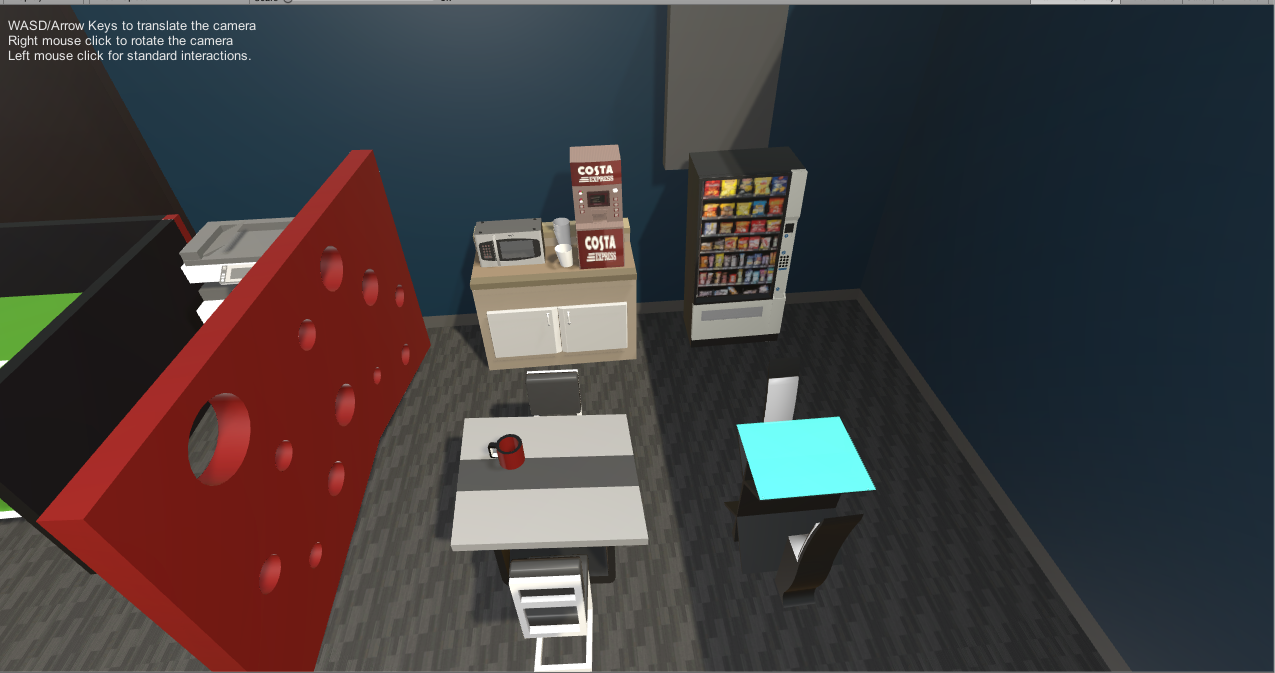 |
| 5 |
Kaushik,
Debojit Bhoi, Amlaan |
link link2 code video |
 |
| 6 |
Kirilov,
Dimitar Kupiec, Bartosz |
link | 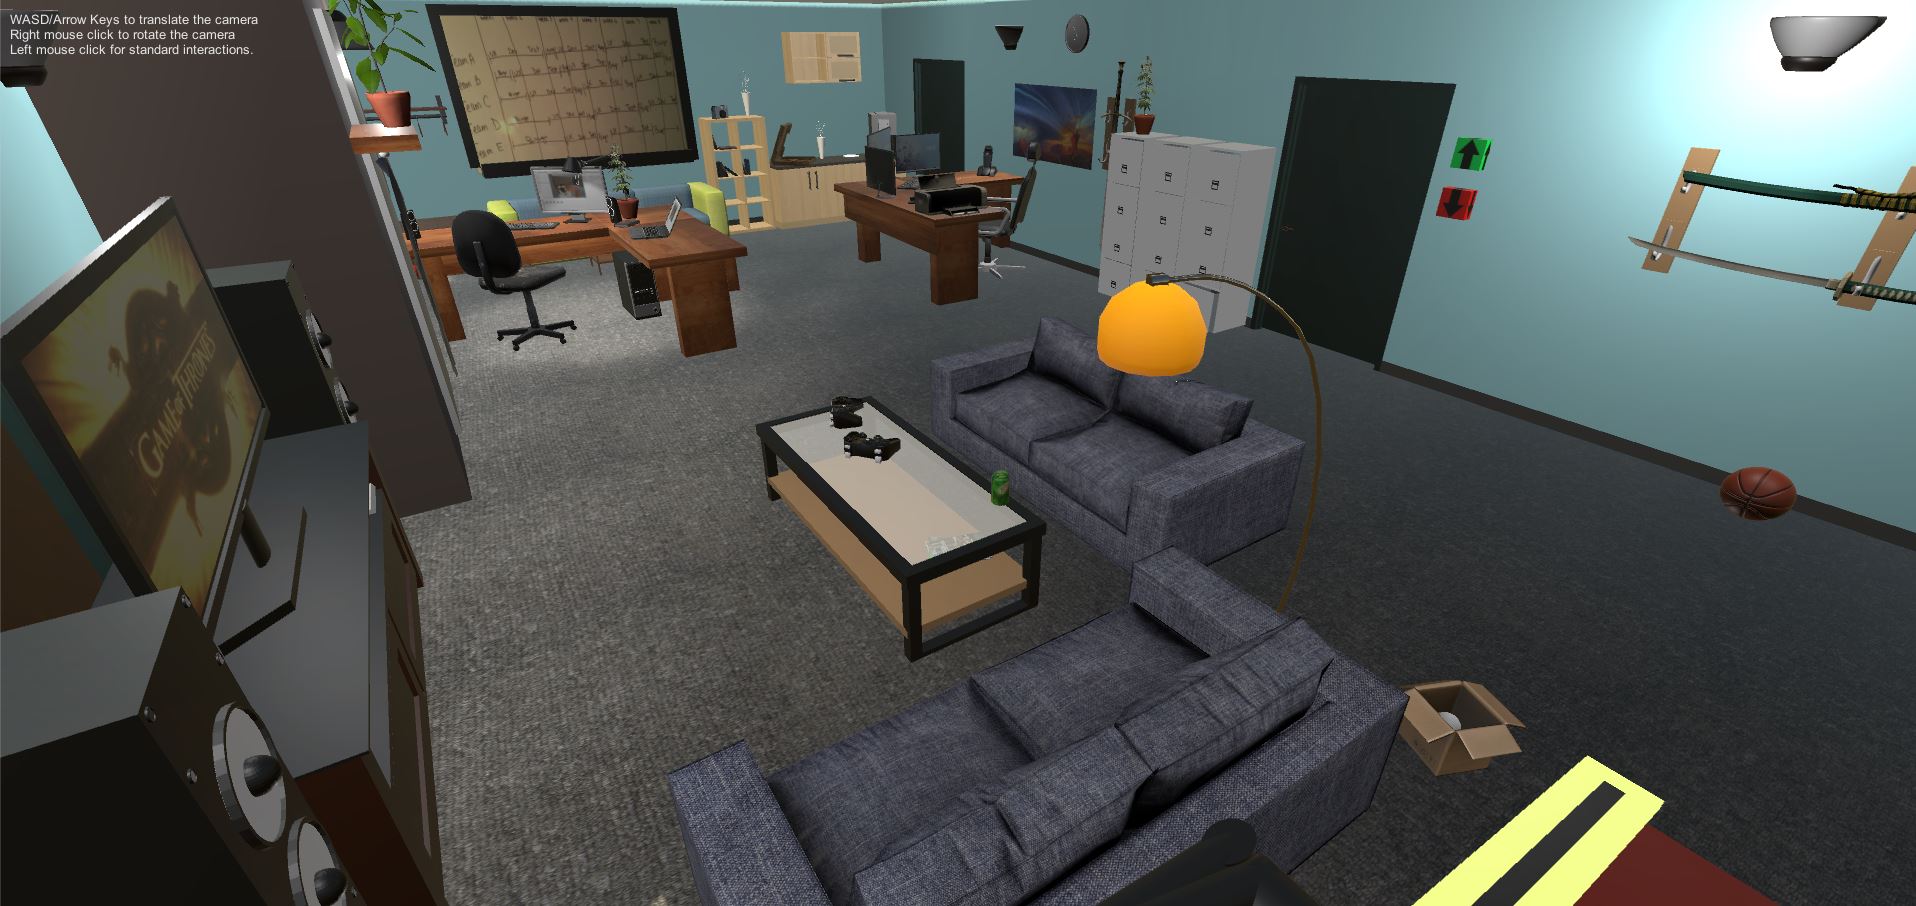 |
| 7 |
Jyothula,
Sai Priya Sakhnini, Nina |
link video |
 |
| 8 |
Alsaiari, Abeer | link | 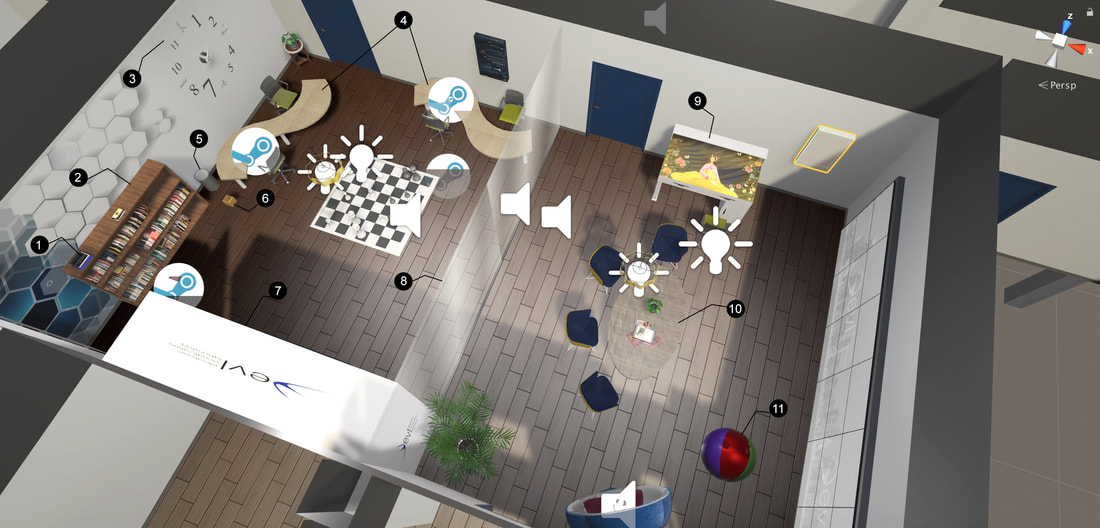 |
| 9 |
Alvarez, Aldo | link | 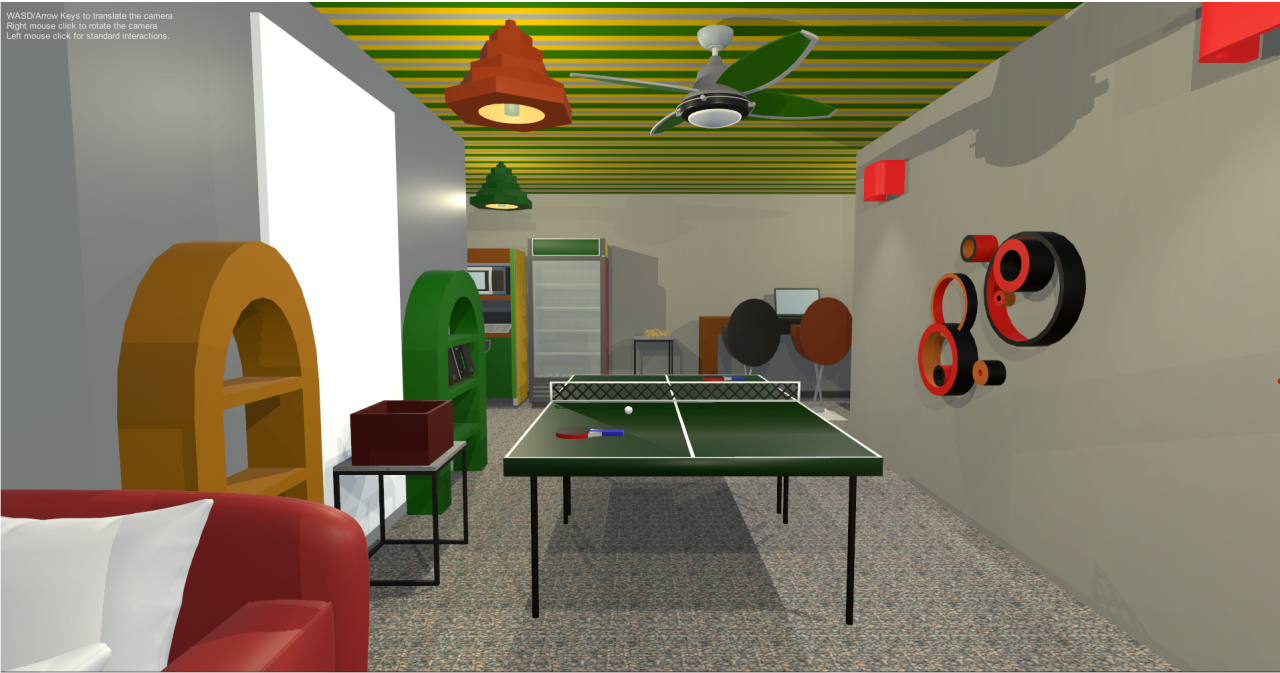 |
| 10 |
Auza, Jamie | link | 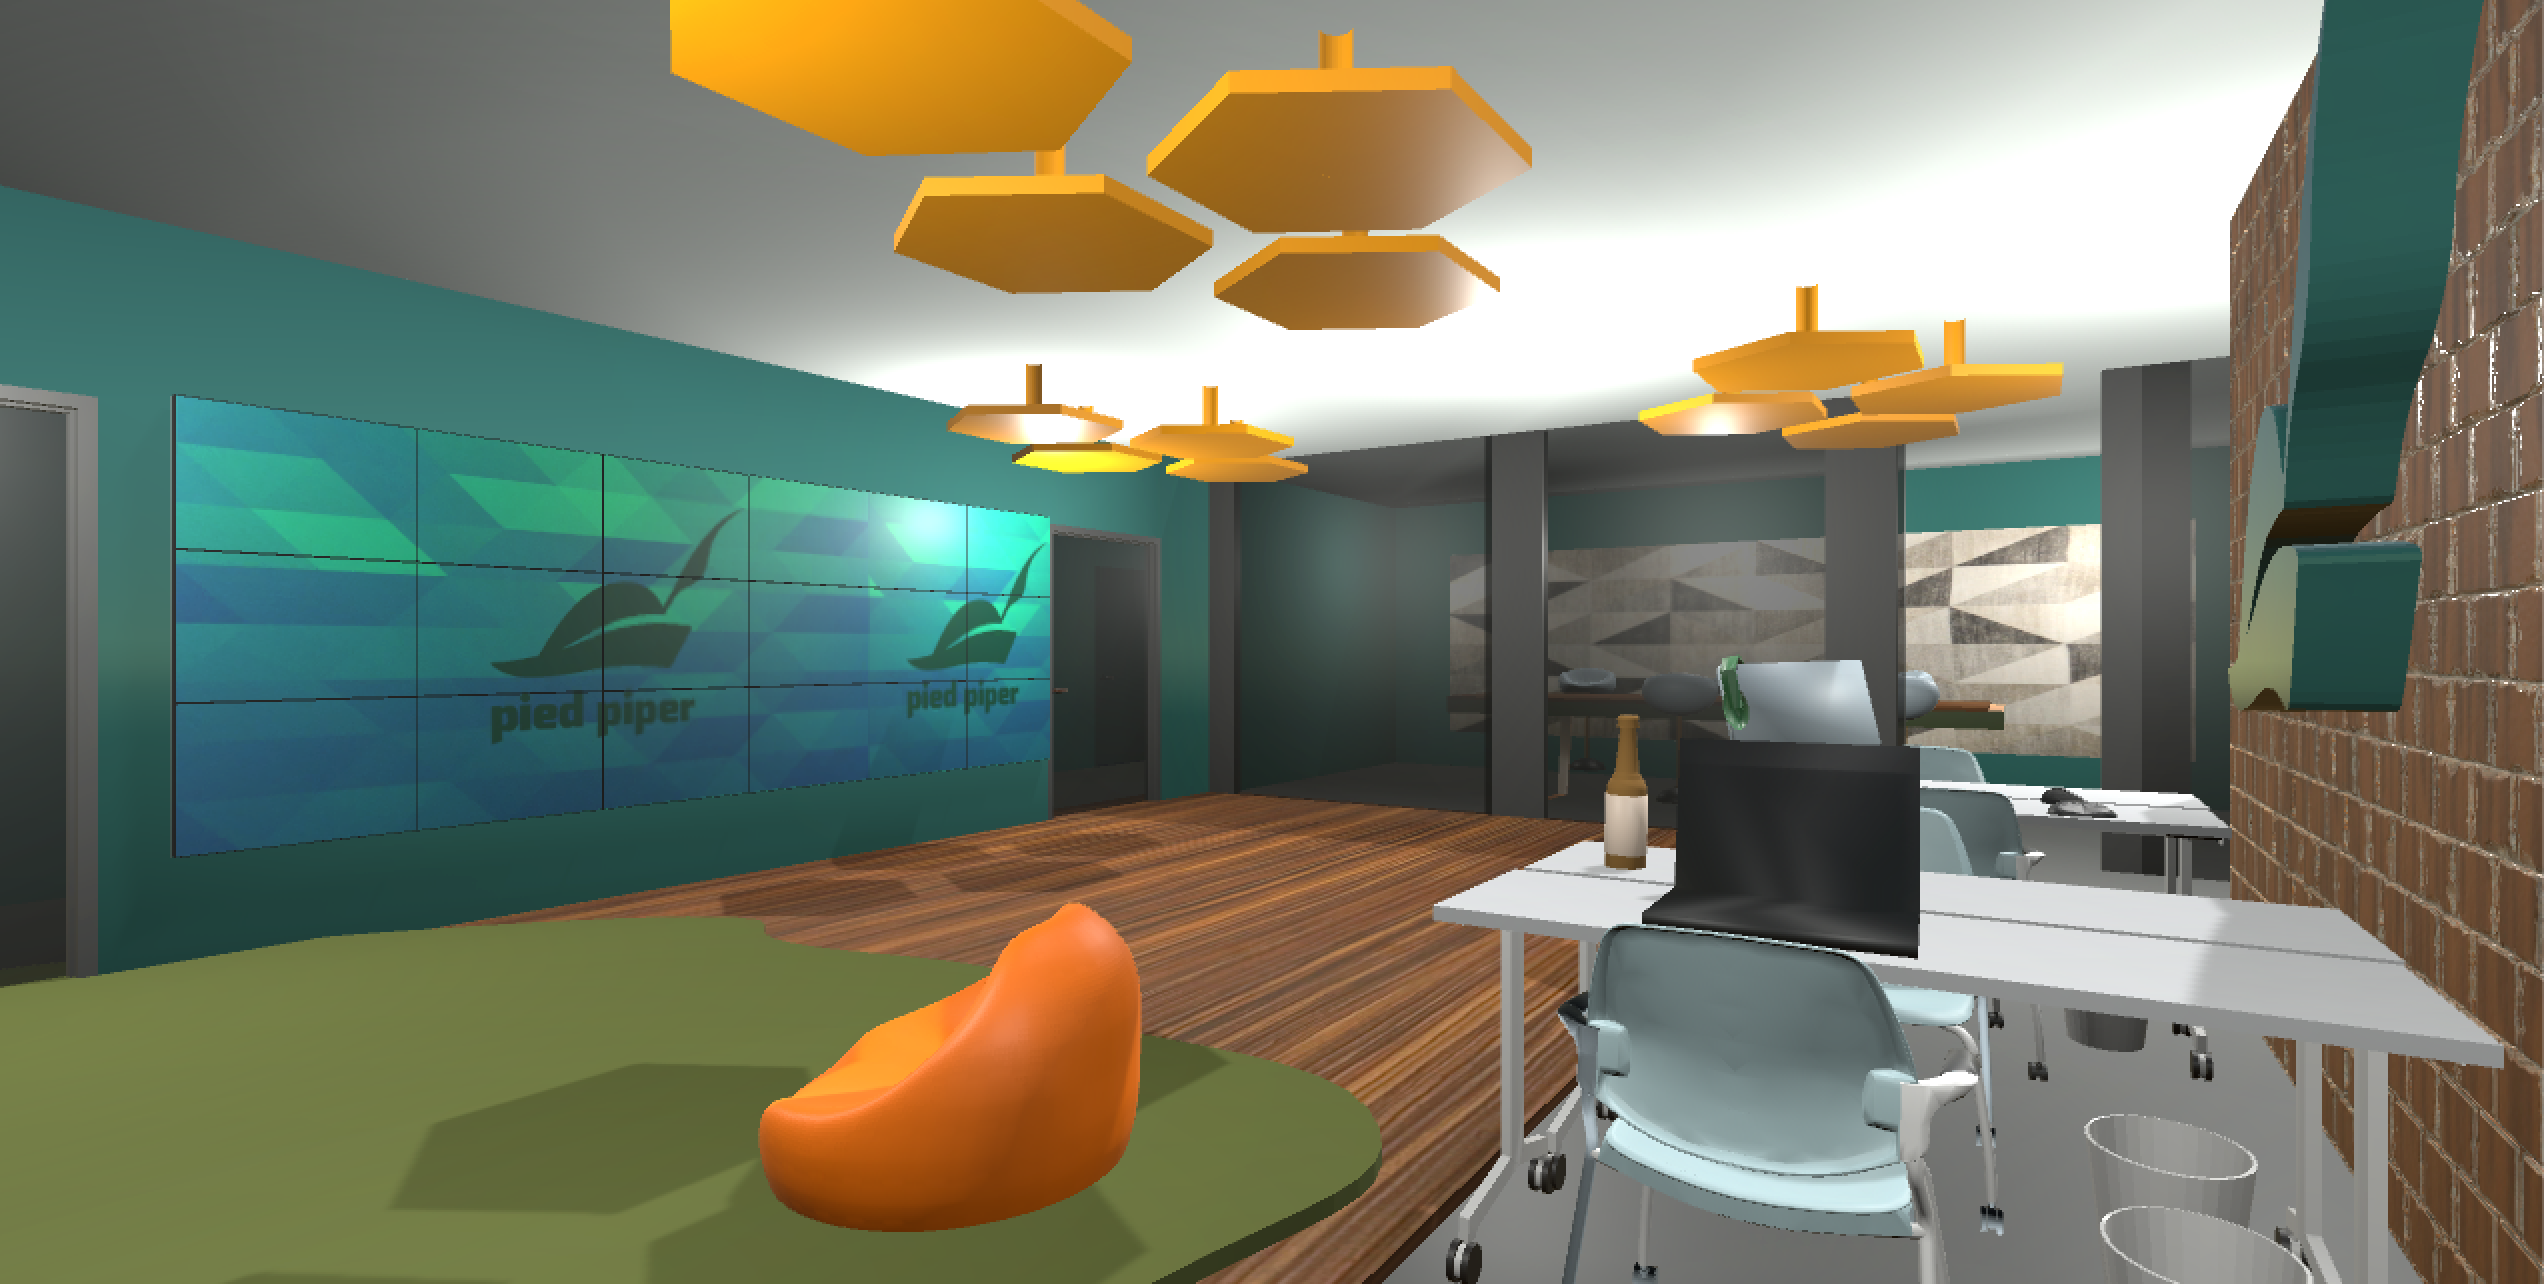 |
| 12 |
Burks, Kandyce | link |
 |
| 13 |
Choi, Jae Rim | link code |
 |
| 14 |
Cueto, Janelle | link code |
 |
| 15 |
Di, Lei | link video |
 |
| 16 |
Donayre,
Jared Galante, Joseph |
link |  |
| 17 |
Hanula, Peter | link | 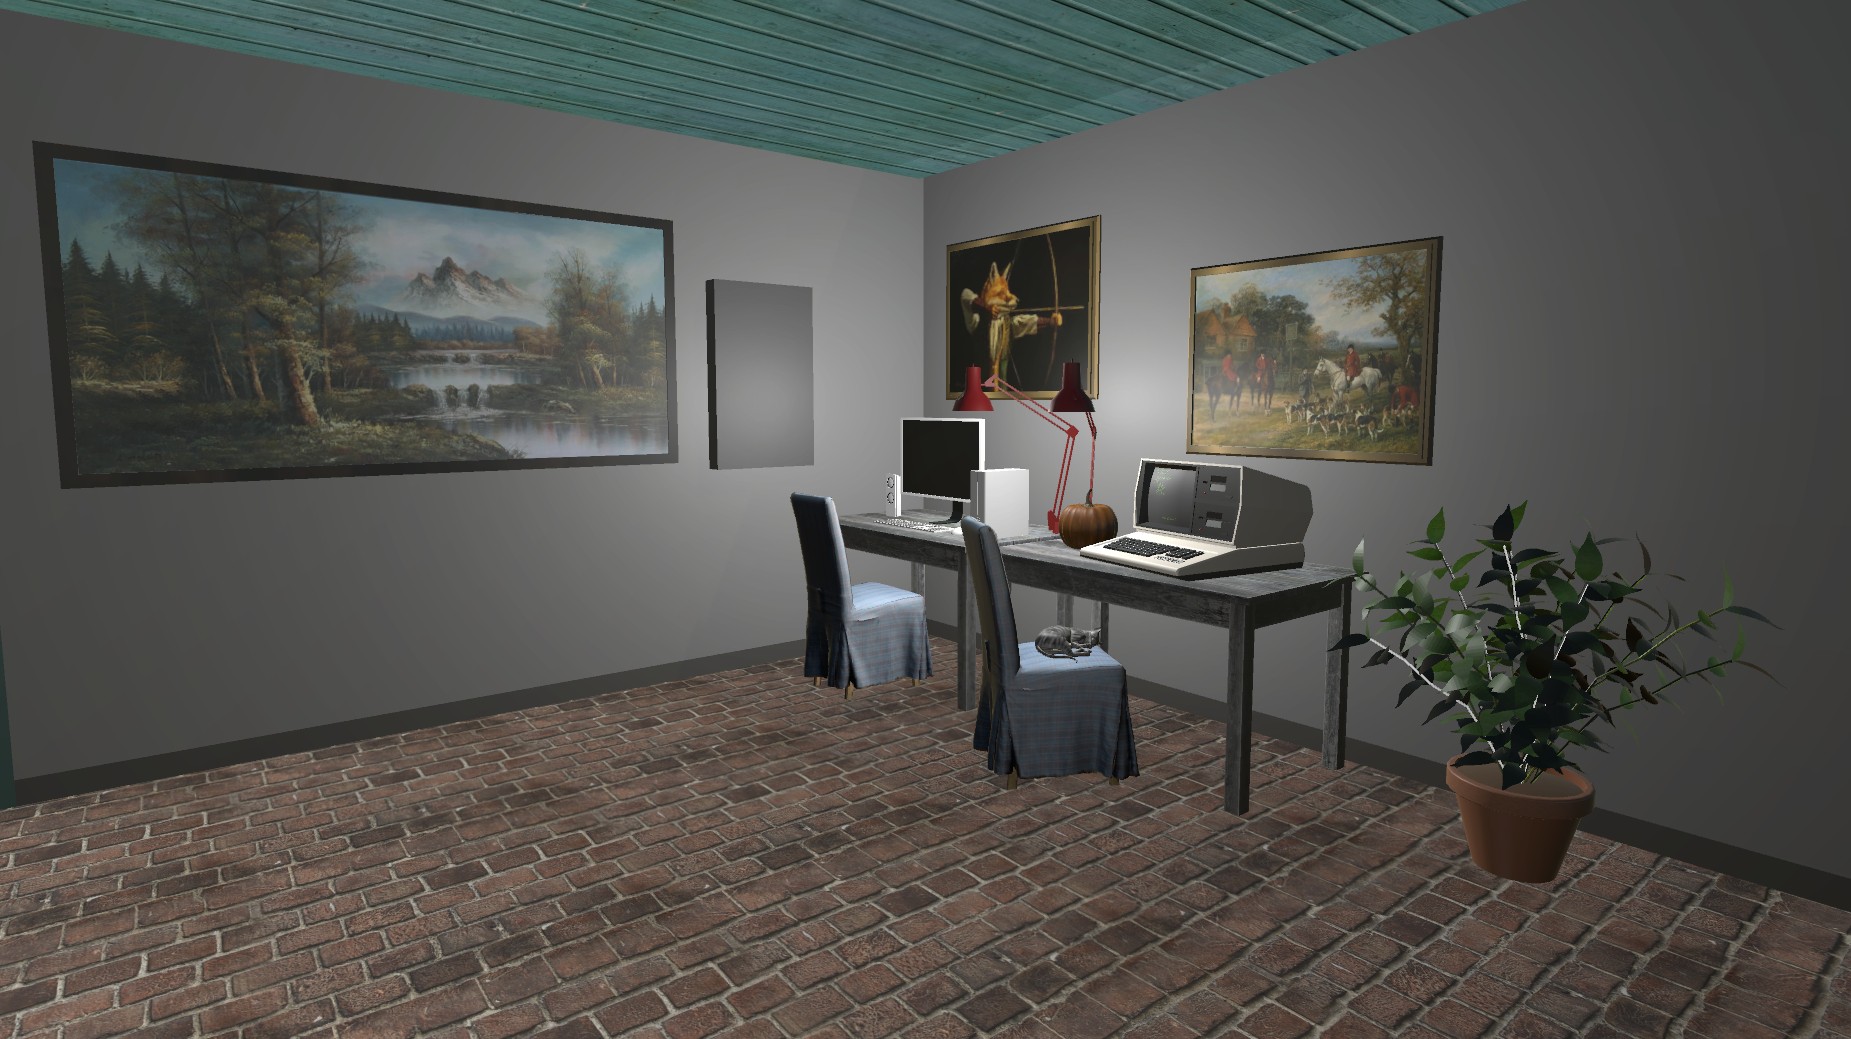 |
| 18 |
Hopp, Jonathan | link | 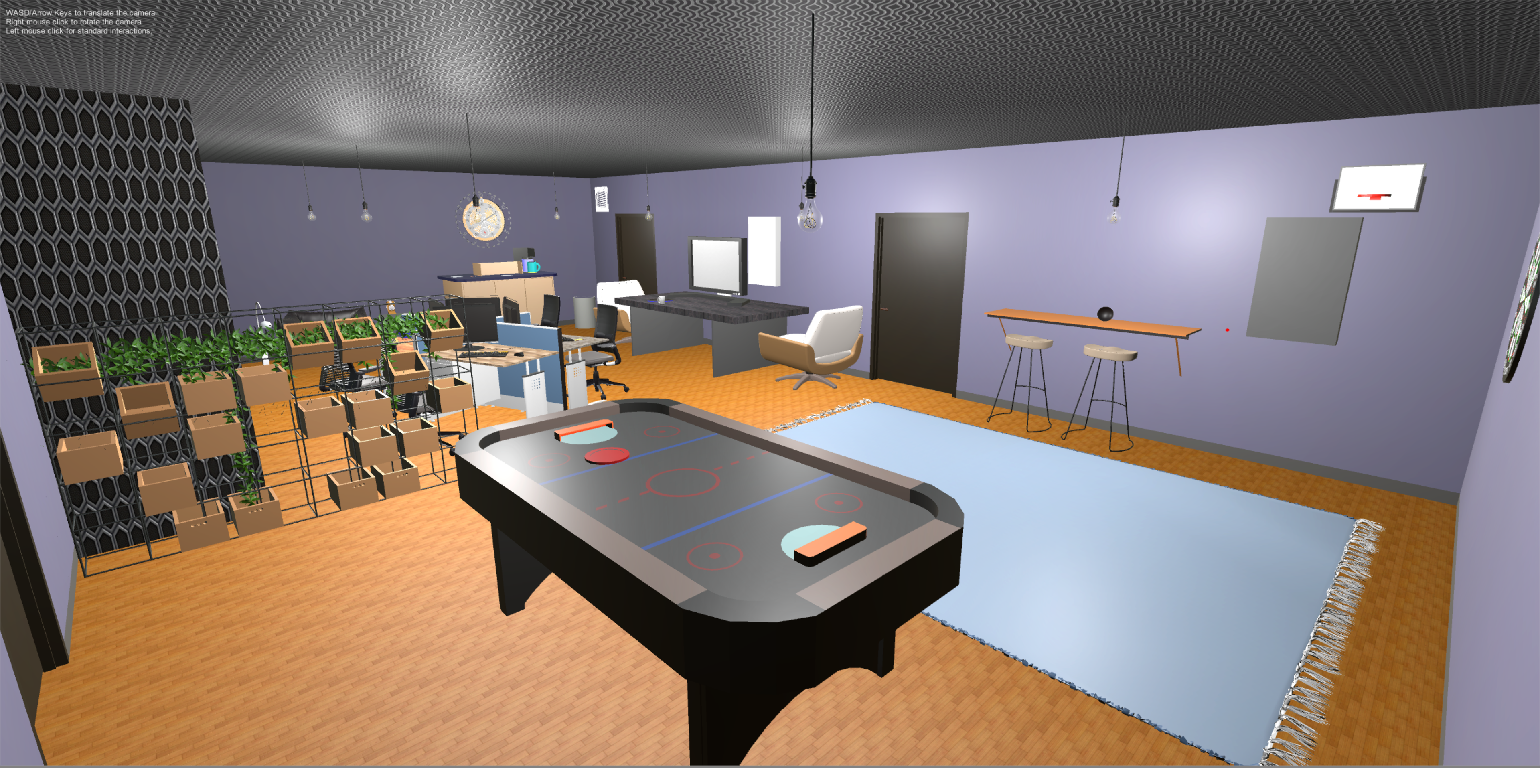 |
| 19 |
Joshi, Sandeep | link | 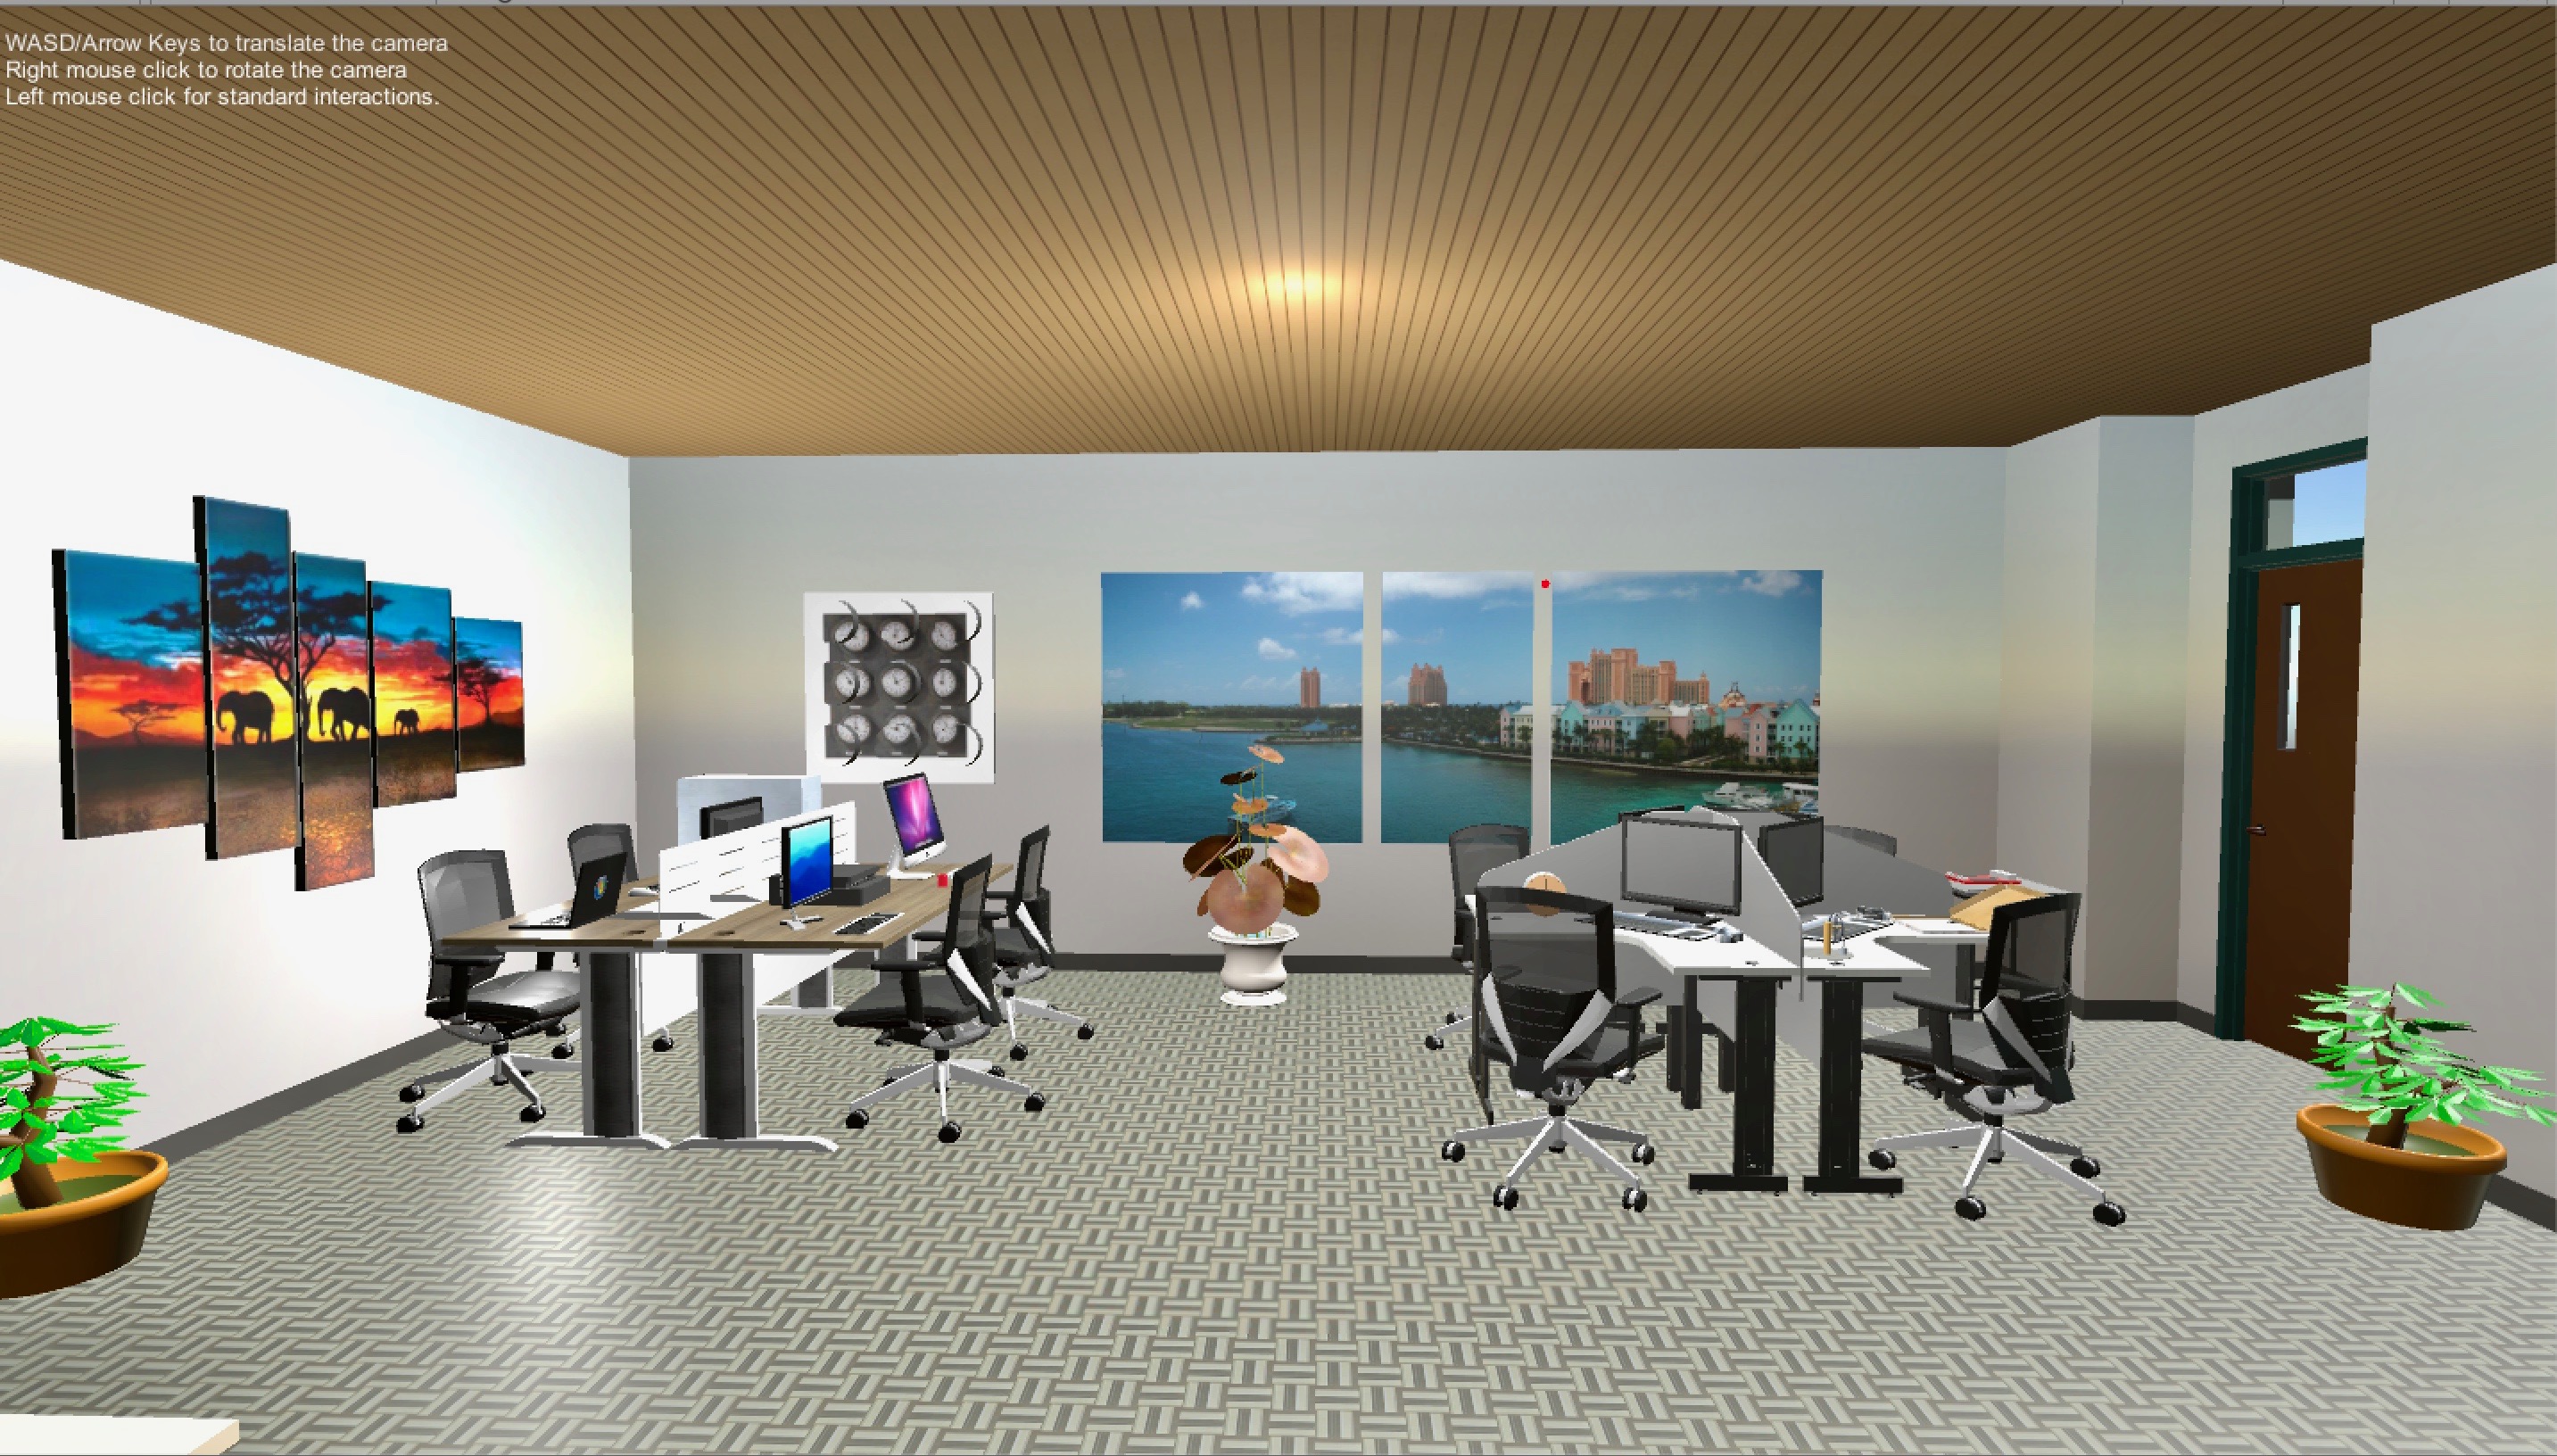 |
| 20 |
Le, Cang | link code |
 |
| 21 |
Leonova, Vitaliya | link | 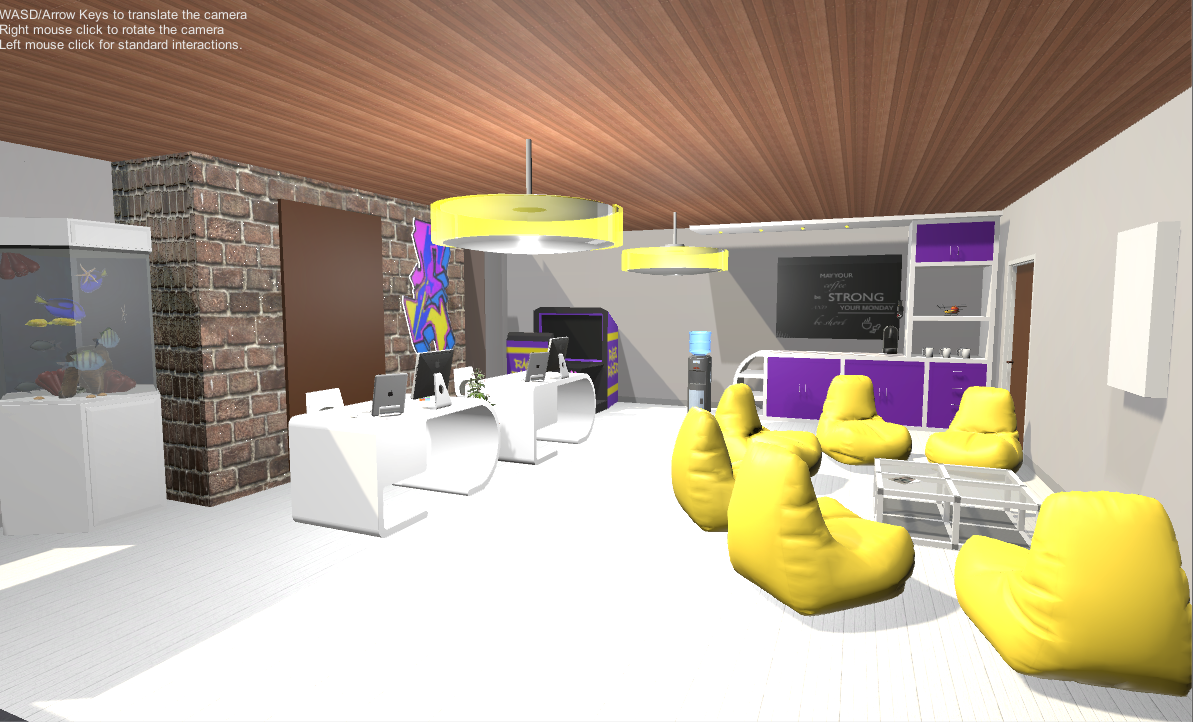 |
| 22 |
Lindmae, Isabel | link |  |
| 23 |
Mascarenhas, Glenn | link code |
 |
| 24 |
Melo, Stephanie | link |  |
| 25 |
Mirza, Lubna | link |
 |
| 26 |
Mohammad, Ibrahiem | link | 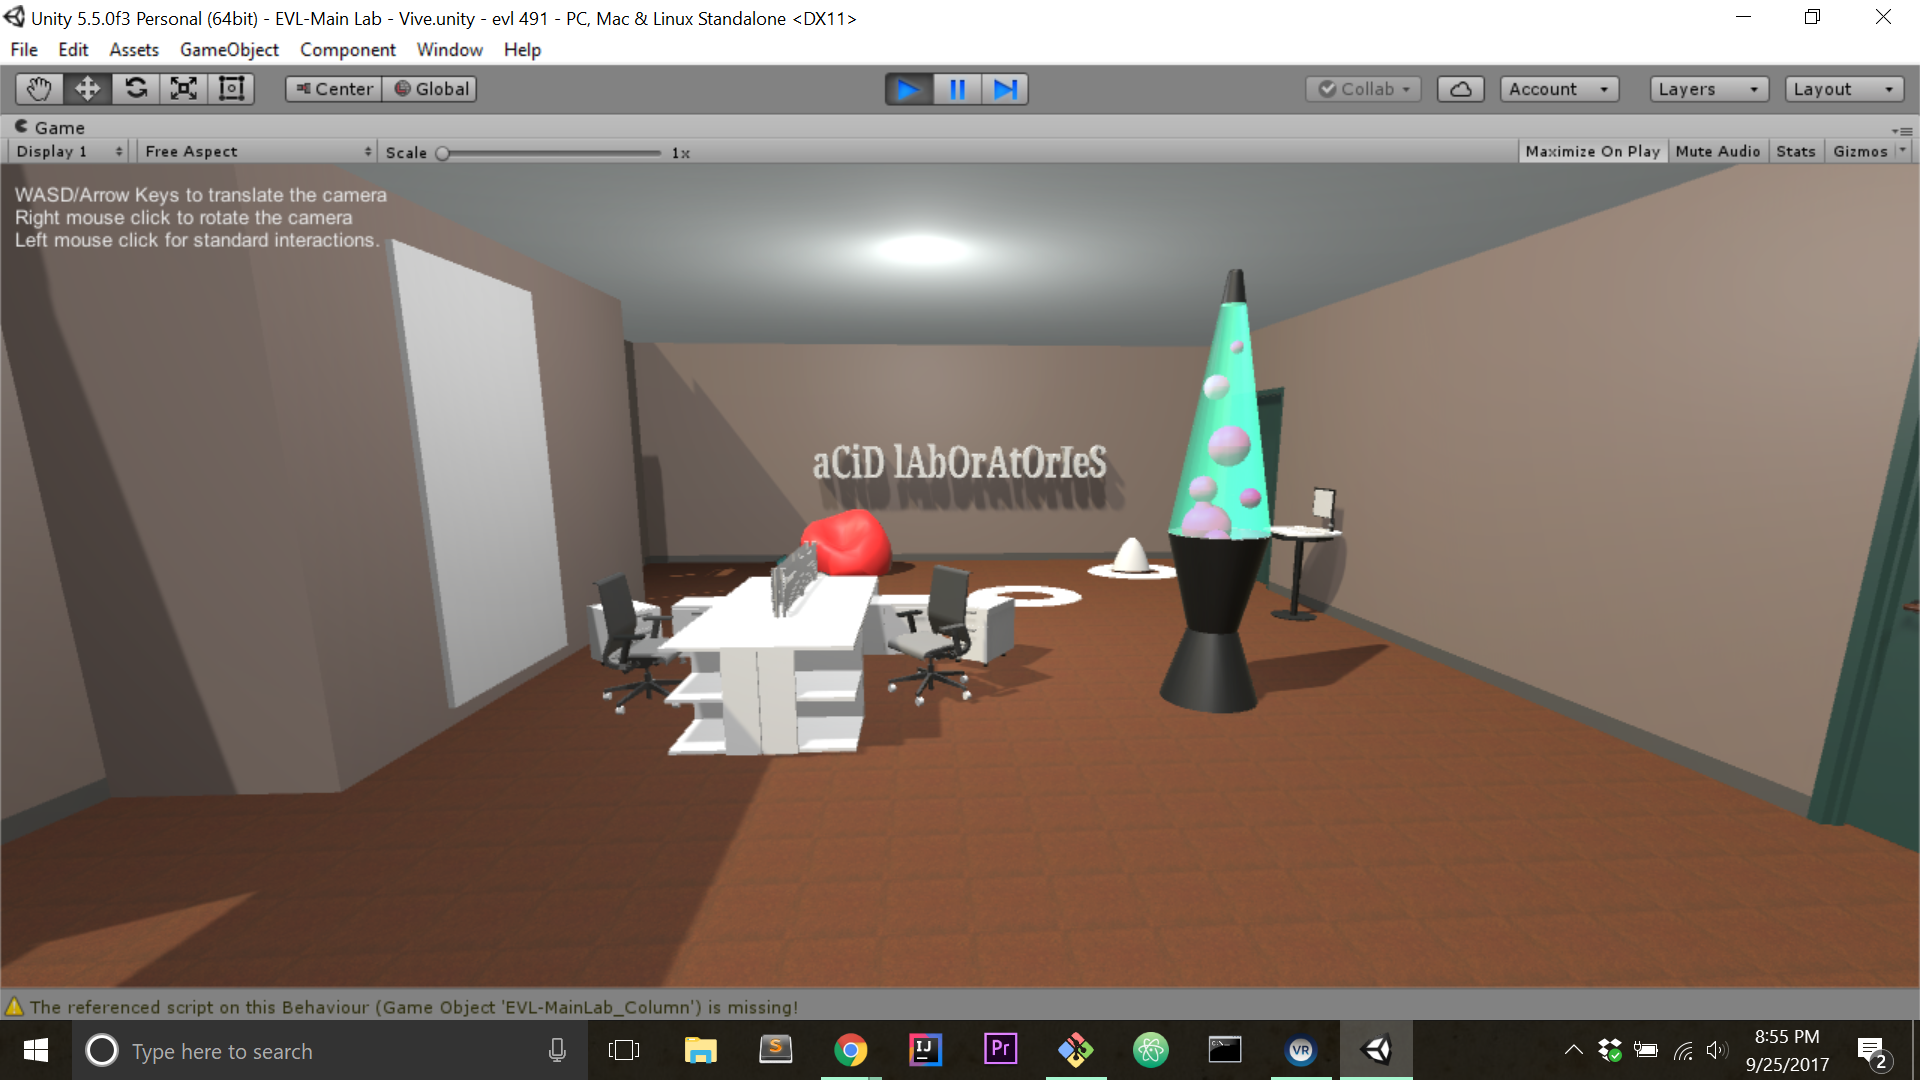 |
| 28 |
Rane, Sandeep | link code |
 |
| 29 |
Salinas, Ana | link code |
 |
| 30 |
Tran, Jonathan | link | 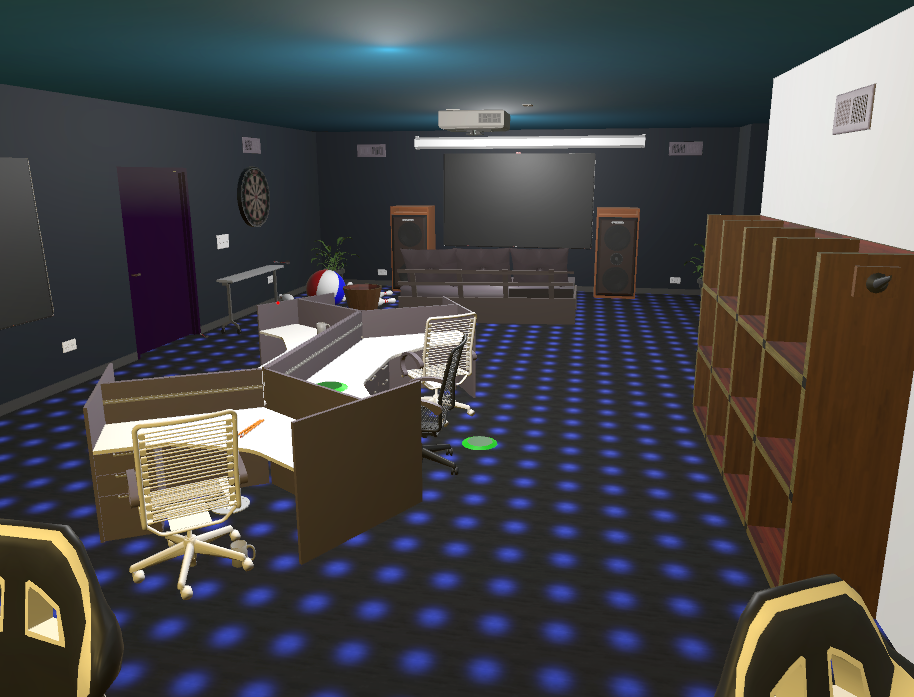 |
| 31 |
Belde,
Srujan |
link | 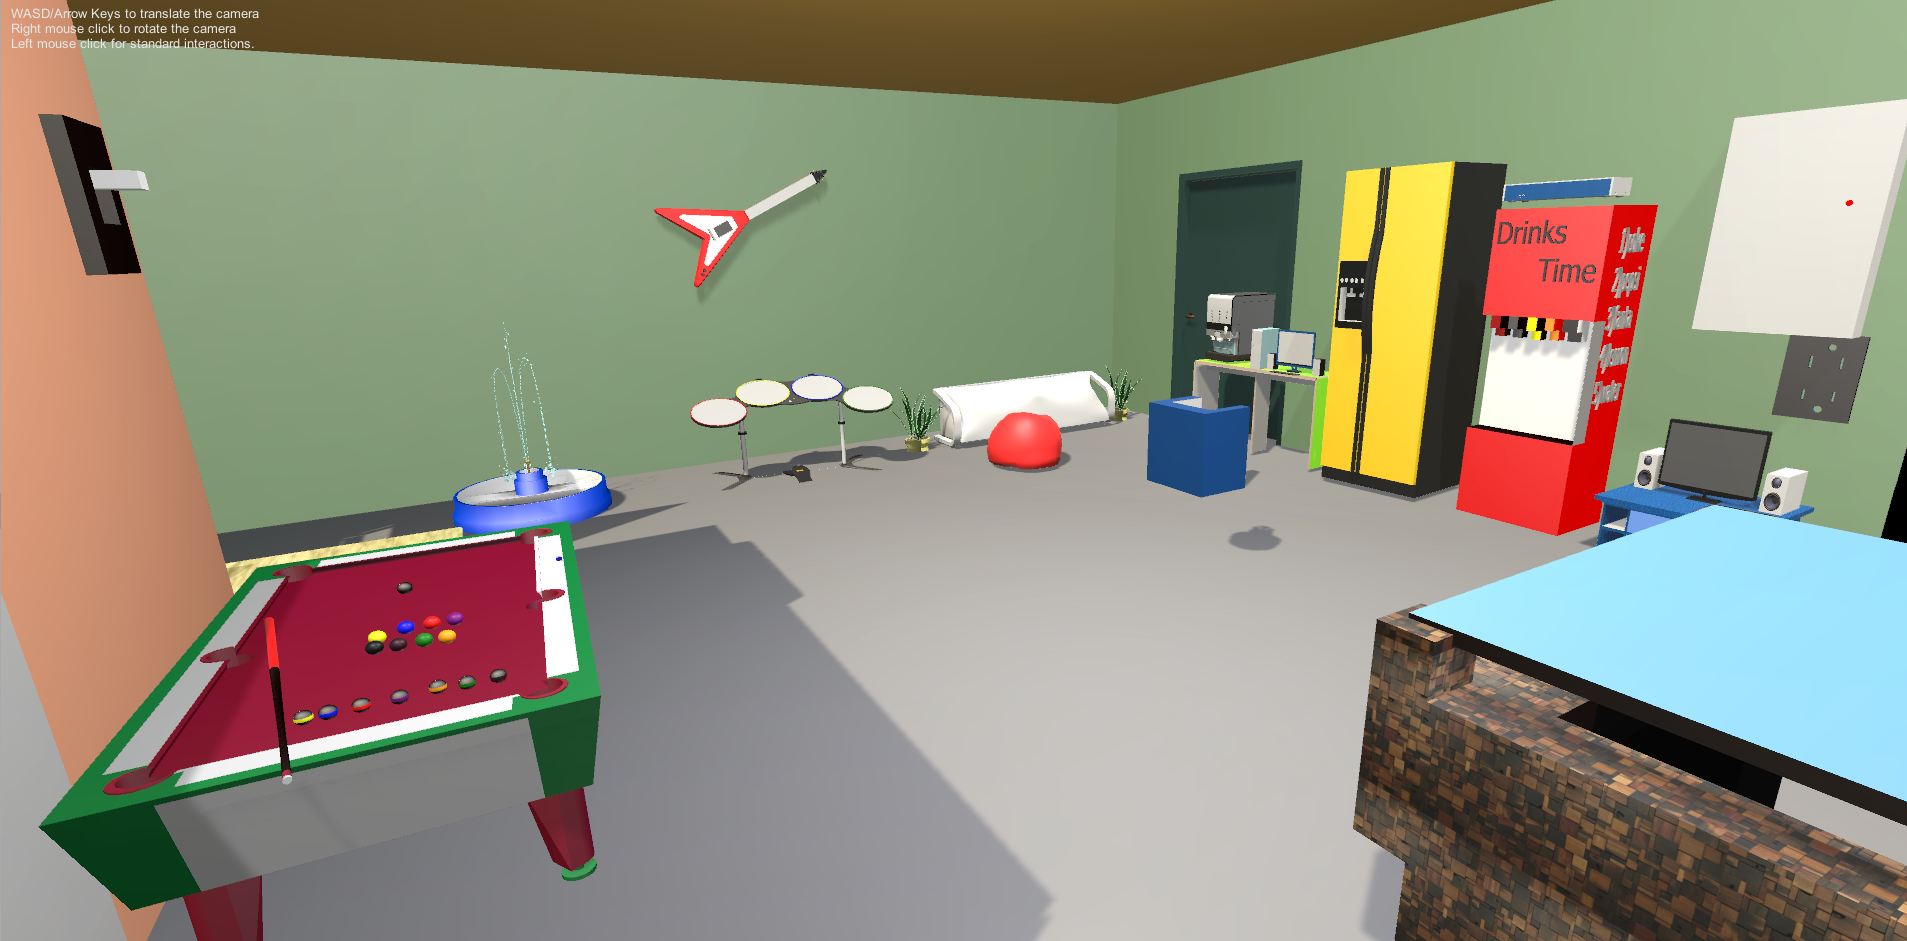 |