This project description should include
- Descriptive Title
- General description of the project including why VR or AR will be beneficial here
- Which hardware platform or platforms you want to develop your application for
- What software you plan to use to write the application
- Who is on your team (1-3 people teams) and what their roles in the project are
- Links to any datasets or libraries or archives of images or objects that you plan to use
Once you have your proposal ready you should then email the location of that web page to andy. I will then make links to all those projects available on the class webpages so everyone can see what everyone else is doing. Once andy approves of your project you move onto the implementation phase. Ideally people will spread out over the various hardware platforms but if there are too many requests to use the same hardware then the groups that get their proposals in first will have priority.
How to go about it:
These days its pretty trivial to lead in a bunch of models and walk around them. Its helps if the models are really pretty, but just walking around in a virtual or augmented space gets boring pretty fast. The main focus needs to be on the user's interaction with the virtual world.
Draw storyboards - the
first thing you must generate are storyboards. Draw pictures
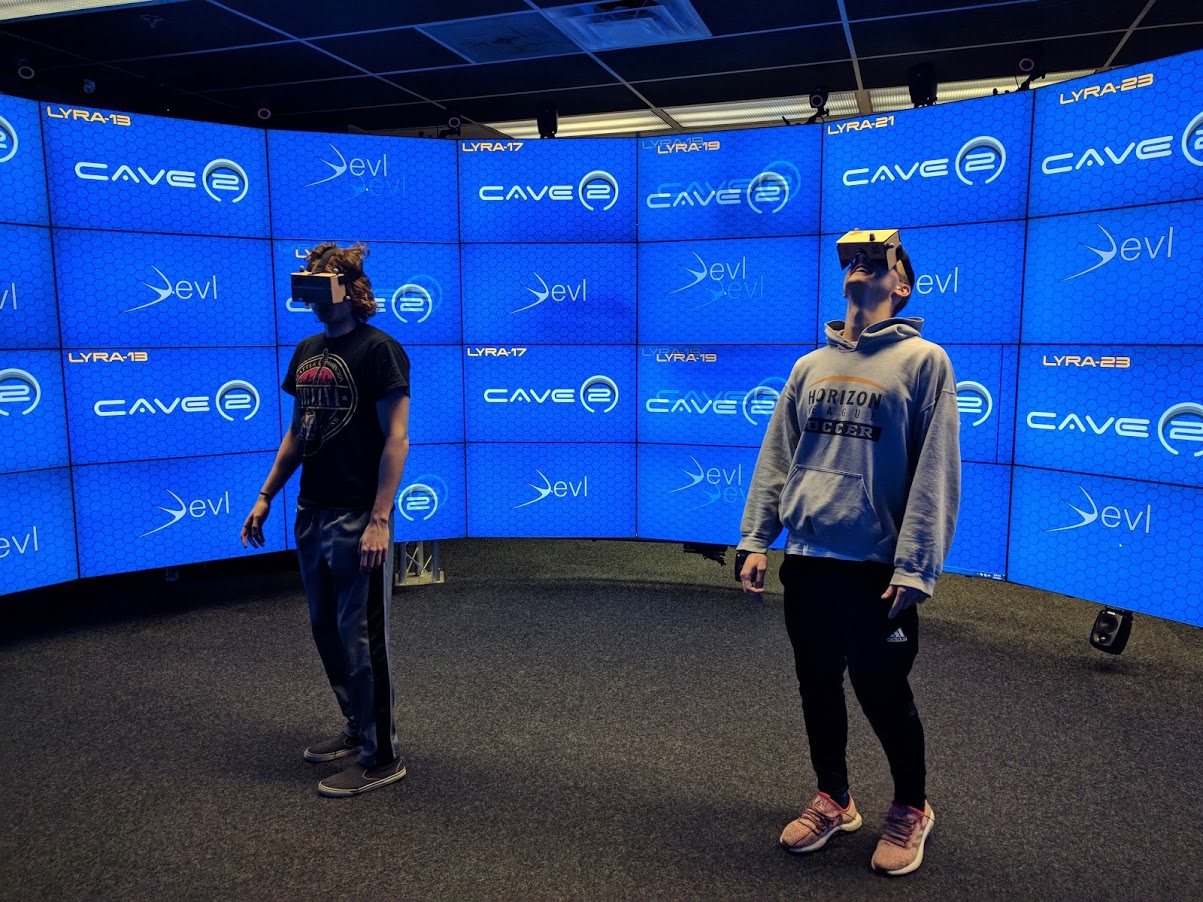
of the user standing in the CAVE or wearing an HMD or carrying
their phone as an AR device. Make it like a comic book. Each
panel has some action initiated by the user or the computer,
and the next panel has the response. Draw a series of these
storyboards for the common usage patterns. They should show
the flow of the experience. The storyboards do not need to be
pretty, or realistic looking. They are there to help you
organize your thoughts on the experience. You want to mentally
visualize the person interacting with your application - where
will the user have problems?
Learn by doing - the flip side of drawing storyboards, which show what you want to do, is knowing what you CAN do in a given library / language. Write small programs. Try out simple versions of your ideas quickly to see if you are on the right track. A spiral development model works much better than a waterfall model in developing VR applications.
Focus on the user - see the application from the user's point of view, not the programmer's point of view. The user doesn't see the code. The user doesn't care how clever you did something. All the user sees is the end product.
Don't forget audio - ambient sounds and/or music are a good way to create mood and increase the sense of presence. Incidental sounds are a very good way of giving the user feedback (but its usually good to give visual feedback as well)
Play to your strengths -
in the case of VR remember that you have a user who is head
and hand tracked who holds one or more wands, but has no
access to a keyboard. Create worlds where the user has natural
interactions with his/her body. Also remember that the user
has stereo visuals. Create worlds that surrounded the user;
create worlds where the user interacts with virtual objects.
in the case of AR make use of things in the real environment,
especially tables, floors, walls and other flat surfaces.
Decide on the Physical laws - decide early whether there is gravity in your world, whether the user can fly, whether the user can walk through objects, what size the user is, how fast the user can move, etc.
Choose your preferred display platform - decide if you are writing a piece for a CAVE or a tablet or an HMD or whatever and focus on the strengths of that platform.
Test on the real display - desktop simulators are nice for testing your application but there is no substitute for regularly trying things out in a tracked full-scale 3D environment like. Interaction with a tracked hand is very difficult to simulate on the desktop. Movement speeds are hard to judge in the simulator - the speed may be very different when you are interacting on the real device.
Get lots of feedback -
Once you have something working, ask others for feedback and
LISTEN to them. Its very easy to come up with an interface
which makes complete sense to you but makes no sense to anyone
else. In most cases you are not writing the interface for
yourself, so listen to your audience, especially if they 'just
don't get it".
Make sure it works - your application must not crash. No matter what the user does, your application must not crash. Its better to have less functionality that you are sure will function correctly.
Get permissions - be sure to get permissions to use anything (images, models, sounds) that you don't create yourself. Don't steal.
Create reusable modules - if you are going to continue building VR worlds / interfaces then think about making things reusable - there are many things that you will be doing over and over again so its better to write them once and reuse them.
Focus on collaboration early - if the application is going to be collaborative or may be collaborative then focus on collaboration from the start. Its difficult to make an application once it has already been created.
Turning in the Project
You will need to be able to turn in your project so it can be run in the lab or near the lab.
You should create a set of public web pages (available to anyone for at least the duration of the course) that describe your work on the project. You can host your web pages at UIC (http://people.uic.edu) or the provider of your choice, as long as they remain publicly available to all. You can use any publicly available templates as long as you cite them, or create your own.
These pages should include:
- description of how to
use your application and the things you can do with it
- links to all the source
code and any assets (models, textures) that you used along
with instructions on how to build your application on the
classroom PC.
all of which should have plenty of screenshots with meaningful captions. Web pages like this can be very helpful later on in helping you build up a portfolio of your work when you start looking for a job so please put some effort into it.
You should also create a 2-3 minute YouTube video showing the use of your application including narration with decent audio quality. That video should be in a very obvious place on your main project web page. The easiest way to do this is to interact with the video in the classroom or the EVL main lab in front of the screen showing what you are seeing - this way people watching can see you interacting and what you are seeing. You can try to narrate while interacting but you will most likely find its useful to do some editing afterwards to tighten the video up.
The web page including screen snapshots and video need to be done by the deadline so be sure to leave enough time to get that work done. Once you have your webpage done, send the URL to Andy before the deadline. I will respond to this email as your 'receipt'. I will be linking your web page to the course notes so please send me a nice representative jpg or png image of your application for the web. This should be named p3.<your_last_name>.<your_first_name>.jpg or p3.<your_last_name>.<your_first_name>.png and be roughly 1024 x 768 in size.
Presenting the Project
An important part of creating VR and AR applications is getting feedback and using it to improve your design.
We will be spending time in class for each person to show off their work.
Teams
| 1 - Th |
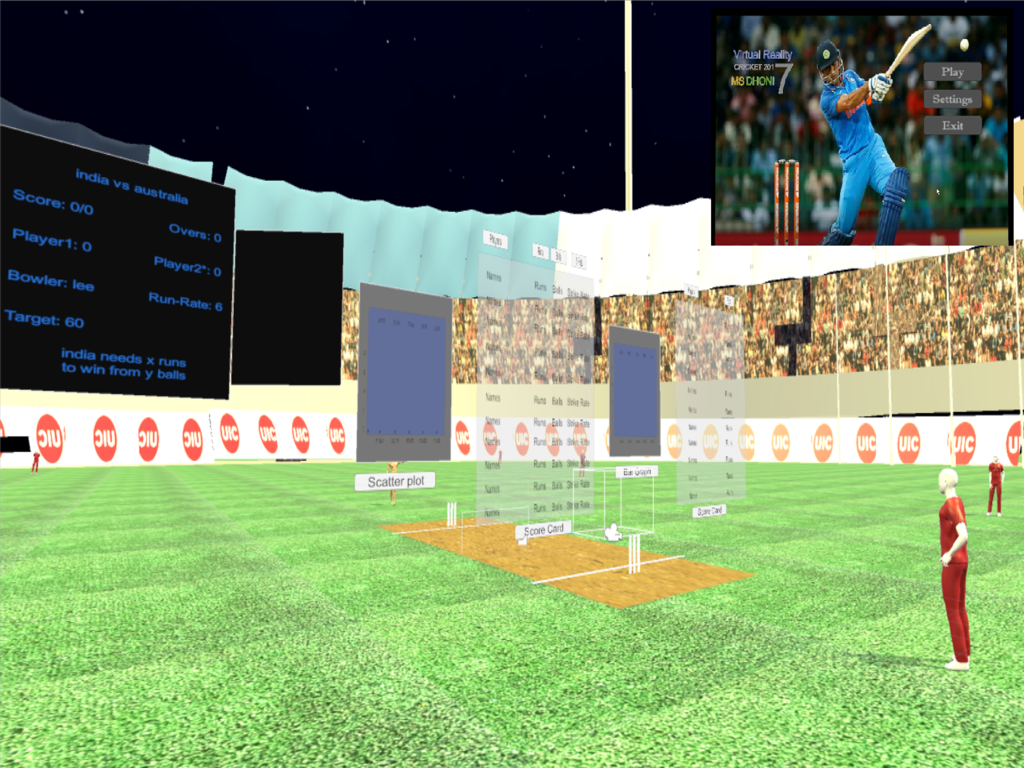
Belde Arisetty Rane |
Cricket
2017 in VR |
link link |
 |
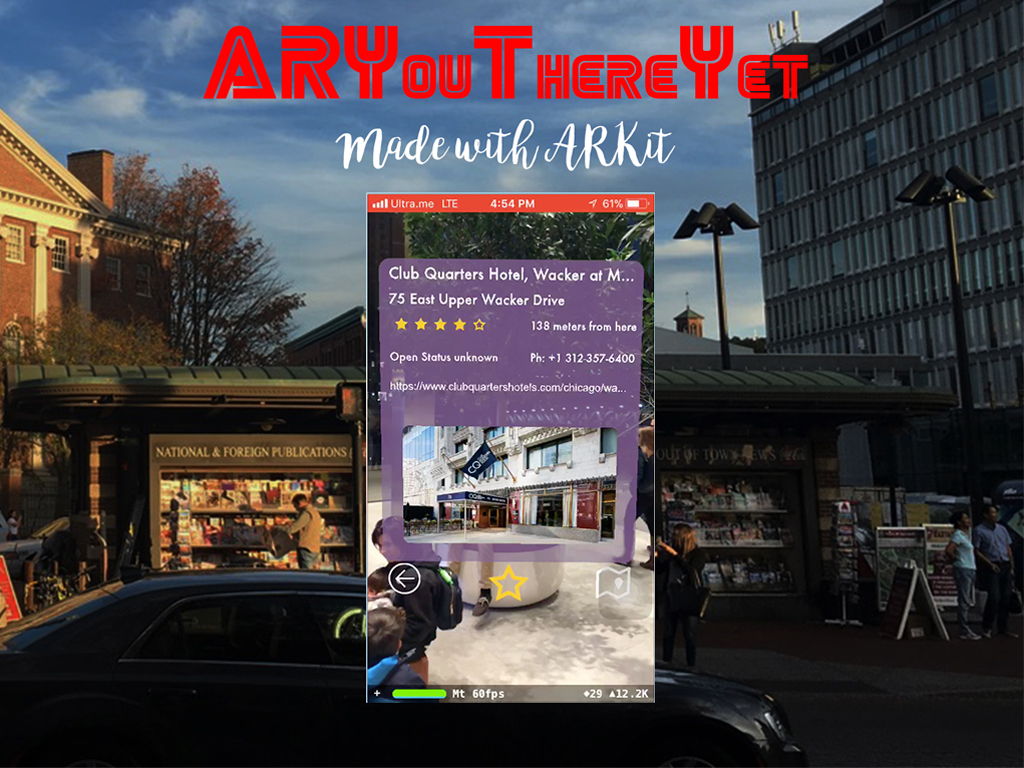
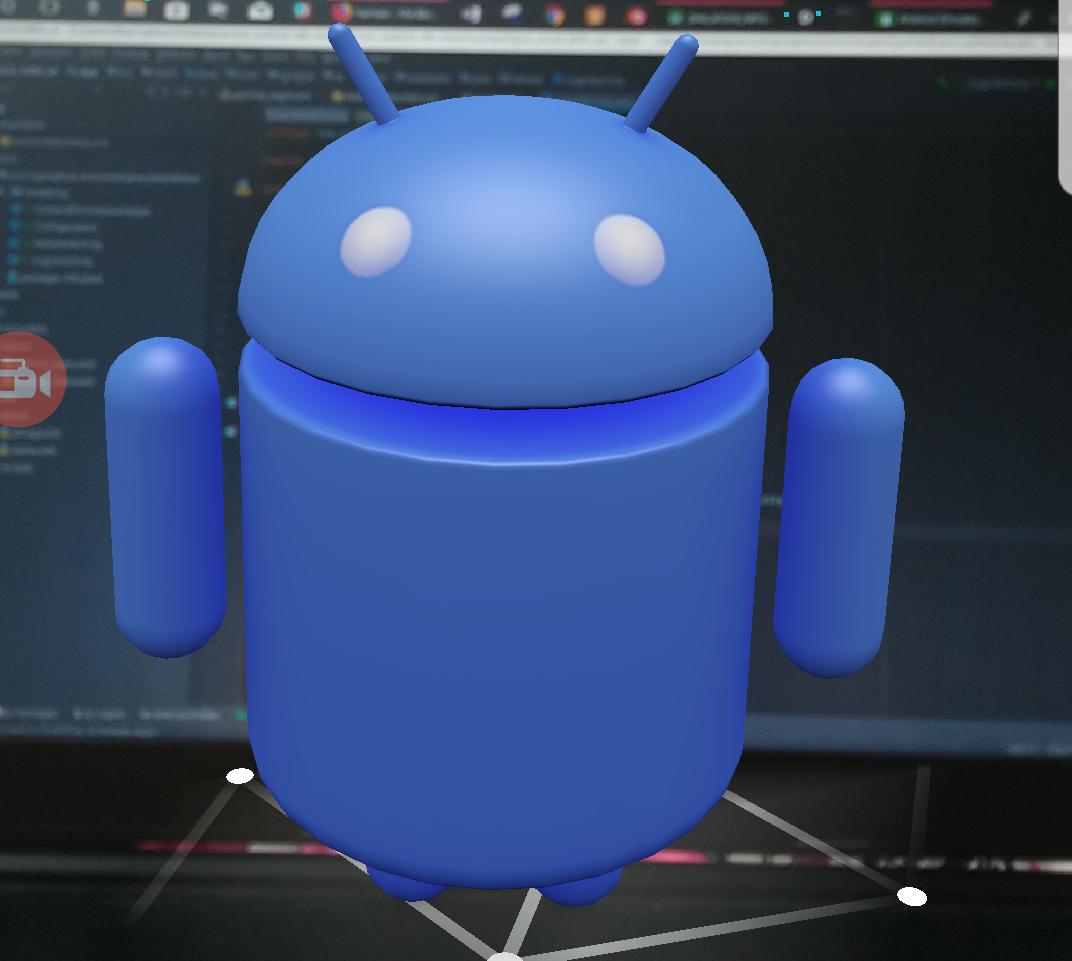
| 2 - Th | Kaushik Bhoi Joshi |
ARYouThereYet |
link link link link |
 |
| 3 - Th | Amico |
RoomPathY |
link link |
 |
| 4 - T |
Jyothula Pandiarajan Mascarenhas |
Breakout |
link link |
 |
| 5 - T |
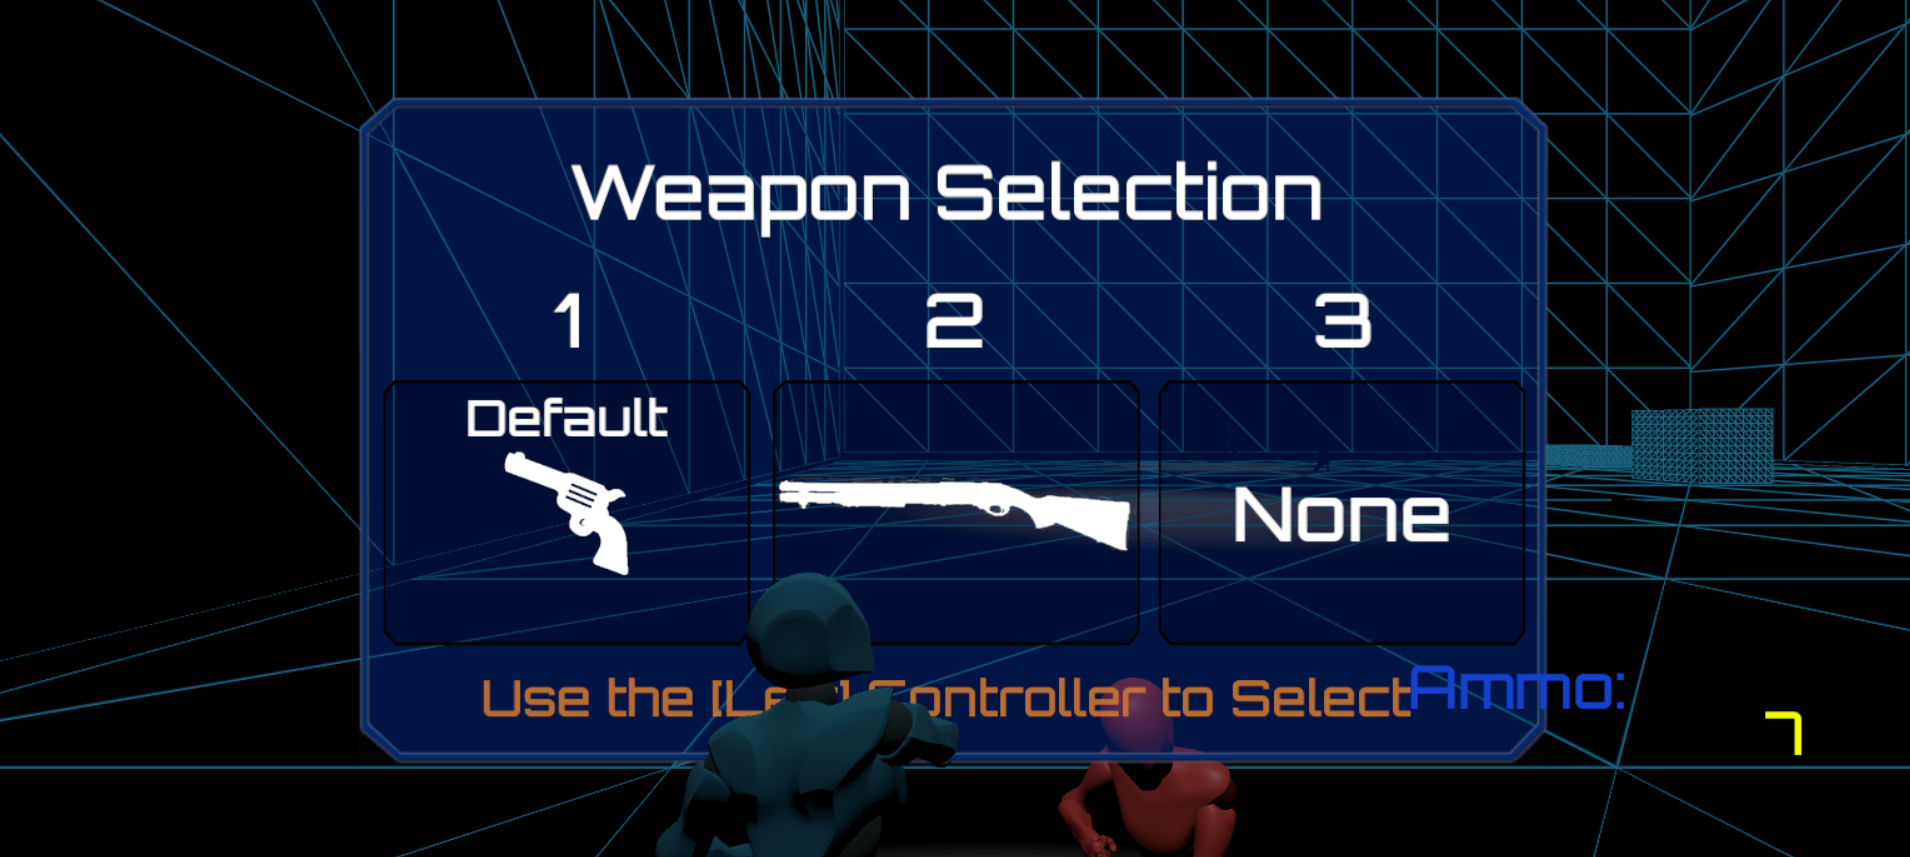
Tran Donayre Le |
On-Rails
First Person Shooter |
link |
 |
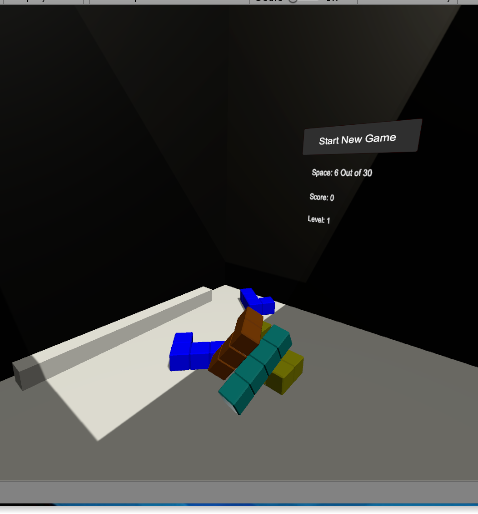
| 6 - T |
Leonova |
TetrisVR |
link link |
 |
| 7 - T |
Choh |
HoloLens
Collaborative Office |
link link |
- |
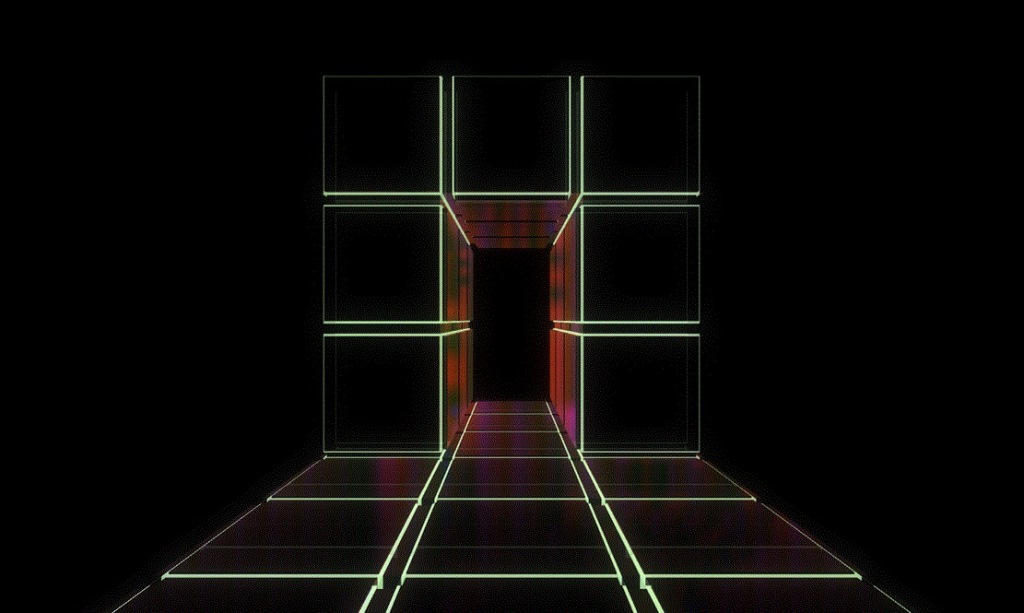
| 8 - Th | Salinas |
Netrunner |
link link |
 |
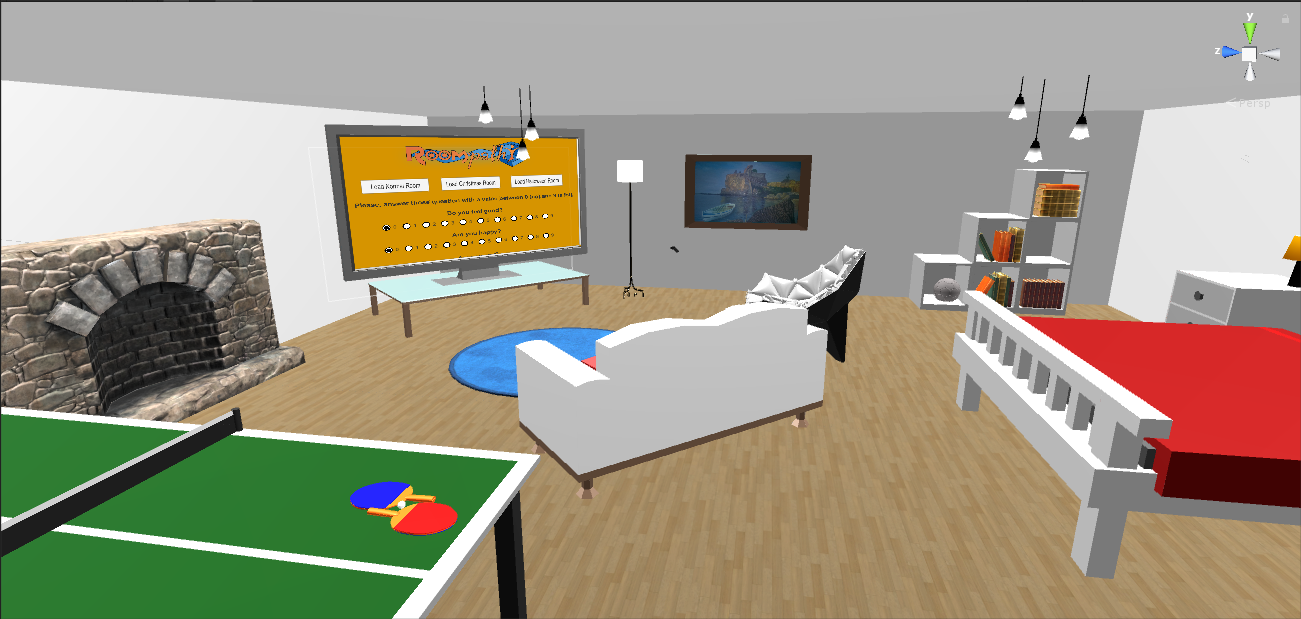
| 9 - Th | Sakhnini |
Emotions
AR |
link |
 |
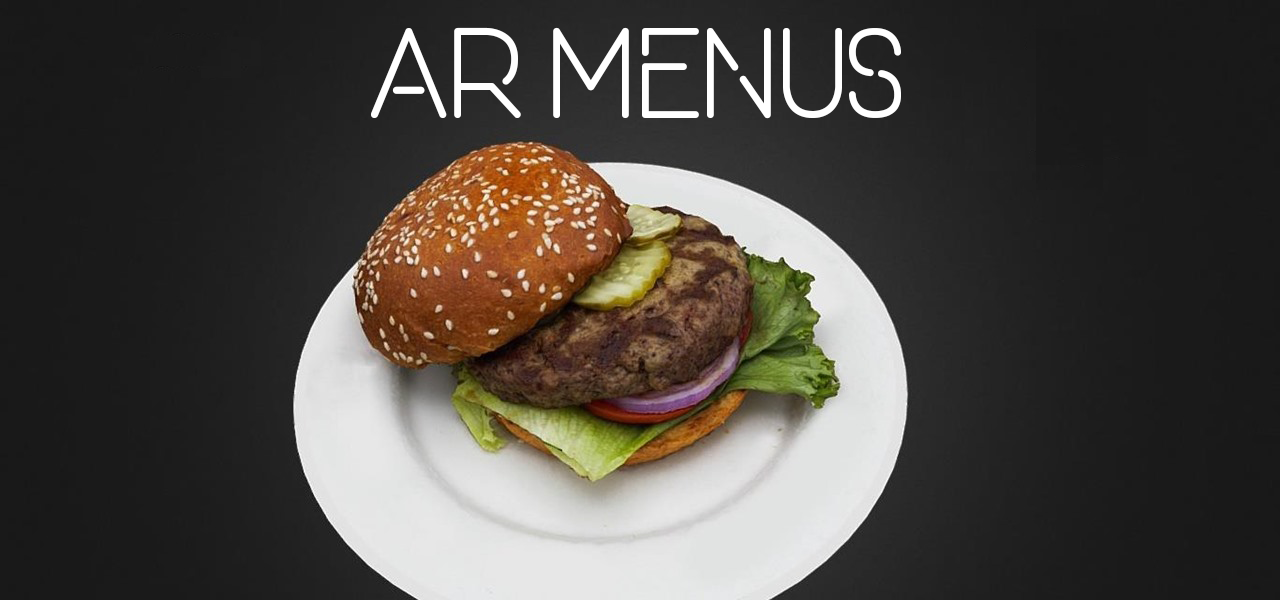
| 10 - Th | Mantovani
Marcantoni Monna |
Restaurant
Menus in AR |
link link |
 |
| 11 - Th | Hanula |
Troglo- |
link |
 |
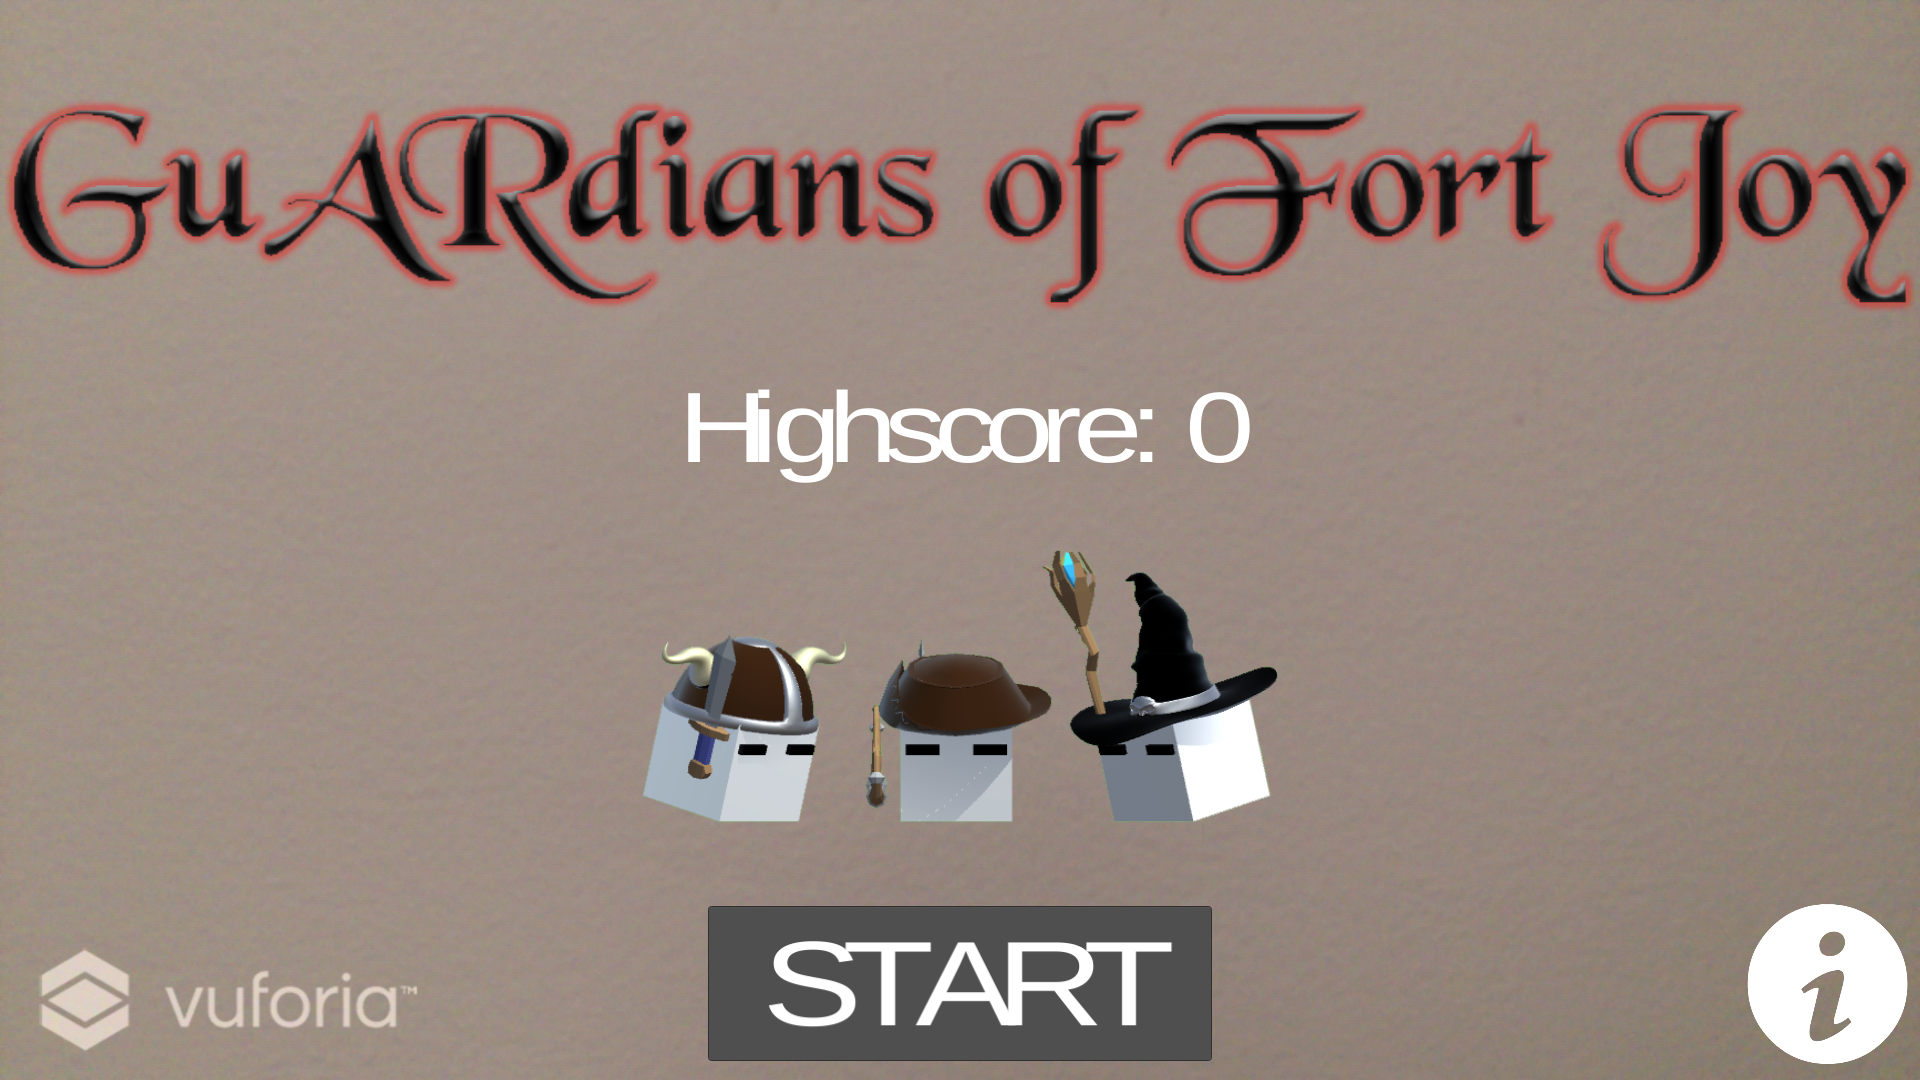
| 12 - T |
Kupiec Kirilov |
GuARdians
of Fort Joy |
link link link |
 |
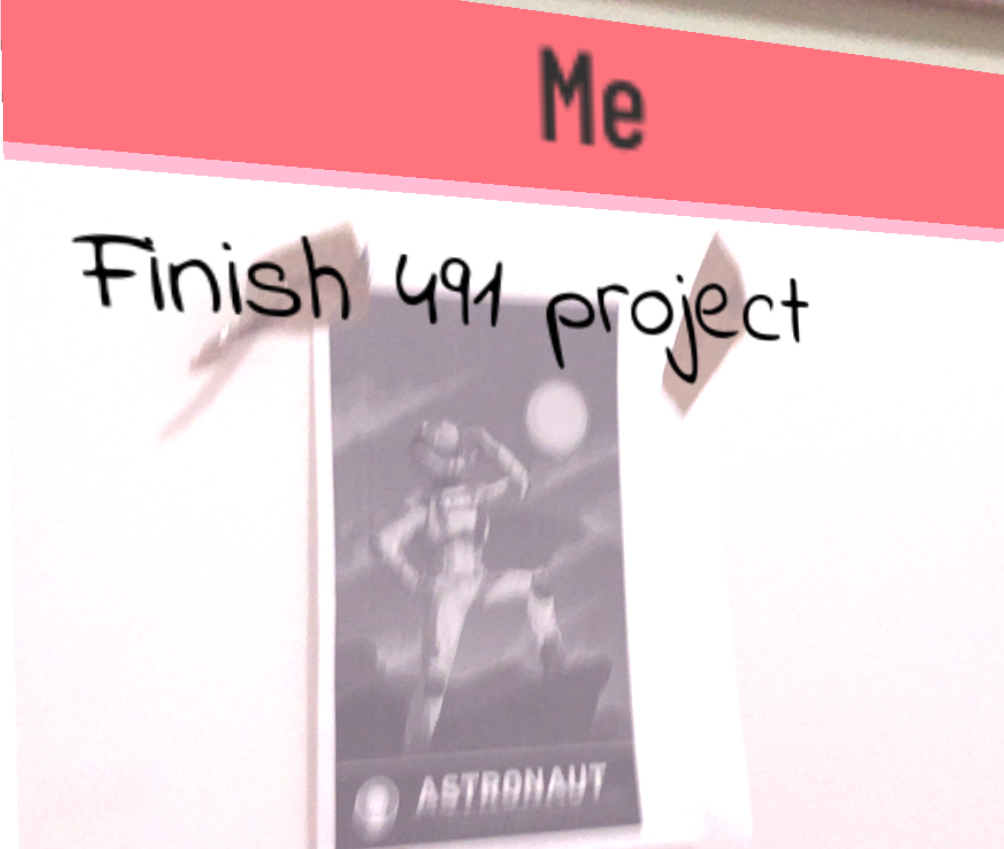
| 13 - Th | Lindmae |
A
Reminder |
link |
 |
| 14 - T |
Mohammad |
Image
Reconstruction Pictogram |
link |
|
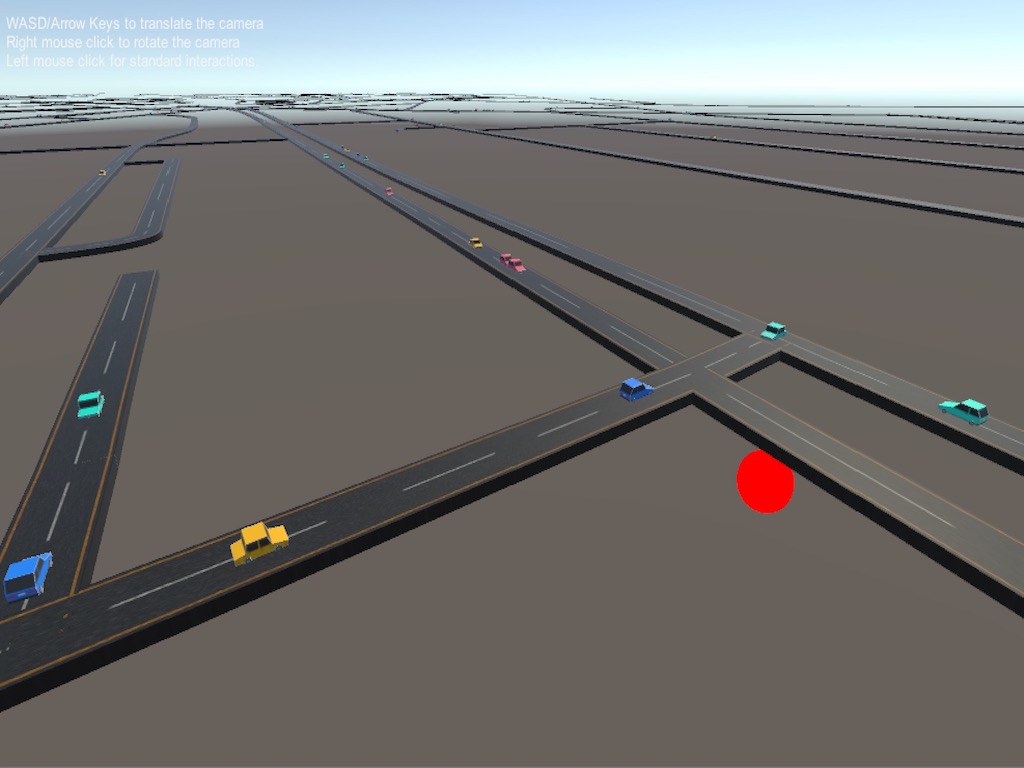
| 15 - Th | Zalenski Poulos Hopp |
Traffix |
link link |
 |
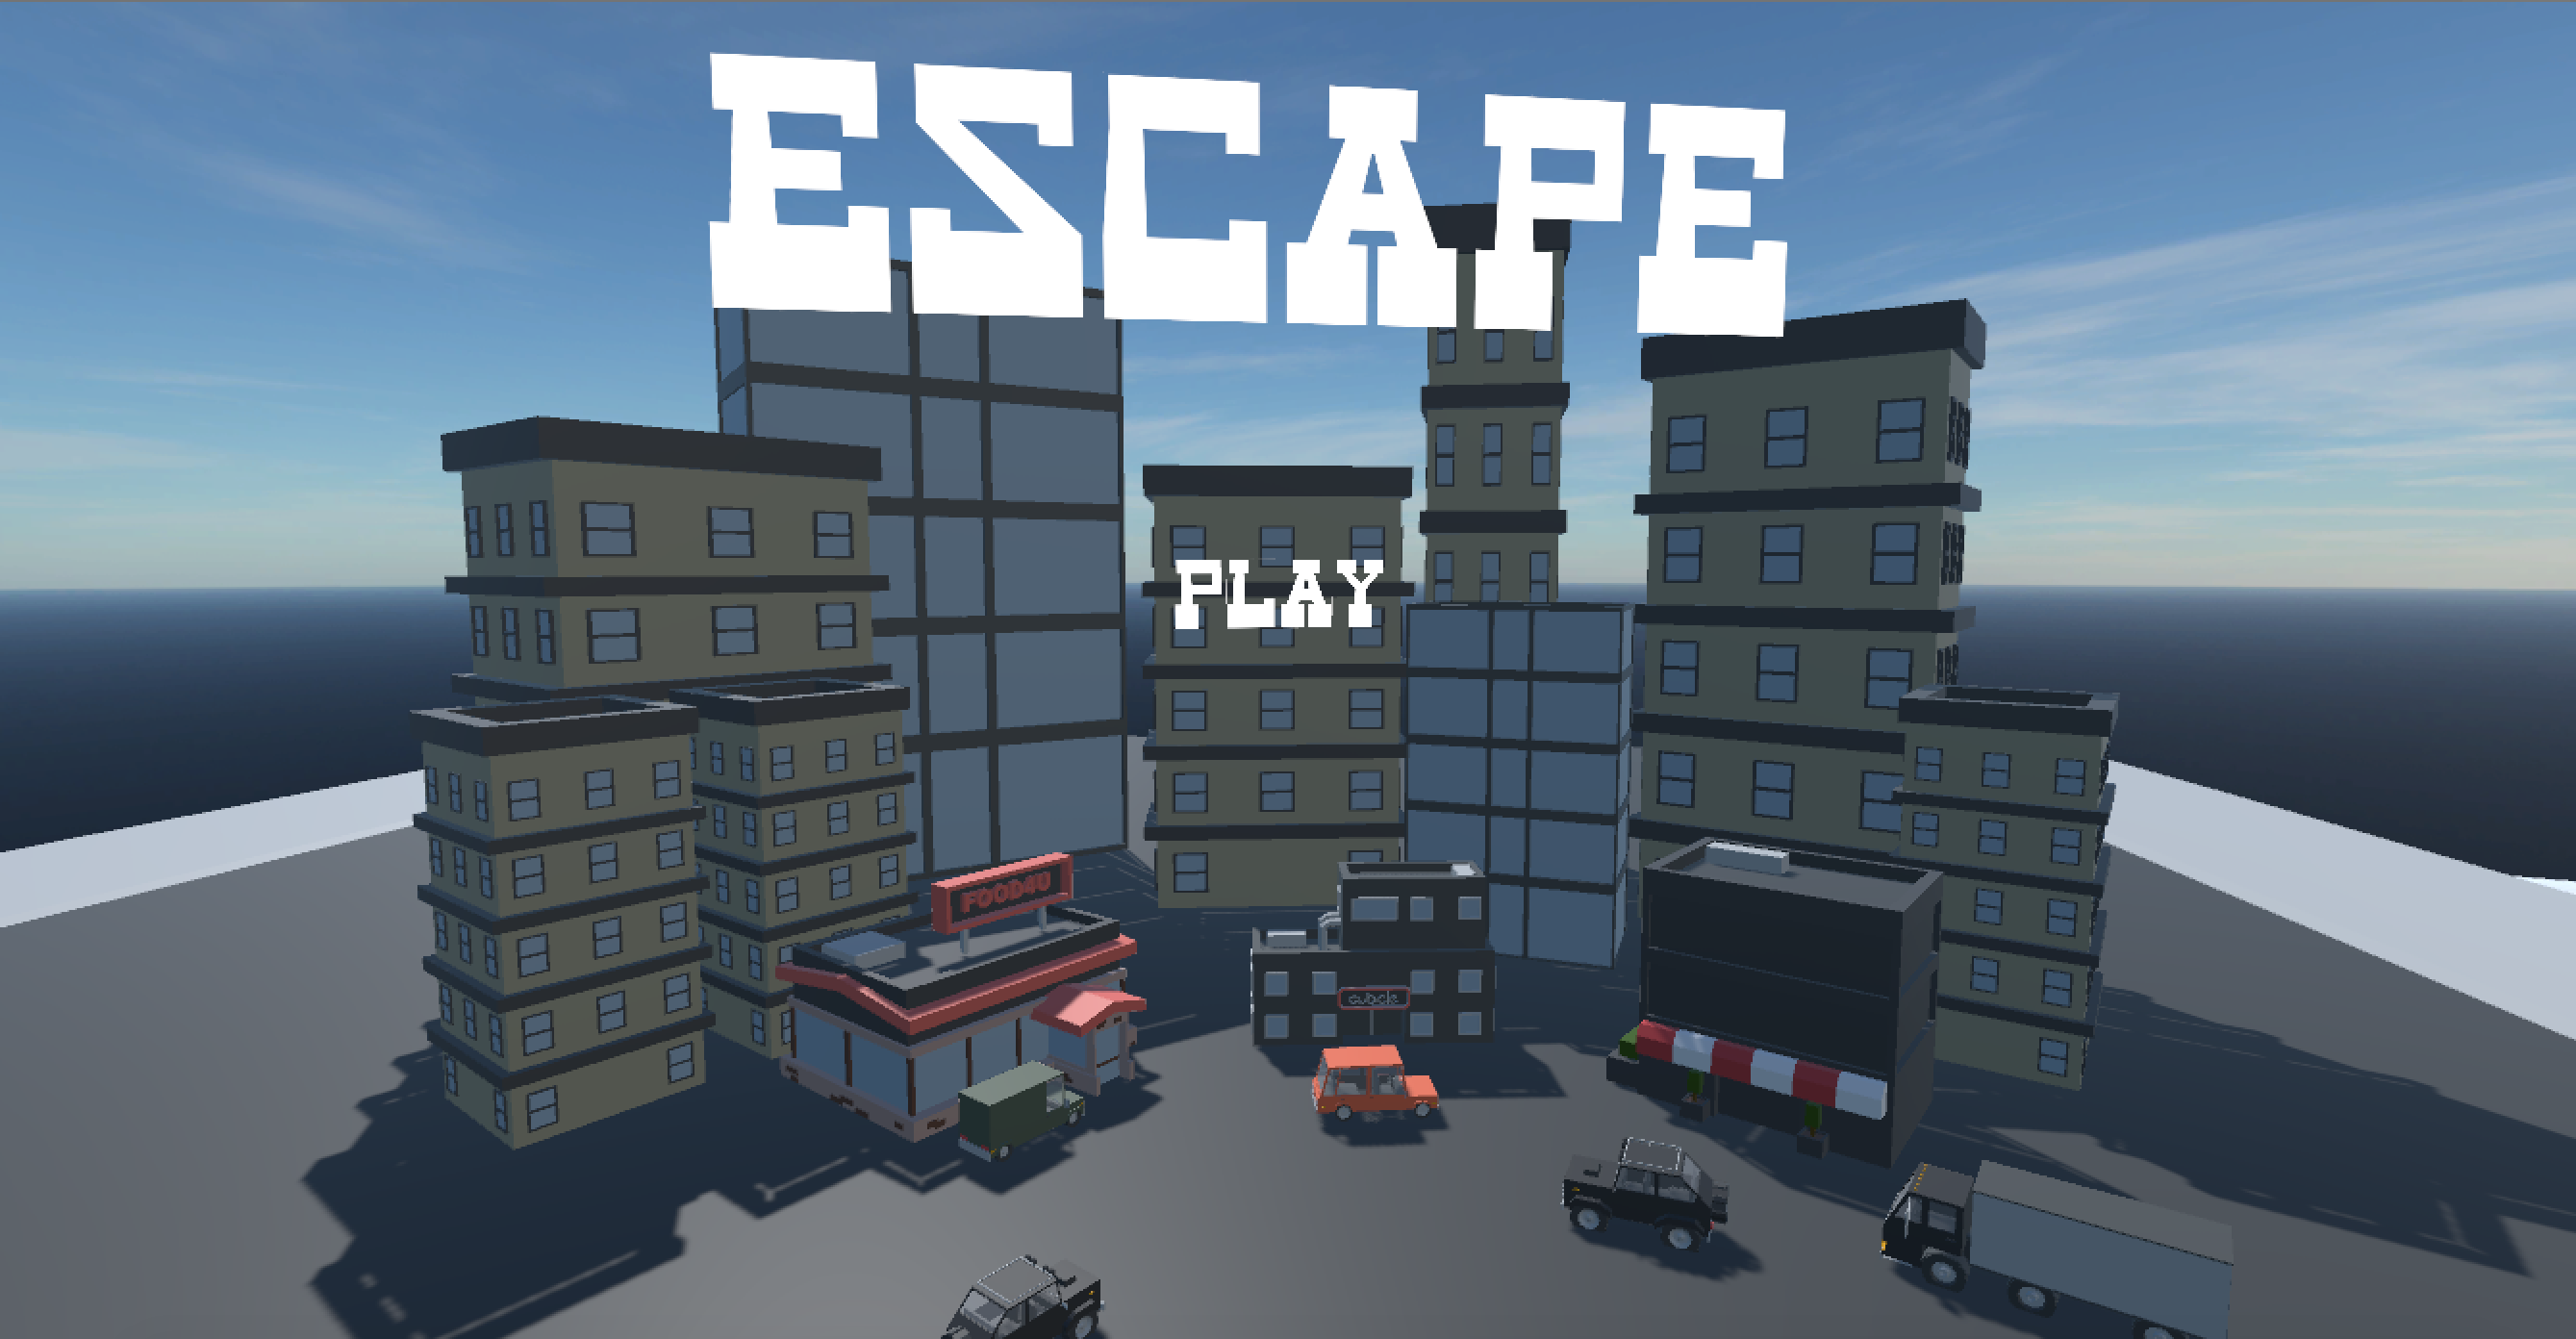
| 16 - Th | Cueto Choi Galante |
Escape
Room |
link |
 |
| 17 - T |
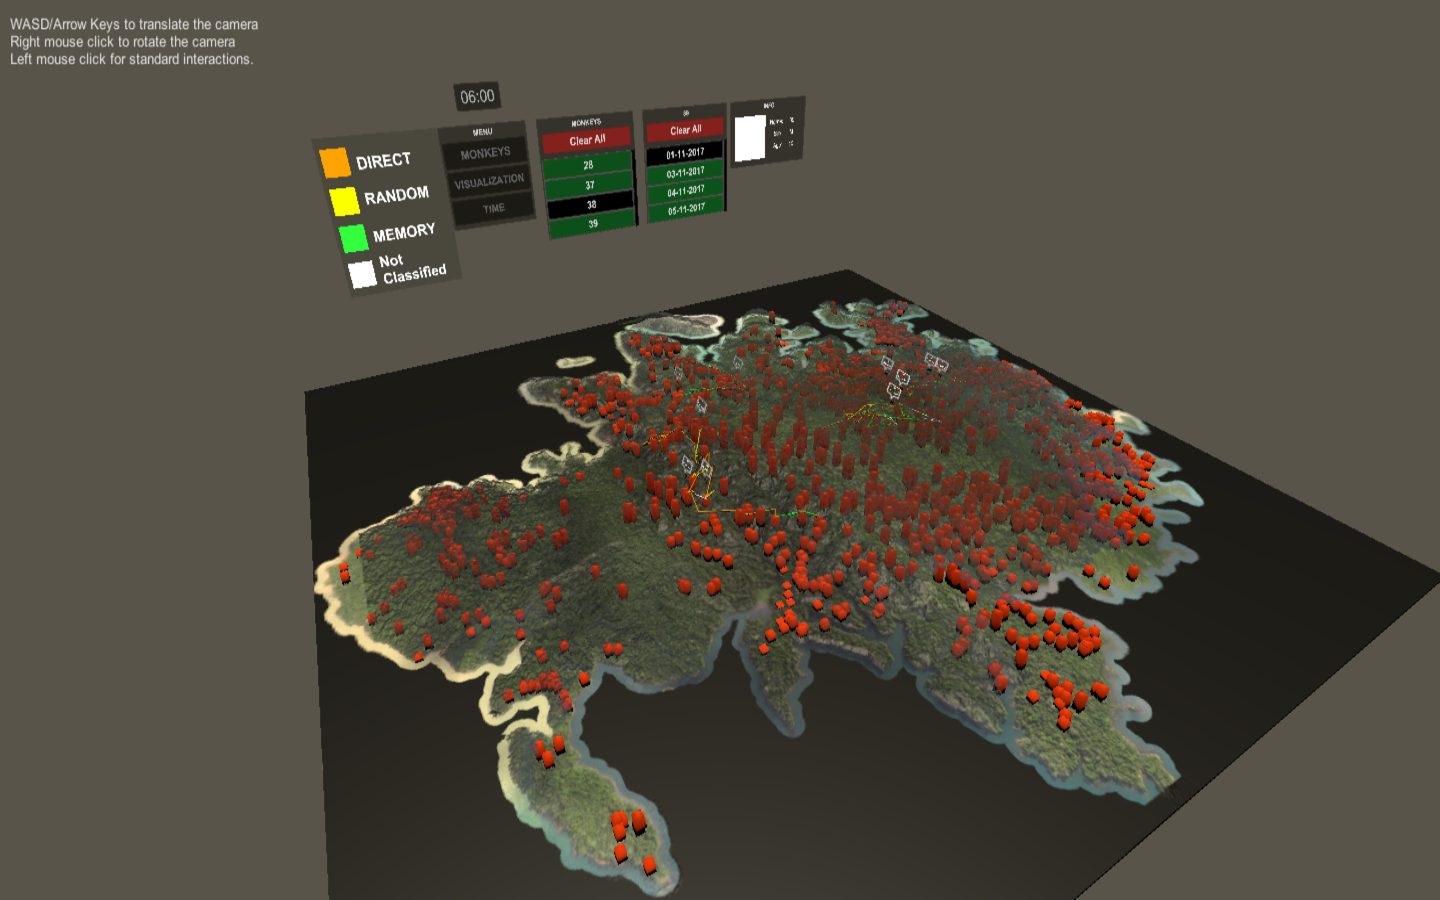
Foglio Milanta |
Isla
Barro Colorado |
link link |
 |
| 18 - T |
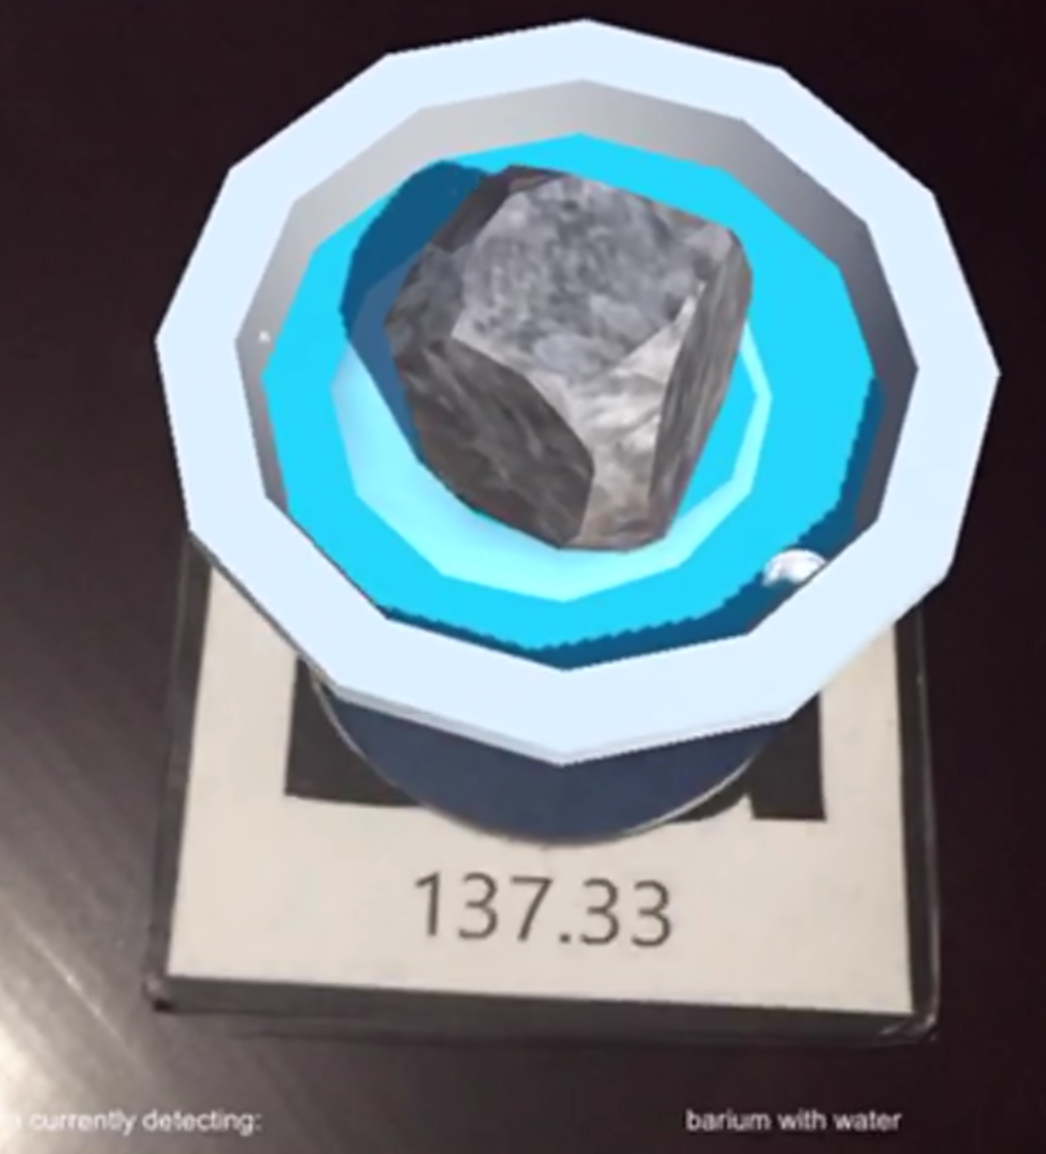
Auza |
Chemical
Reactions |
link link |
 |
| 19 - T |
Alsaiari Alvarez |
Augmented
Smart Classroom |
link link |
- |
| 20 - T |
Burks |
Infosphere |
link |
- |
| 21 - Th | Melo |
Traveler's
Adventure |
link |
|
| 22 - T |
Di |
3D
sculpting |
link link |
- |