Project 1 is focused on Augmented Reality at the
table-top scale. In the future when everyone is wearing their AR
enabled eye-wear most of the time, what kind of future will it
be? Will it be a glorious information-rich world or an
advertising nightmare. We are going to explore this a bit by
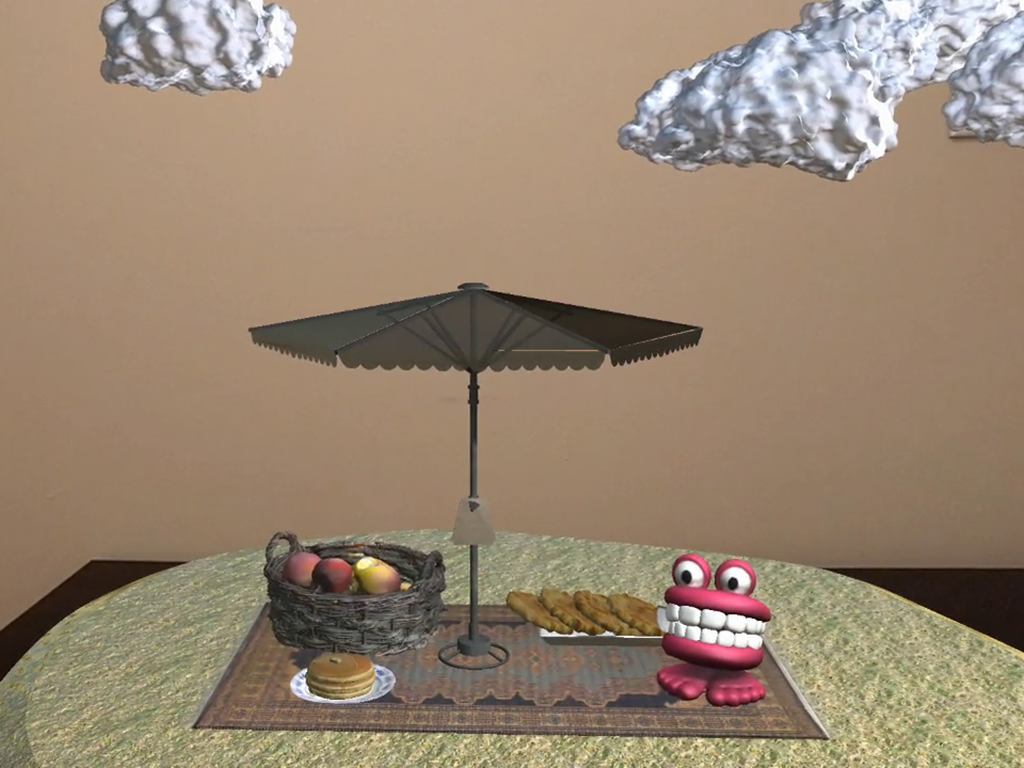
looking into what breakfast might become in this new world.
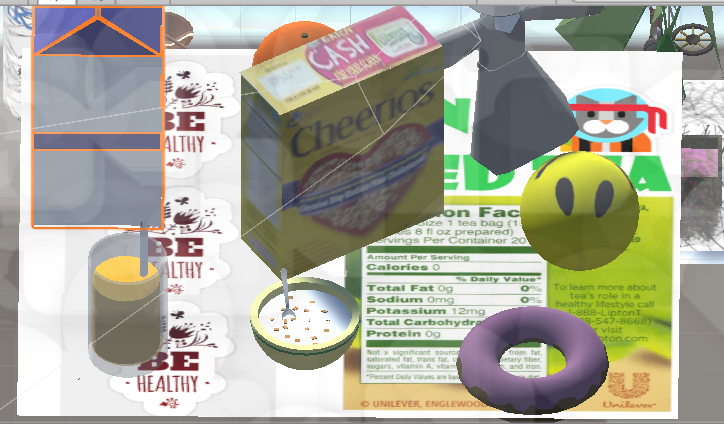
Right now you may have a place mat, a box of cereal, a carton of
milk, a can of juice, each with their own graphics, but what if
those objects were to be more aggressive in trying to get your
attention? Or, what if the place mat was trying to get you to
eat healthy by giving you the nutritional information on what
you are eating?
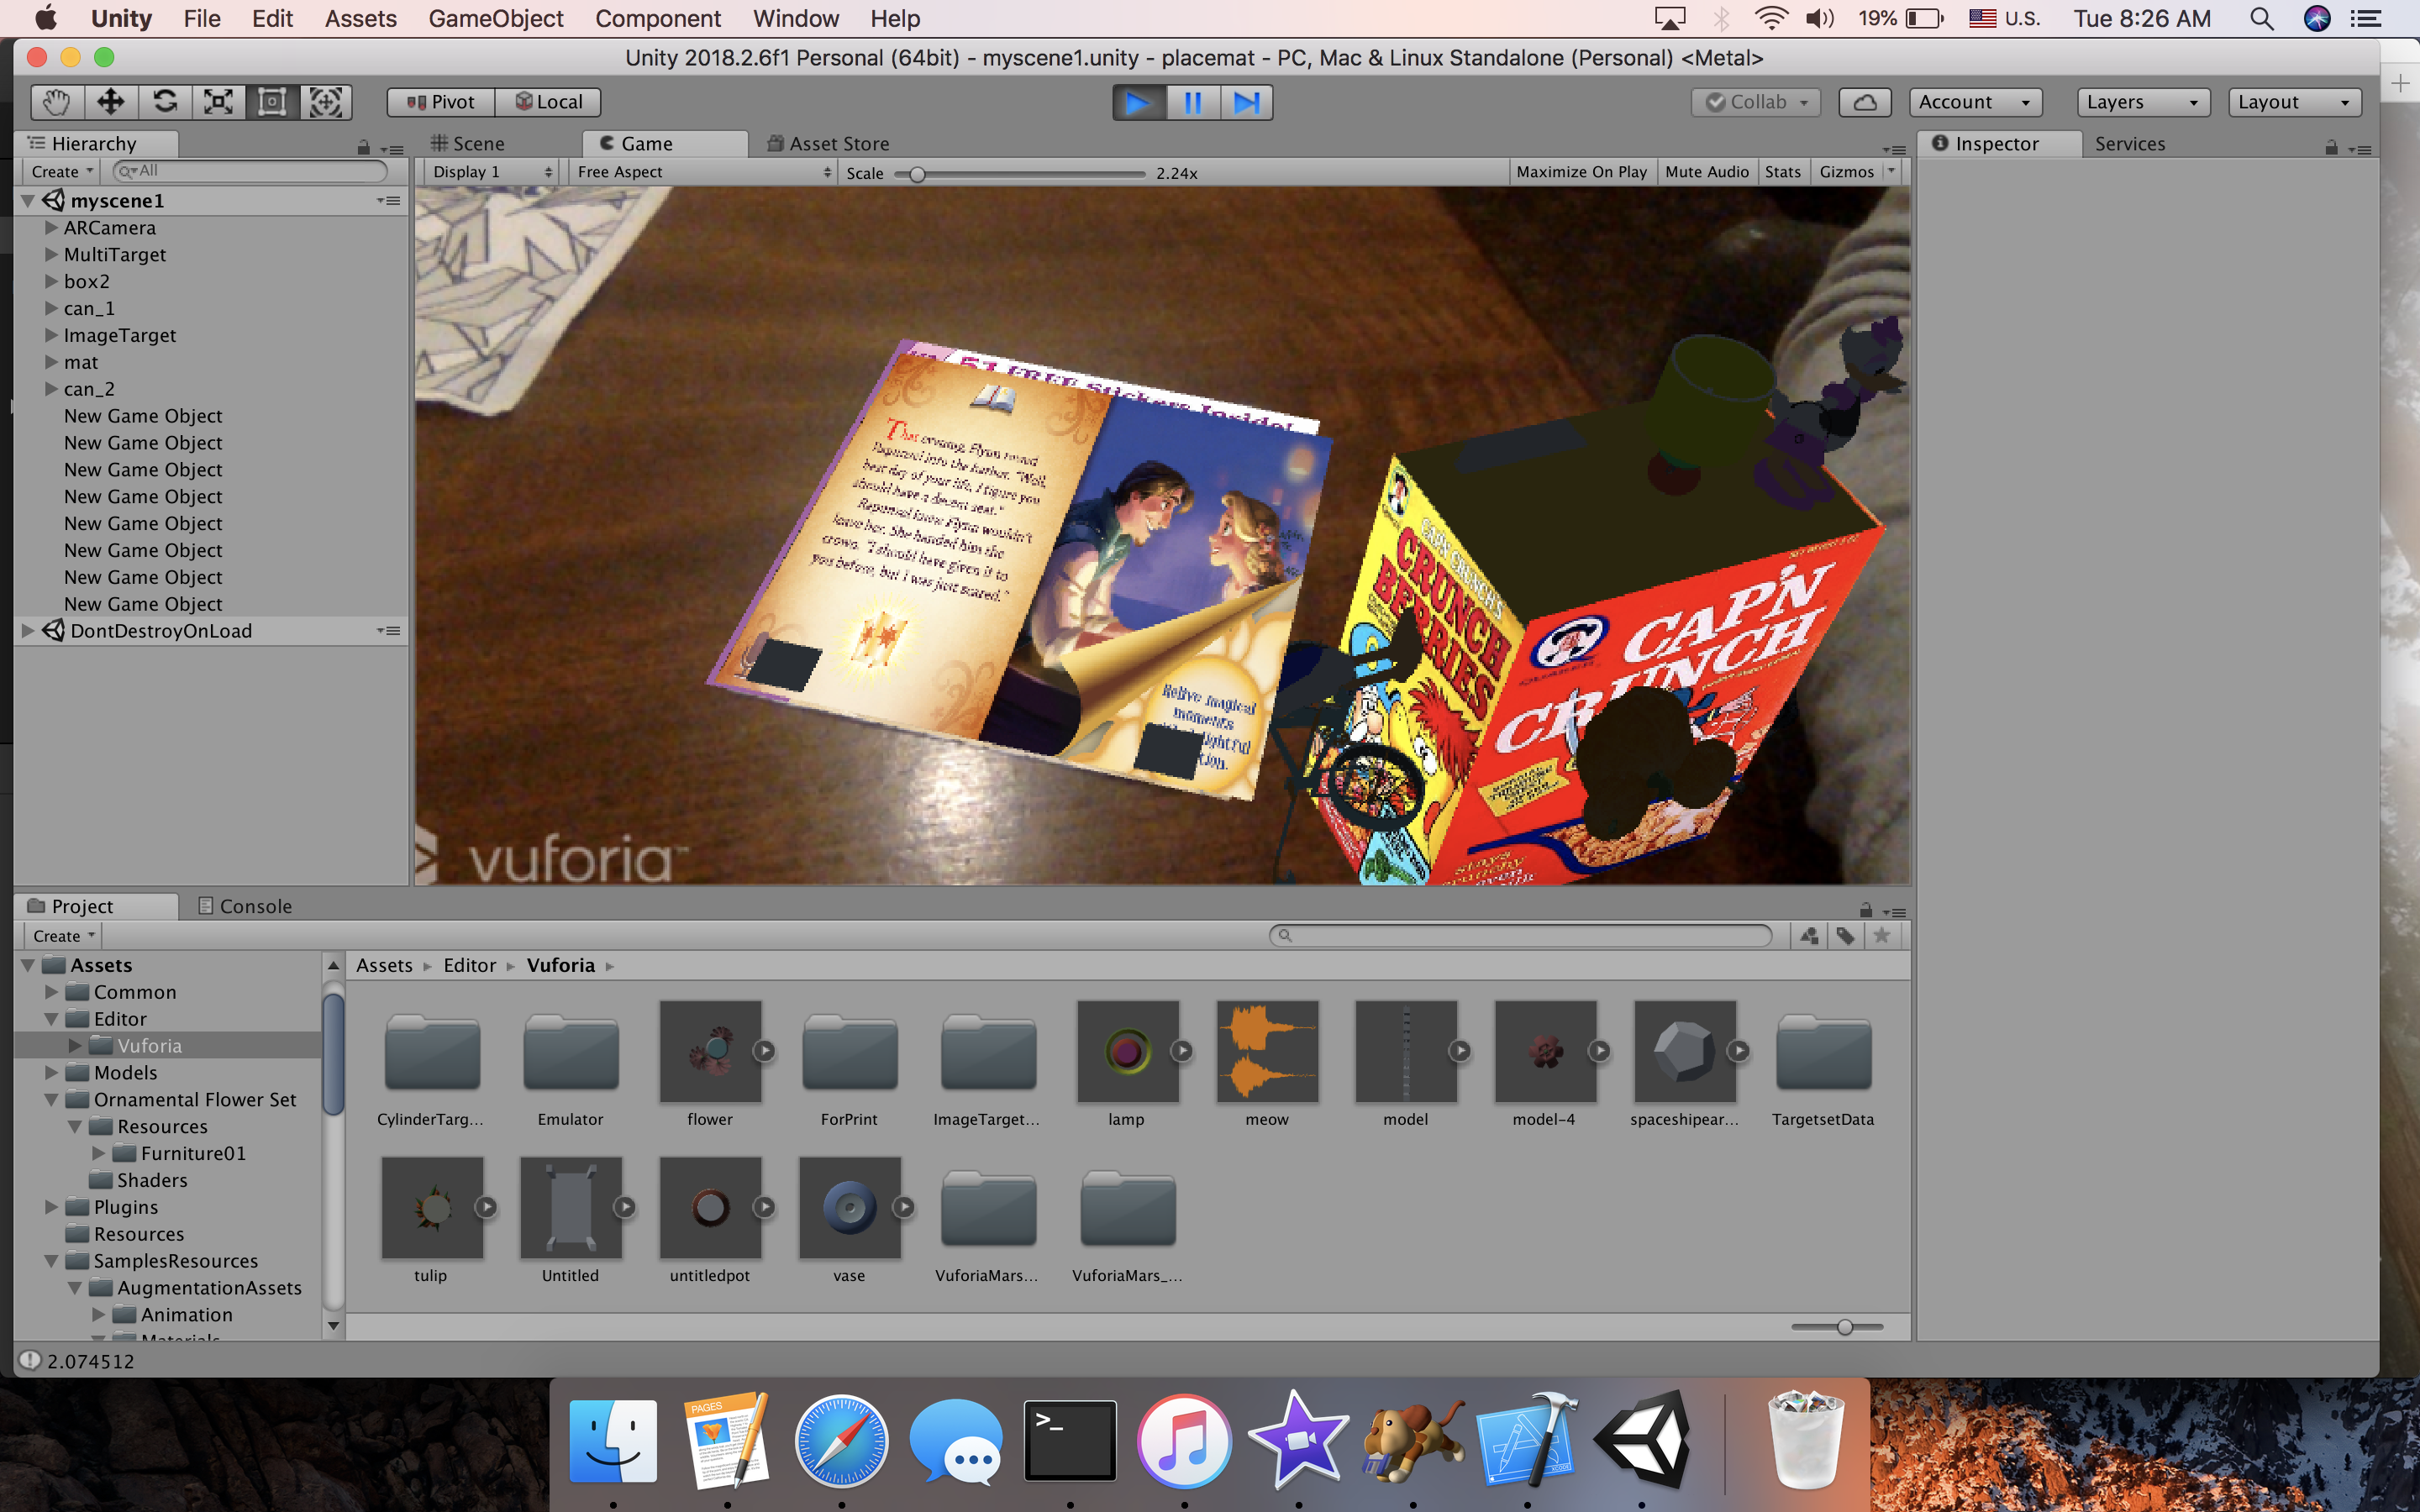
This project will give you
some experience writing an Augmented Reality application using
Unity3D and Vuforia, and let you experience what this kind of
augmented world will be like. There are details on Unity3D and
Vuforial in the week 2 notes.
In the future people would be
wearing lightweight trendy glasses, or contact lenses, or ocular
implants, but for now we are going to use a webcam attached to a
computer to simulate these glasses, which also gives a common
platform for evaluating your work. Make sure you have regular
access to a modern webcam that you can plug into your
development computer. There will be a webcam available on the
classroom computer for testing. There are also several apps out
there that let you use your smartphone as a webcam, so you may
also want to try those (e.g. DroidCam)
Implementing the
Project
This project can be done
either as an individual project or in a group of 2. The
requirements below are per person, so if you are
in a two person team you need to double these
requirements. As soon as you have formed your
group (even if it is just a 1-person group) send an email
to andy so he can approve it.
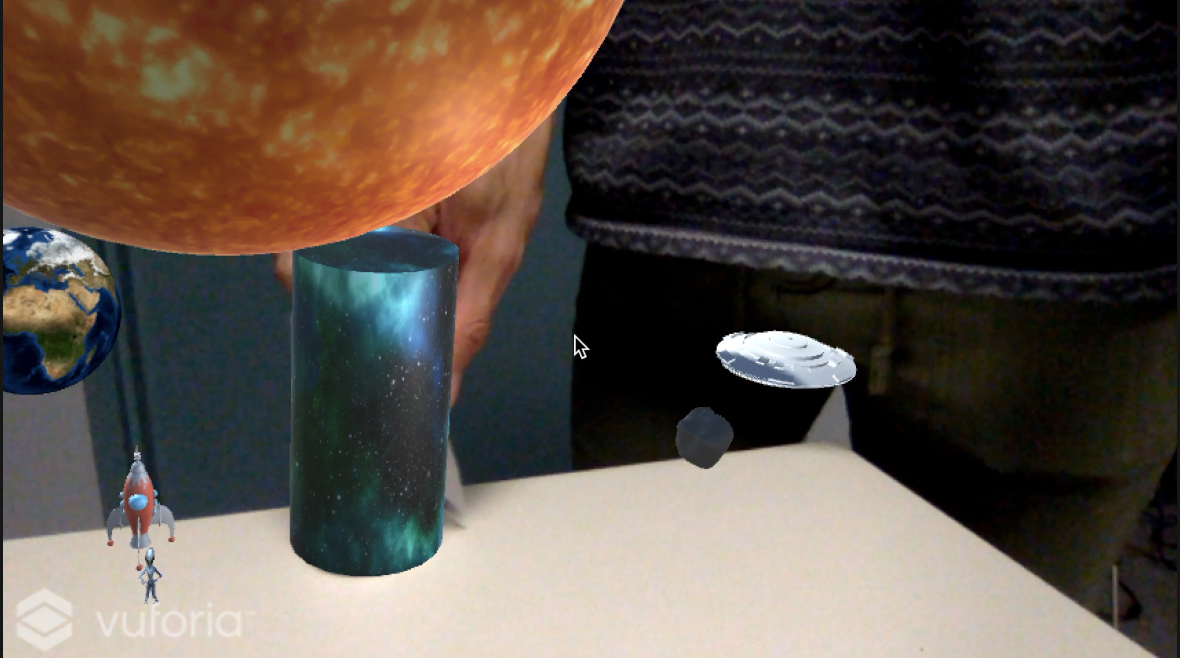
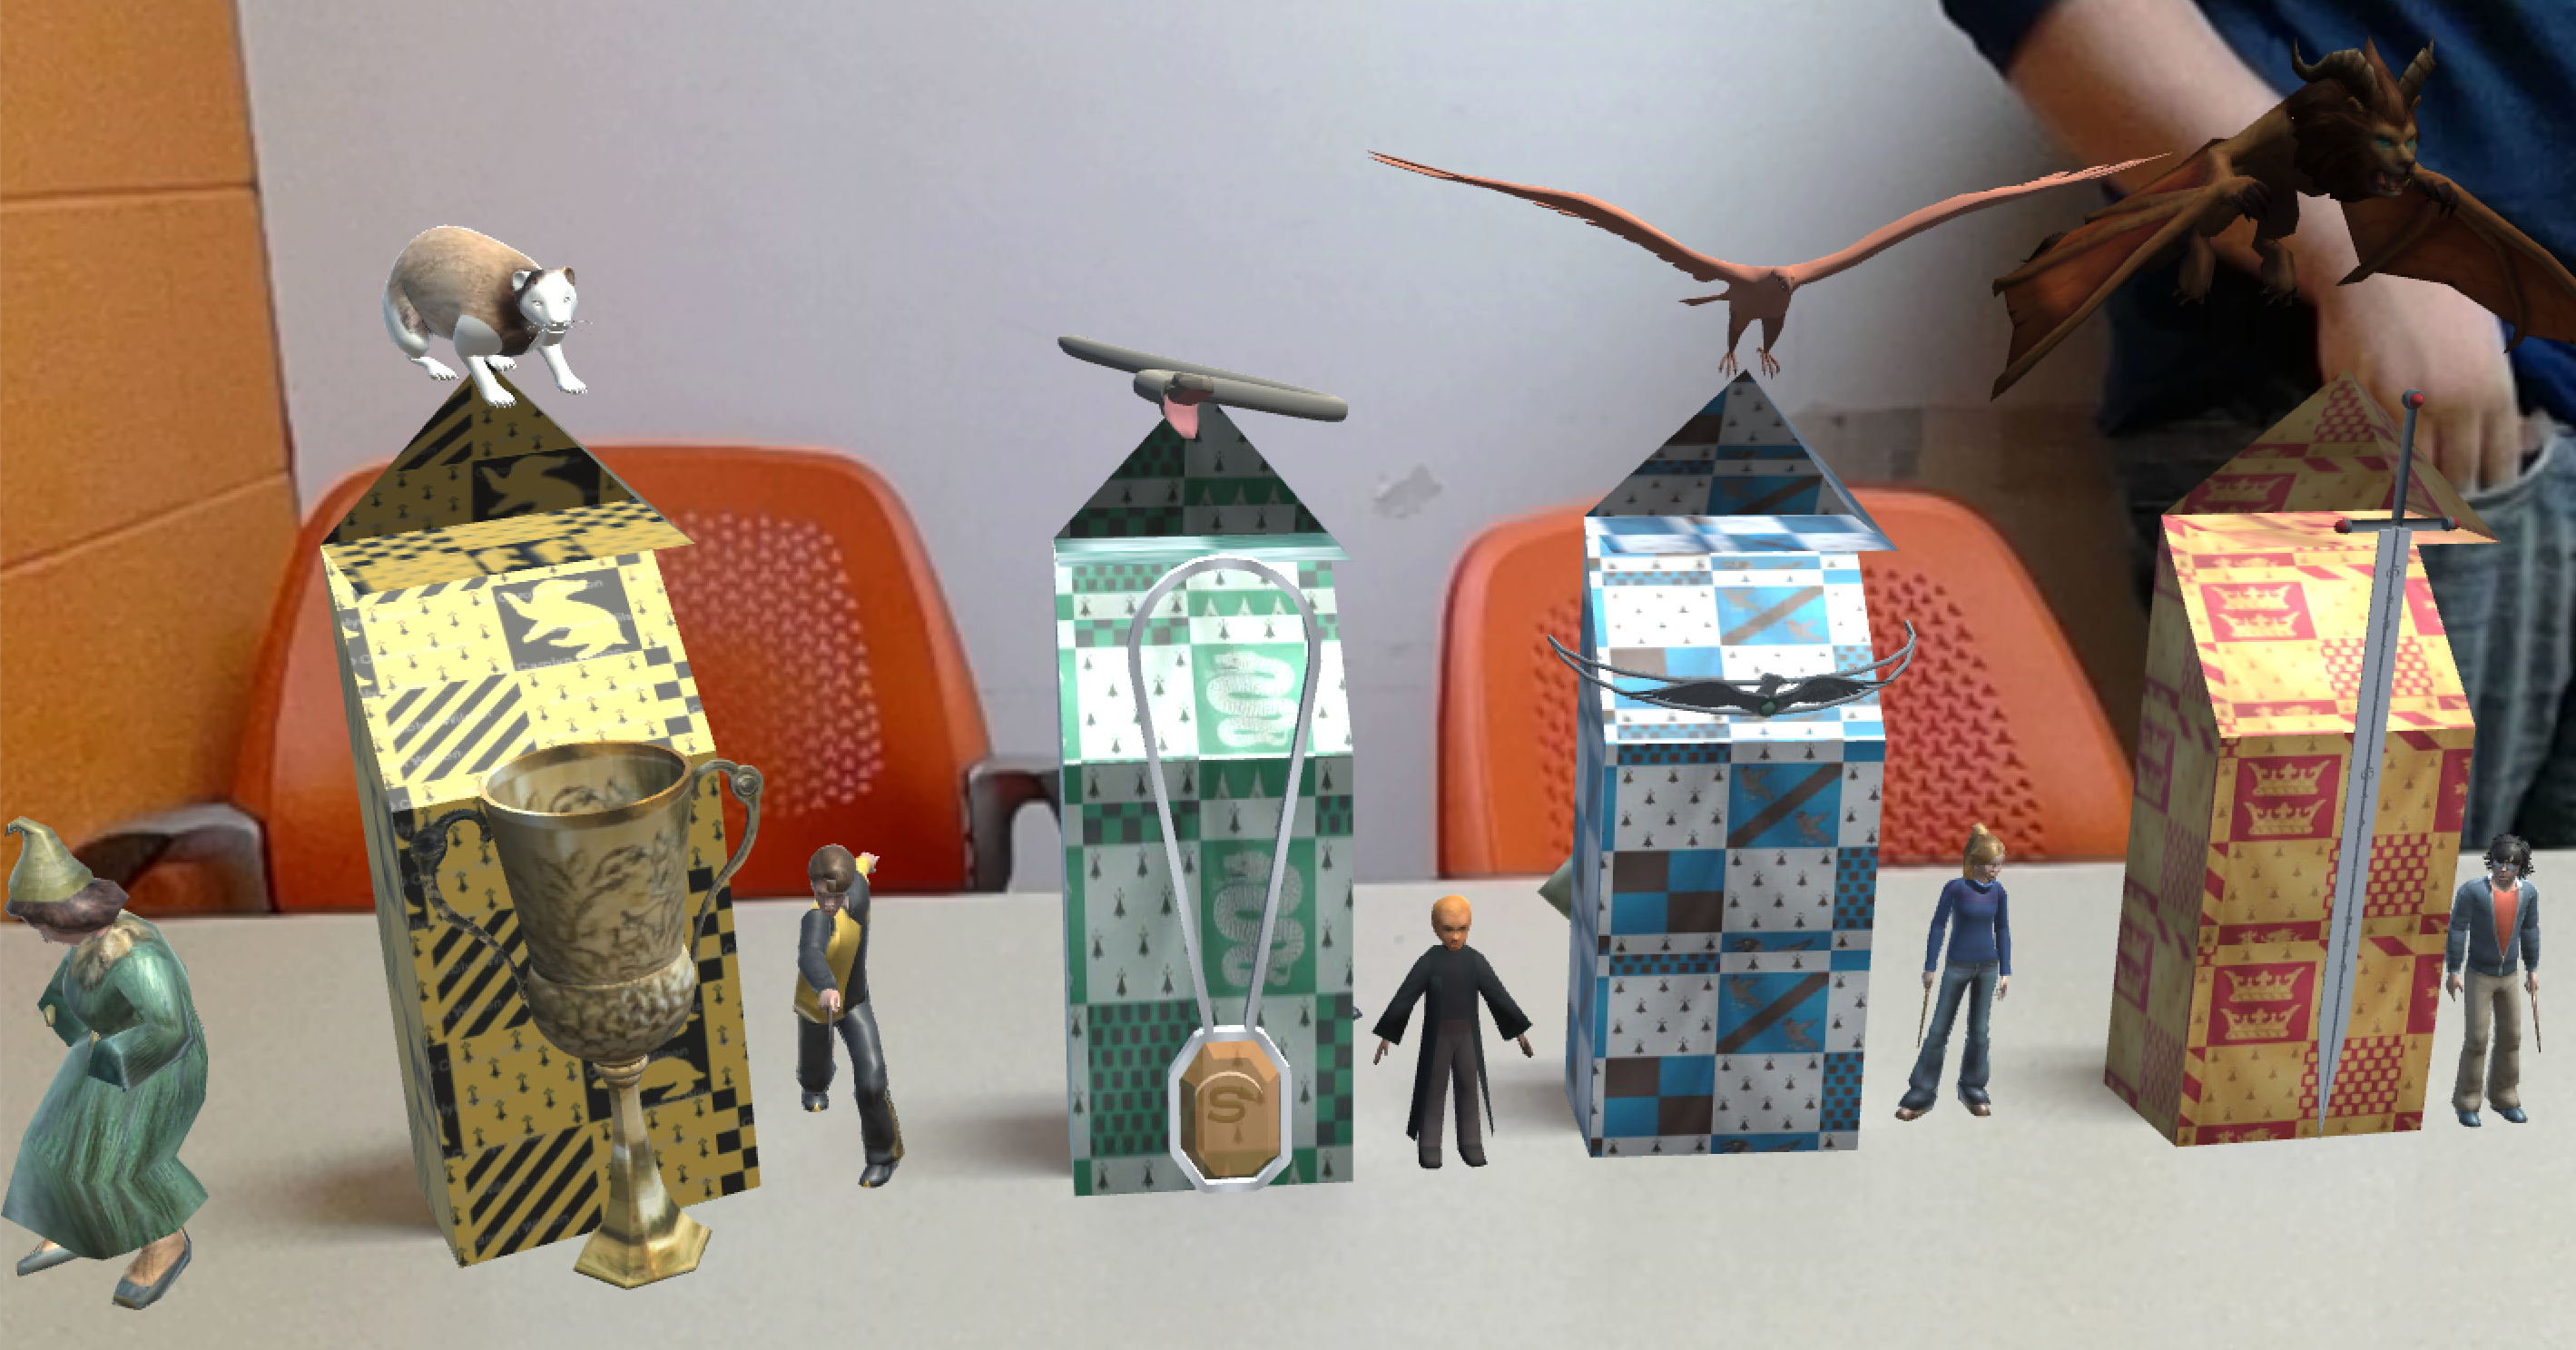
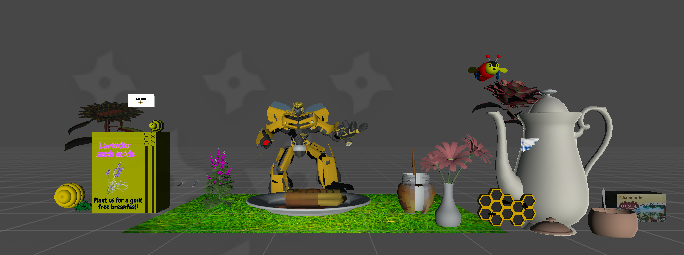
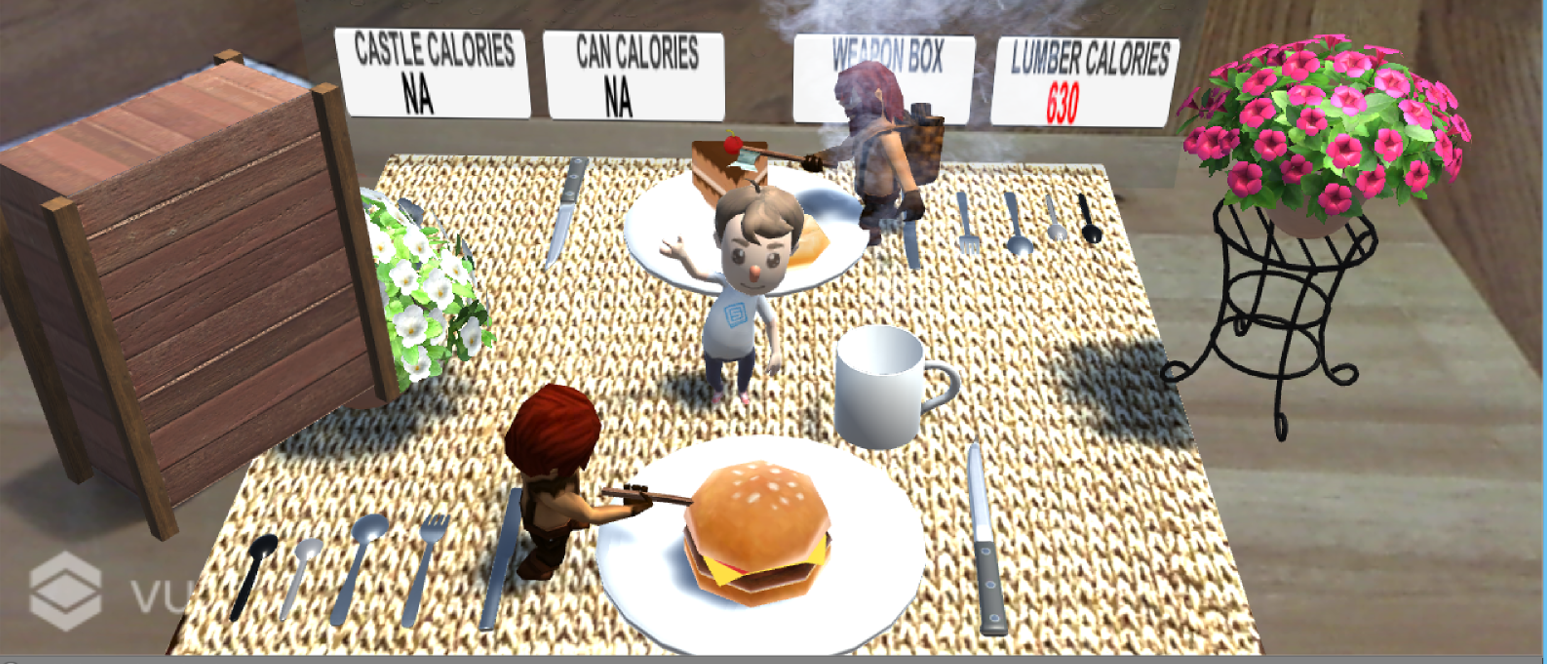
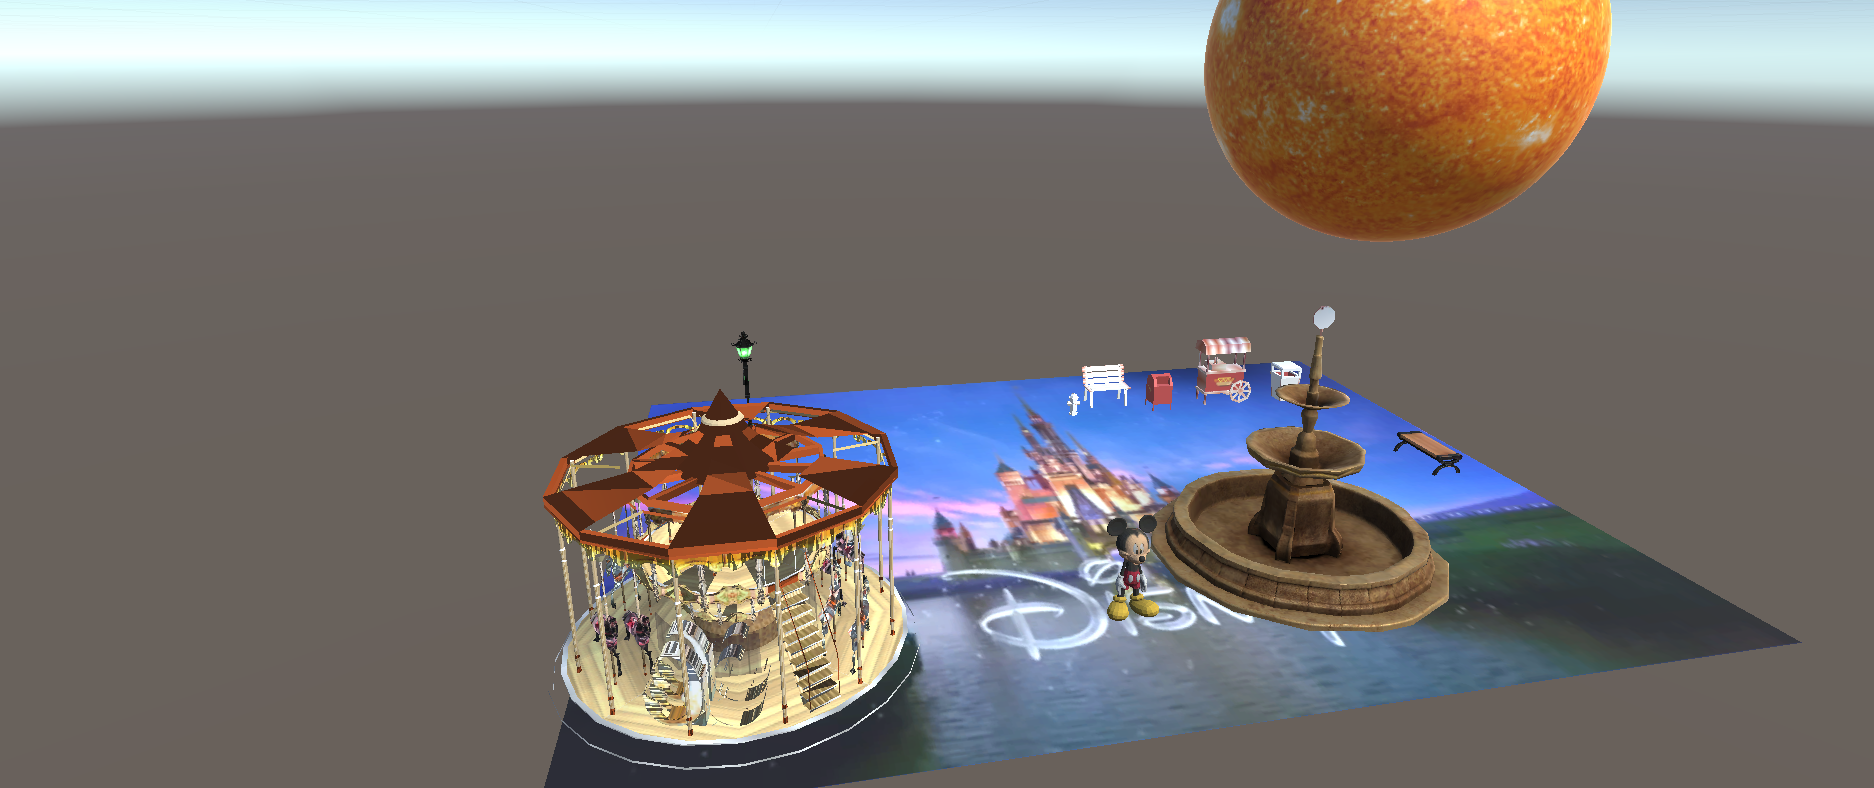
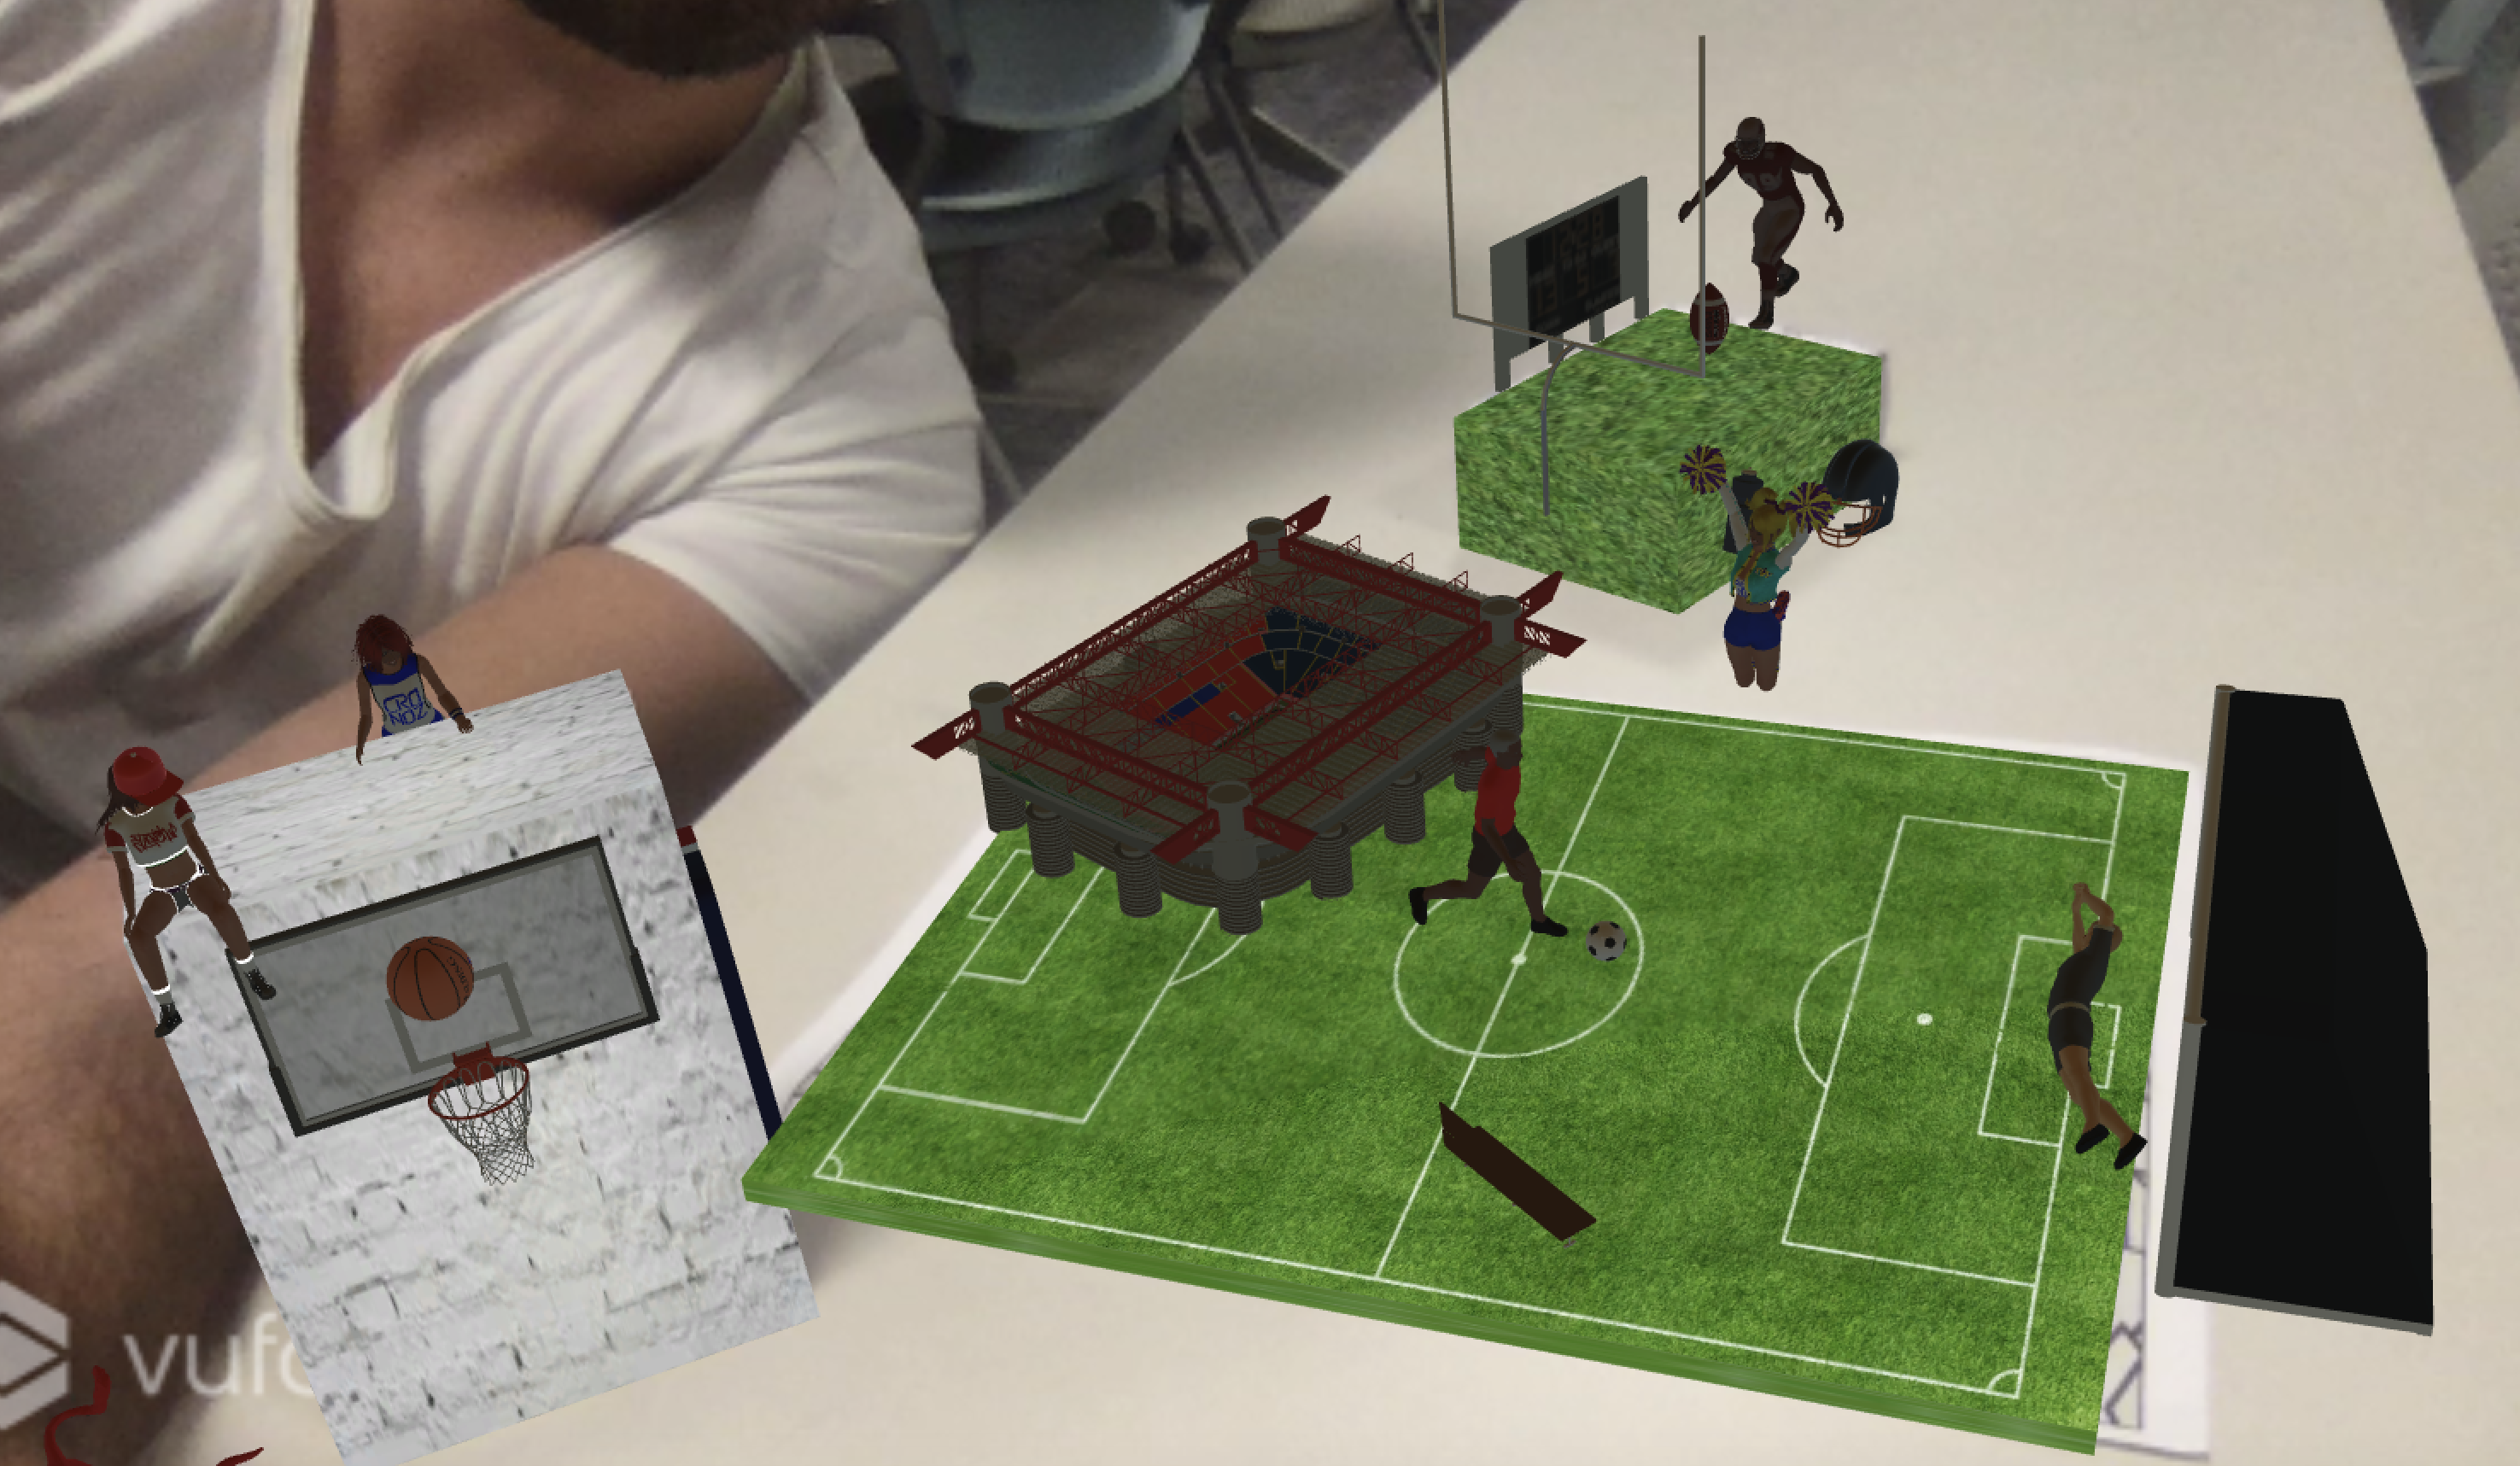
The
application will take place on a table. The user will have
several real props that will be augmented by computer
graphics.
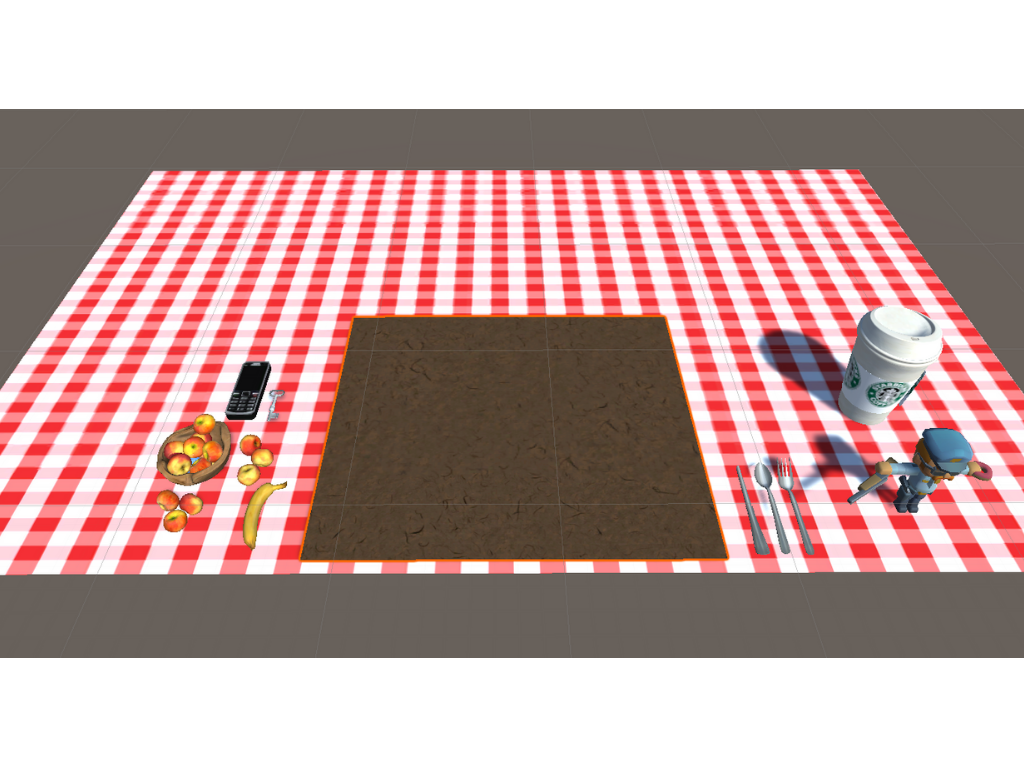
The
graphics for the various targets can be found at 18Project1Targets.zip. This file
was updated on 9/11/18 to fix an error with the 2nd
cereal box. There are multiple targets for each type
just in case there are some tracking issues; you should
start with number 1. You will need to use some arts and
crafts skills to create the small cereal box and can
shapes.
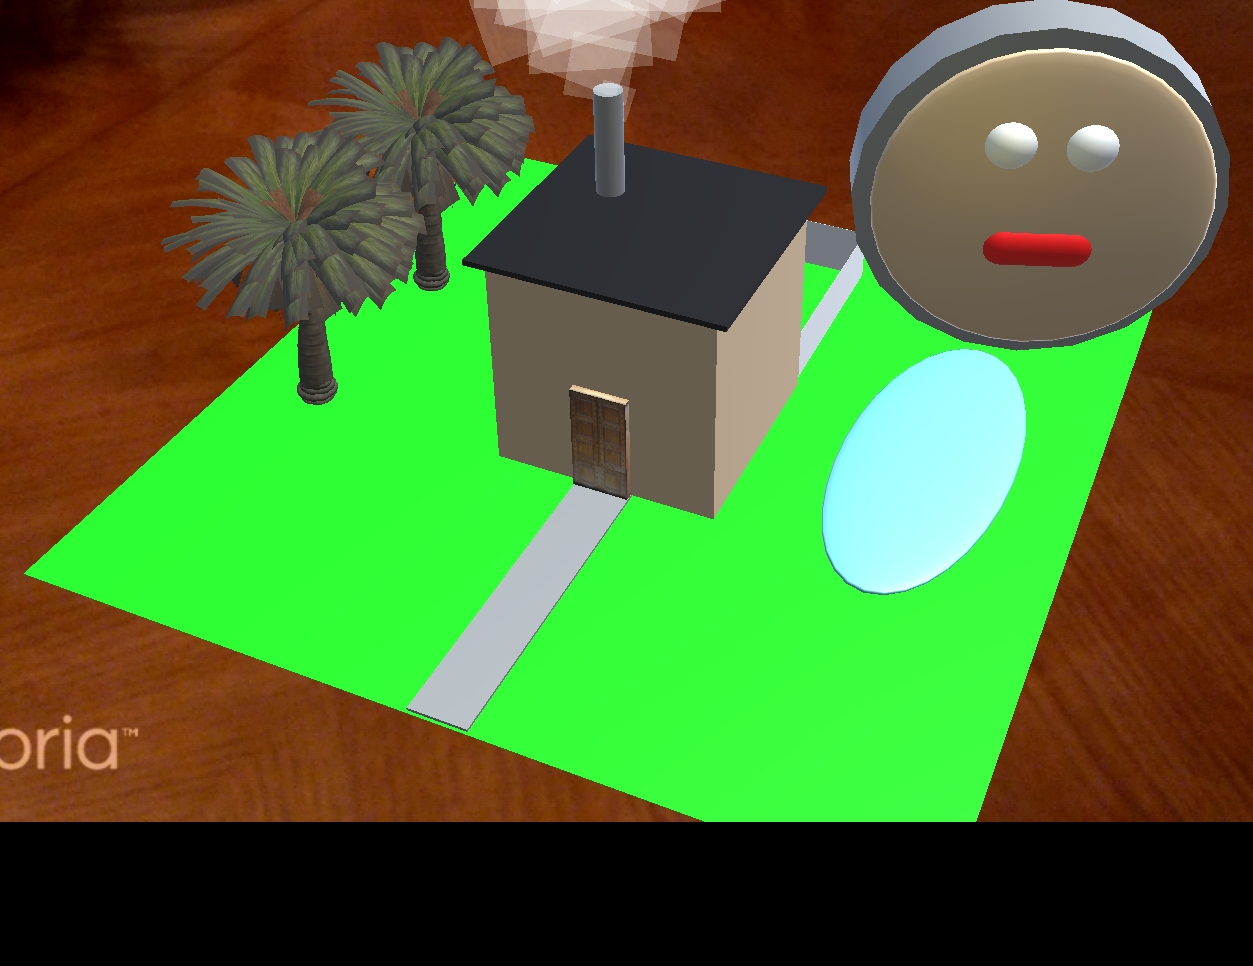
To get a C on the project ...
use an 8.5" by 11" piece
of paper as an image target for a place mat that is showing
a nice happy scene for breakfast
use a multi target as
one of those small single serve variety pack kind of small
cereal box that wants you to eat it instead of any of the
others that come in the set
use a cylinder target
as a can of milk or juice or whatever liquid beverage that
wants to be drunk
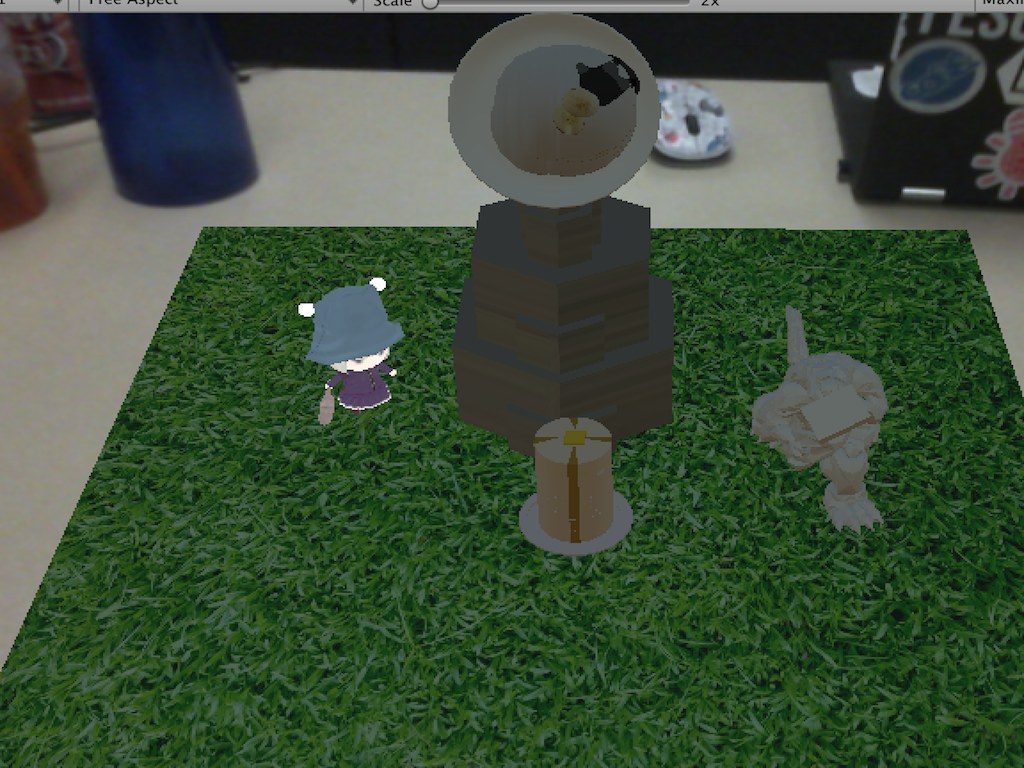
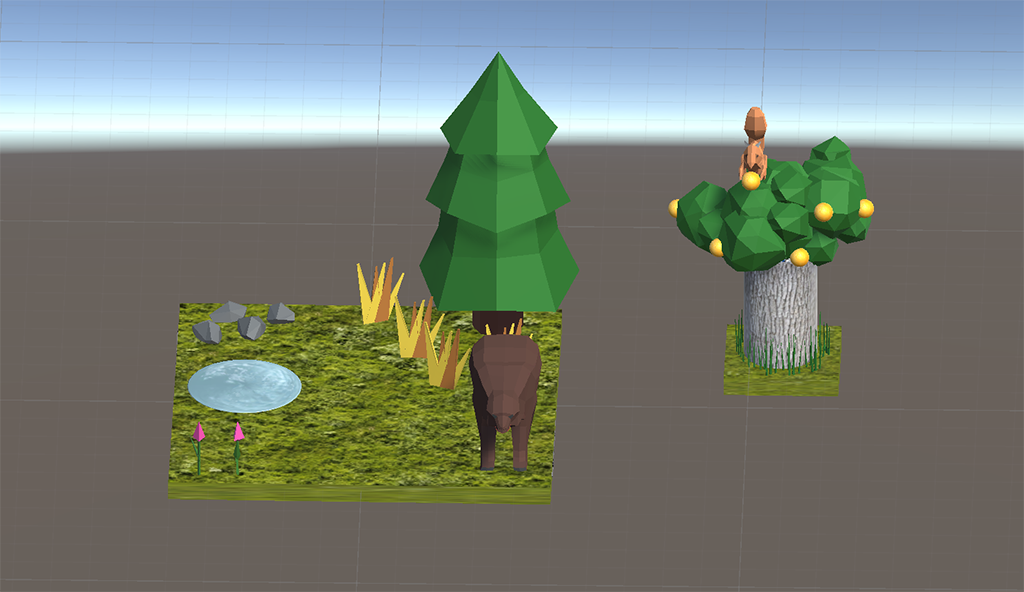
you need to create a
small 3D static scene on and around each of those 3 AR
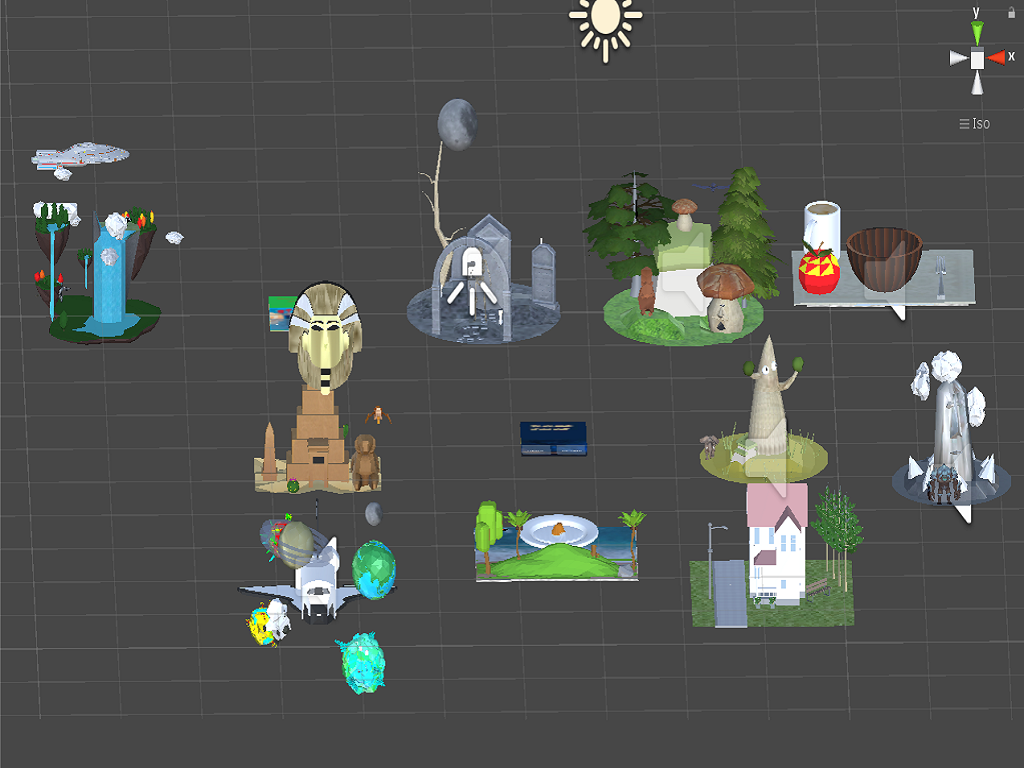
objects. Each of the 3 scenes should be made from several
(at least 5) pre-existing 3D models (but none of the Vuforia
ones). Be sure to appropriately cite where you got the
models from. The real graphics on the place mat, can, and
cereal box should be completely replaced by computer
graphics. You need to have 3D models on at least the base
and one side of the cereal box.
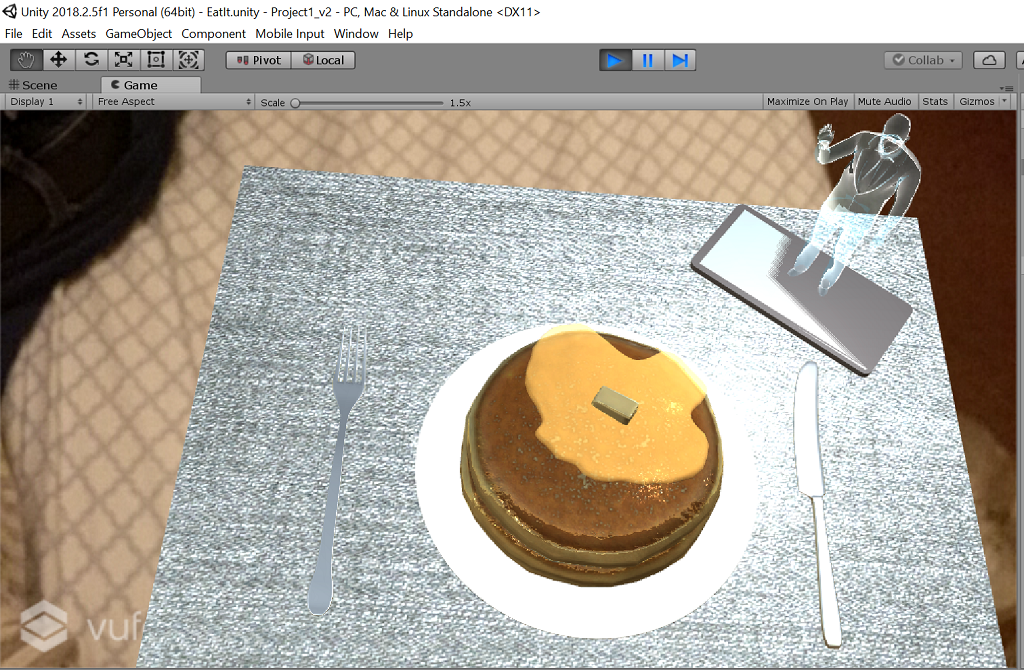
To get a B you need to add ...
add another 8.5" by 11"
piece of paper as an image target acting as a 2D magazine
which has two AR buttons on it to flip its 2D pages back and
forth. You need to implement at least 3 different pages of
the magazine plus the cover. Again, this is a nice chance to
be creative in the topic and coverage of your magazine.
each of the objects
from the C range (including the place mat) now also needs to
have
an appropriate
spokesperson / thing / creature / mascot in addition to
the scene (i.e. for a C you could create Count Chocula's
graveyard, but here you need to have the Count himself
there to huckster his cereal.)
at least one sound,
and please make sure this isn't overly annoying
at least one
appropriate animated object or particle system
the 3D scene on the
cereal box needs to now be at the base and on at least 4
sides of the box
a reasonably
interesting model that you create yourself
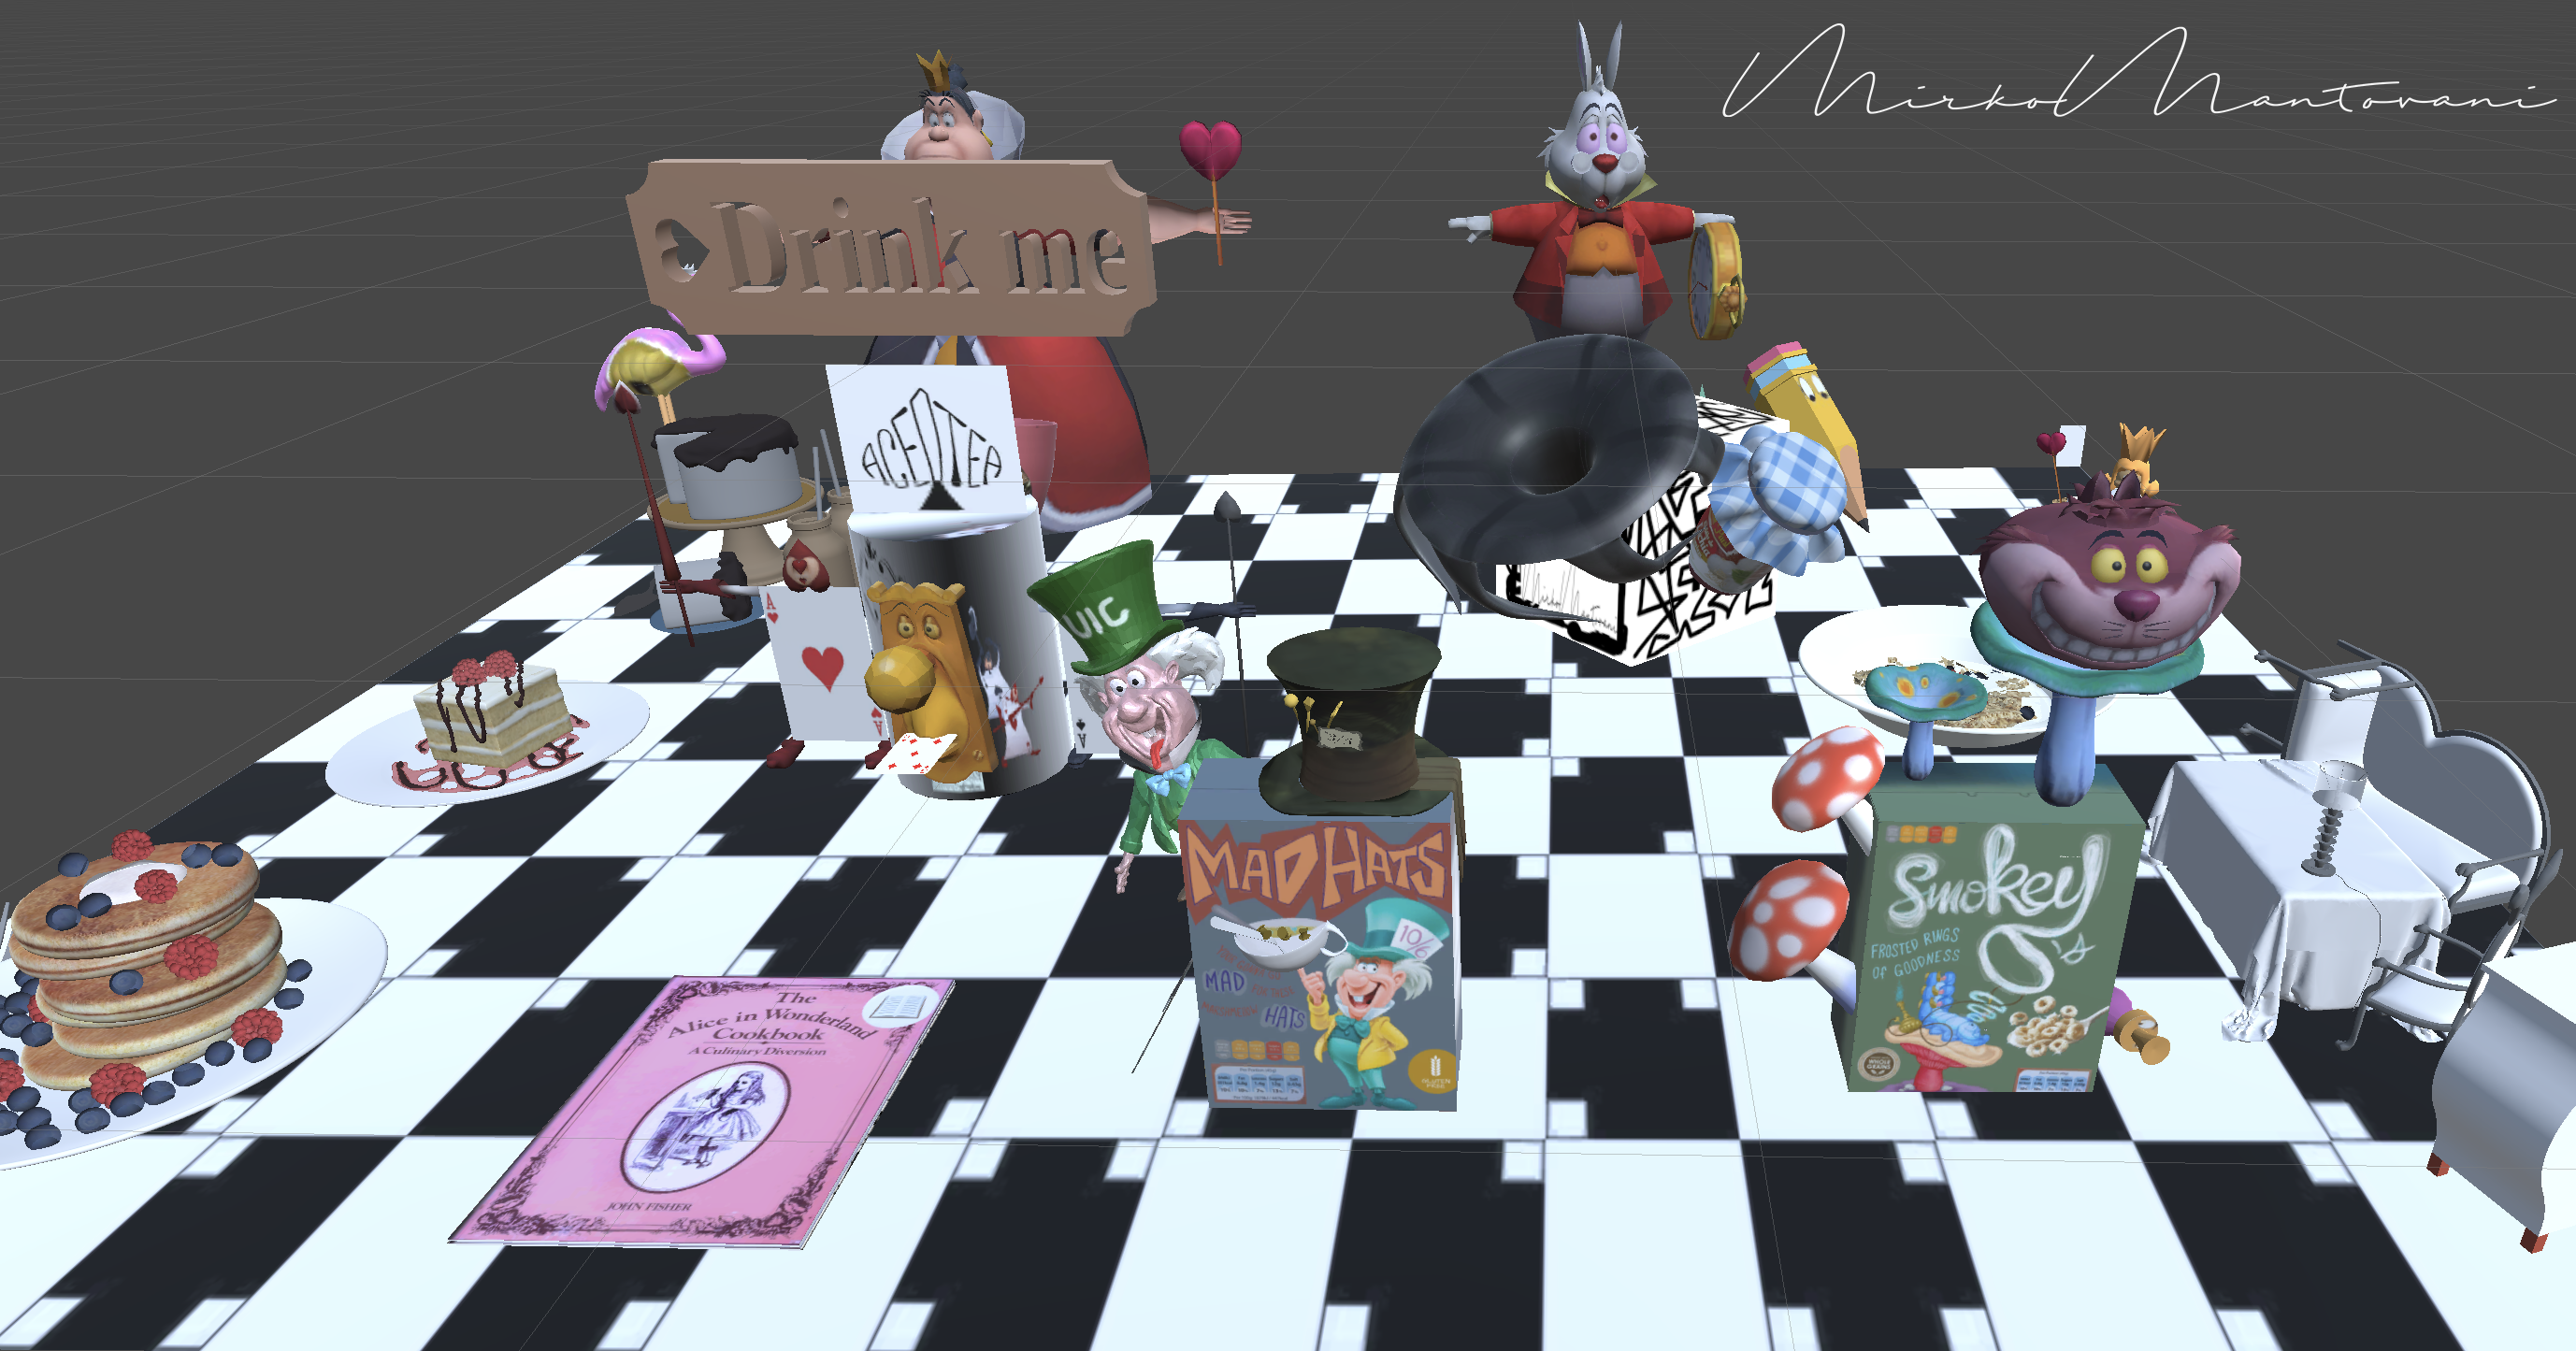
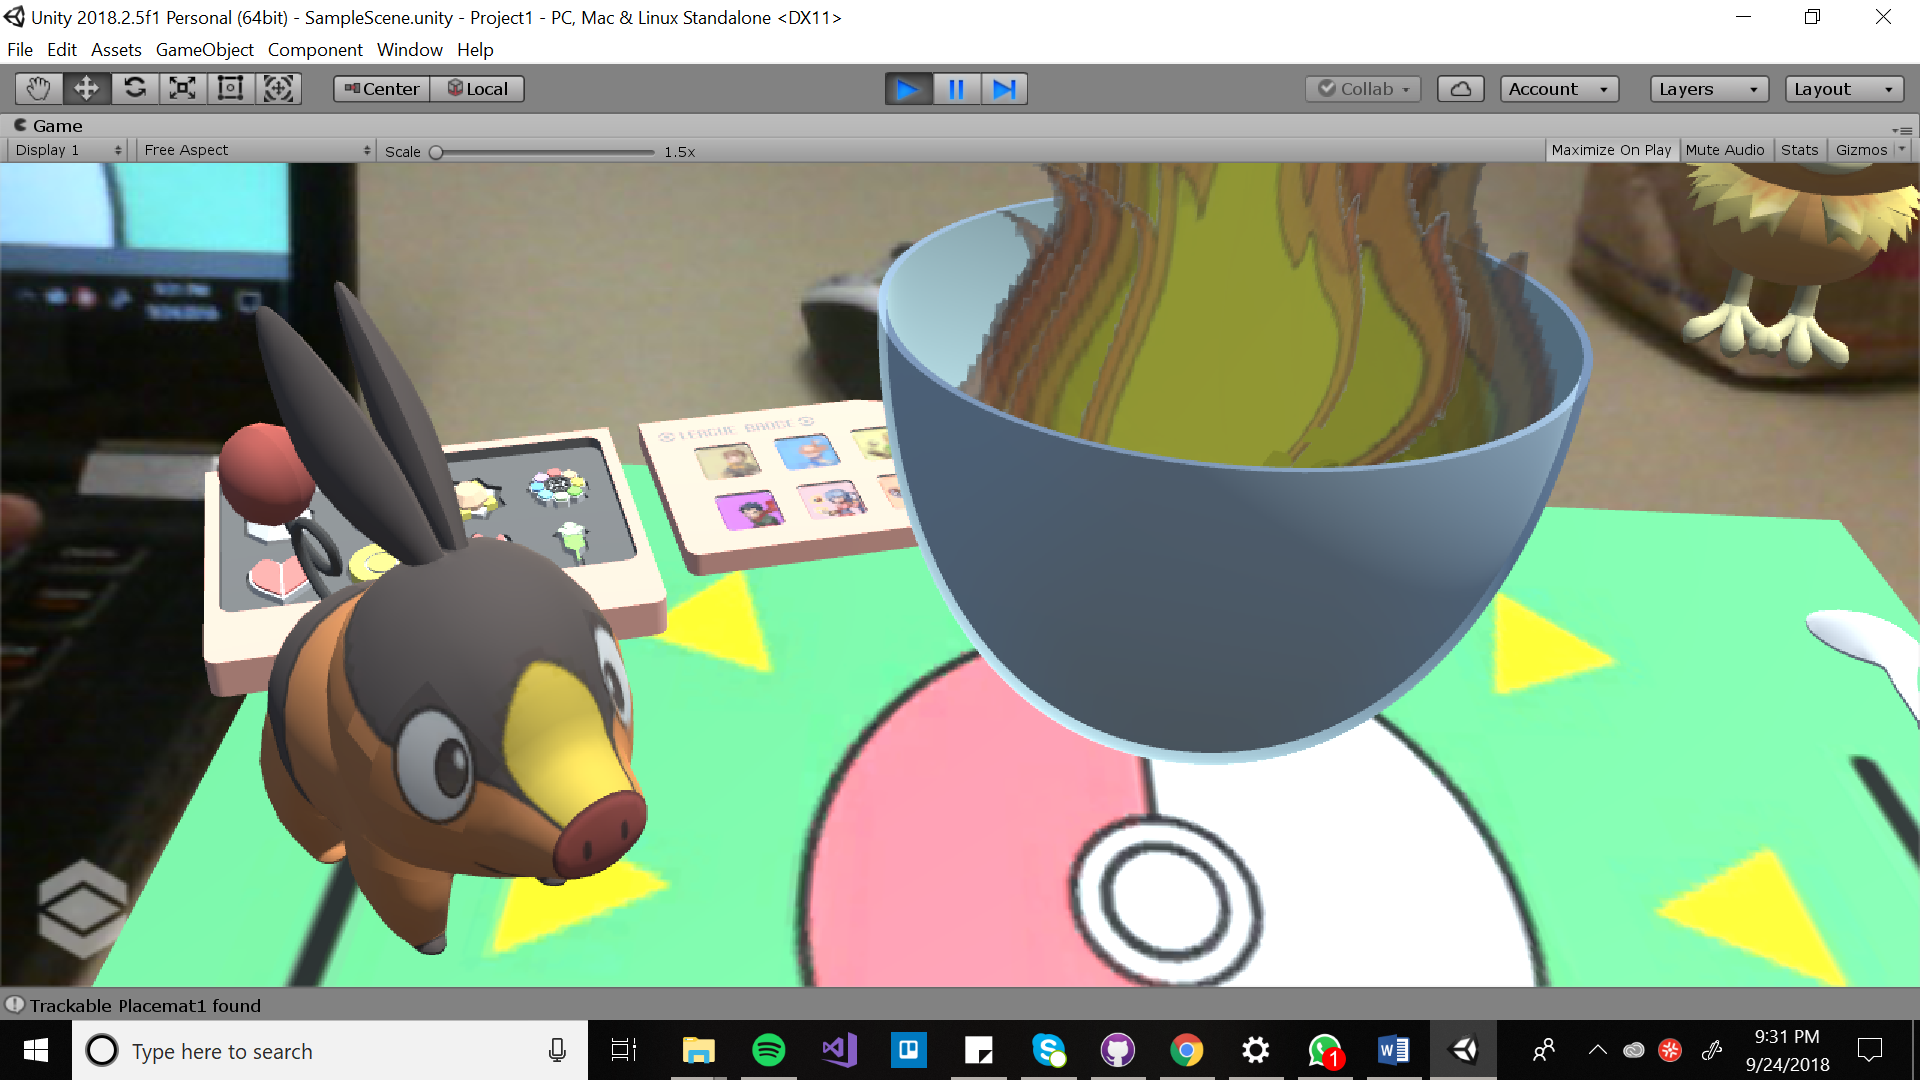
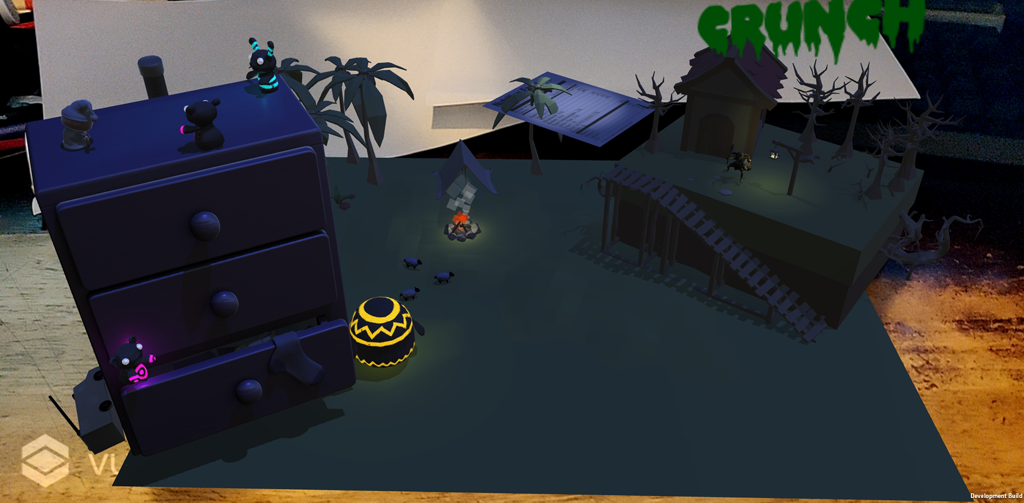
As a bit more of an explanation here, with the cereal
box as an example ... the cereal box is the central element of
its scene, but its disguised as something else. It could be a
tombstone, or a building or anything else that's vaguely box
shaped or something that has a box shape as its base. The
breakfast eater still needs to be able to grab the cereal box to
pour cereal out of it, so it should still have that general
shape, but there are other parts of the scene. If the cereal box
is a tombstone then maybe there is an area of grass below it, a
gnarled tree next to it, a moon in the sky above it, a few
creepy crawlies hanging on to different sides of the tombstone,
etc. The sides of the box can be replaced by textures to turn it
into something else (e.g. textures for the sides of a building,
etc.), or the box could be replaced by a 3D model that is
reasonably close in size and shape to that box. Then the can has
its own scene, the placemat has its own scene.
To get an A you need to add ...
create a second AR can
or cereal box with all of the C and B level requirements for
a different product
if you put any of the
cans or cereal boxes on the place mat you should get
nutritional information about them and the place mat should
react (maybe it is happy or sad depending, or the weather
changes in the scene it is showing depending on your
choices)
if you put the cans or
the boxes near each other you should get a reaction out of
them
Graduate students in the class also need to
create a new augmented Cereal box using your own new graphics,
which satisfies all of the C, B, and A requirements, where the
augmented graphics augment rather than replace the graphics on
the box - i.e. this is more like the 'Lion Flakes' Vuforia
example, than my 'Repo Man' inspired cereal box.
Note that you are encouraged
to be creative here in coming up with your breakfast
creations (as long as they remain in a G-rated realm) so
come up with your own cereal like Cthulios, or
Planetesimals, or Lembas Flakes, or Grass 'n Bugs, or
UFOlios based on the imagery and models that you find
and your personal interests.
Note that
there is a big difference between getting something working
and getting it working well. The first is not that hard. takes
much more time. You are being graded on the quality of the
experience so you are expected to have things working well, so
be sure to test on the actual hardware regularly. The
application should maintain a high frame rate, the graphics
should be well lit, any text should be readable, any audio
should be appropriately balanced.
Really
I'm not kidding about this
You NEED to test on the actual hardware
The classroom should be free for testing on T/Th after class
until 1:30, and from 4:00 to 5:00. If there is no one
in the classroom then try knocking on 2028 ERF or 2032 ERF.
The PC in the classroom should automatically reboot into the
account for the class. Turning in the
Project
When you are ready to turn in your project, or just to test it
on the classroom PC, build an executable for target platform
windows x86_64. The classroom VIVE PC will have a folder on the
desktop named 491VRAR_Project 1. You should create a folder on
there with a filename matching your name or the name of someone
in your group. Inside your groups folder you should put a copy
of the executable and the data folder for your project. Be sure
to test and make sure your project runs well through the webcam
on that PC as that is where they will be shown in class and
officially graded.
If you are a graduate student you should turn in the
new physical props that you create at the beginning on class on
the Tuesday after the assignment is due.
You should create a set of public web pages (available to anyone
for at least the duration of the course) that describe your work
on the project. You can host your web pages at UIC (http://people.uic.edu) or the provider
of your choice, as long as they remain publicly available to
all. You can use any publicly available templates as long as you
cite them, or create your own.
These Webpages should include:
description of how to
use your application and the things you can do with it, so
we know what it should be able to do
enumerated
list with images of the n models you used and the ones you
created for your application to make it easy to see that
you have those n models in your scene (one good way to do
this is to take some high resolution screen shots of your
scene and put numbers next to each of the models and then
give a textual list showing where the models came from or
that they were created by you)
enumerated
list of the sounds you used and their sources, or state
that you created them
links to all the source
code and any assets (models, textures) that you used along
with instructions on how to build your application on the
classroom PC
link to a zipped folder
containing your entire project which can be easily moved to
the class PC to be run
at least 1 page
discussion of how this technology could be well used in this
situation
all of which should have plenty of screenshots with
meaningful captions. Web pages like this can be very helpful
later on in helping you build up a portfolio of your work when
you start looking for a job so please put some effort into it.
YouTube Video
You should also create a 2-3 minute YouTube video
showing the use of your application including narration with
decent audio quality. That video should be in a very obvious
place on your main project web page. You can use screen
recording software, or your phone (if the camera quality is good
enough and you shoot the video landscape and not portrait). You
can try to narrate while interacting but you will most likely
find its useful to do some editing afterwards to tighten the
video up.
Turning things in
The web page including screen snapshots and video need
to be done by the deadline so be sure to leave enough time to
get that work done. Once you have your webpage done, send the
URL to Andy before the deadline. I will respond to this email as
your 'receipt'. I will be linking your web page to the course
notes so please send me a nice representative jpg or png image
of your application running for the web (i.e. a photo of your
augmented reality breakfast world). This should be named
p1.<your_last_name>.jpg or p1.<your_last_name>.png
and be roughly 1024 x 768 in size.
Presentation
If you are in a
group, when the project is done, each person in the group
should also send Andy a private email with no one else CC'd
ranking your coworkers and yourself on the project on a scale
from 1 (low) to 5 (high) in terms of how good a coworker they
were on the project. If you never want to work with them
again, give them a 1. If this person would be a first choice
for a partner on a future project then give them a 5. If they
did what was expected but nothing particularly good or bad
then give them a 3. By default your score should be 3 unless
you have a particular reason to increase or decrease the
number. Please confine your responses to 1, 2, 3, 4, 5 and no
1/3ds or .5s please. Presenting the Project
An important part of creating VR applications is getting
feedback and using it to improve your design.
We will be spending time in class for each person/group to show
off their work. Given the number of groups, each group will have
5 minutes to present their project.
Groups
last update: 9/13 added
some more explanations for what is needed in terms of
augmentation
9/11/18 The 2nd Cereal Box set of image targets
had a rogue alpha channel which made the vuforia target manager
unhappy. I removed the alpha channel, made sure none of the
other targets had one, and re-uploaded the zip file, so you
should probably download the new one.