Project Proposal Due
10/29/18 at 8:59pm Chicago time
Final Project and Web pages Due 12/3/18 at 8:59pm Chicago
time
There
is a default project for the undergraduate students, though
undergraduate students can also propose a project. Graduate
students must propose a project.
The project can be done in a group of 1-3 people.
Default Project
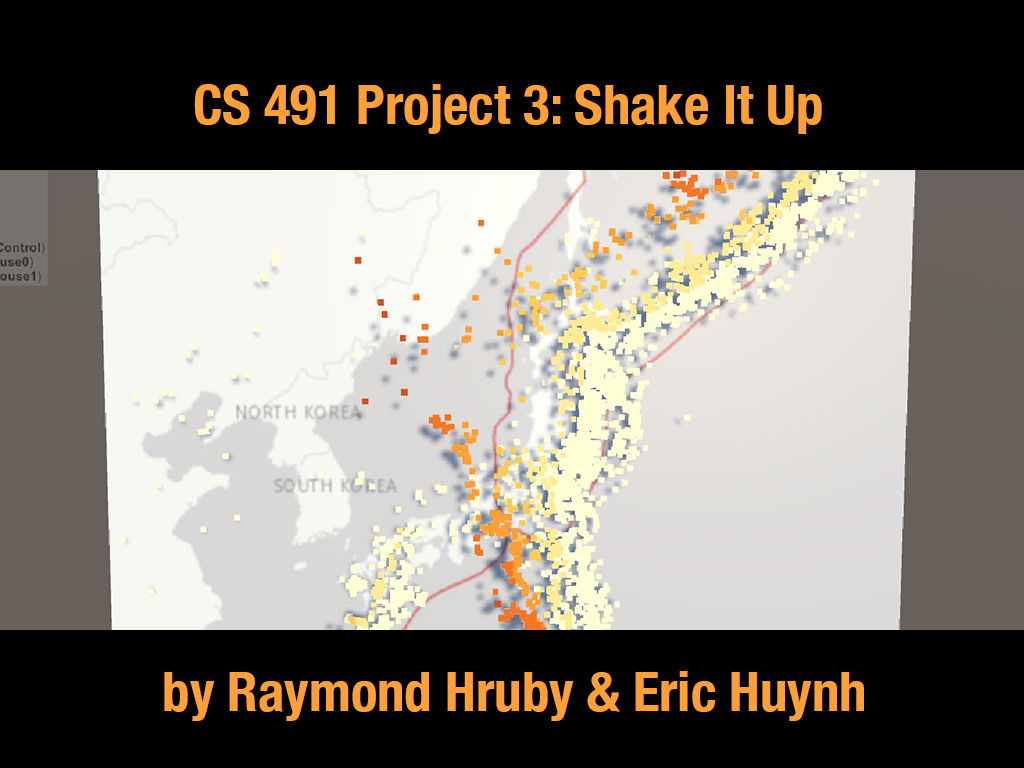
The default project is to create an AR or VR environment to look at earthquake hypocenter data around the planet. Normally we see maps of earthquake locations only showing their latitude and longitude, but adding in depth makes it much easier to see how they highlight the plate boundaries around the planet and look for other interesting things.
For
example, looking at a series of earthquakes from the side with
the surface of the earth at the top, makes it much easier to see
the plate boundaries as in the image below.
The data on earthquakes is available from https://earthquake.usgs.gov/earthquakes/search/
You
will also want some way to show the country boundaries and
locations of cities for context. A good place to find that data
is here: https://github.com/datasets/geo-countries
and http://www.naturalearthdata.com/
Unlike
the previous 2 projects where you were loading in 3D models to
view and interact with, here you will be loading in data and
converting it to 3D visual representations (most likely lines,
and points / spheres / cubes)
In the AR version of the project the user would have a variety of cards showing different areas of the planet or the entire planet. Placing any of these cards on a table would cause a 3D model of the data to appear above the card. The user can then rotate the card, or change their viewpoint to get different views of that data. The user can place multiple cards on the table at once. The user can also place cards that control which data is shown (different magnitudes, different depths) and those cards affect all of the visualizations currently being shown.
In the VR version the user can use a menu in the virtual world to bring up one or more areas of the planet, or the entire planet, and control the magnitudes and depths shown in each of the visualizations. The user can grab and move each of the visualizations, and make them larger of smaller.
In either case
To get a C on the project ...
To get a B you need to add ...
To get an A you need to add ...
Usability is a big part of this project. Your project needs to be believably usable by normal people as well as experts. Its not just about showing data, its about people being able to see it and interact with it effectively. This means exaggerating the depths appropriately, picking good colors and good sizes for the points, and showing enough information about the land above so the data can express itself.
The
AR version should have an appropriate set of marker cards that
are helpful for the user - these markers should look decent and
make clear to the user what their function is. The VR version
needs an appropriate and set of menus.
A
good site for advice on colors is http://colorbrewer2.org
if you are going to do the
default project then please let Andy know your group members by
10/29 (the same date the project proposals are due for those who
want to do their own project)
Project
Proposal
The goal of project 3 is to let you work on a VR or AR project
of your own choice,
subject to Andy's approval.
This could be a creating
VR project in CAVE2 or the VIVE, a new Unity app for the
HoloLens, using Voforia or ARtoolkit to create an app for a
smartphone or tablet, trying out apple's ARkit or google's
OpenAR, etc. You could tie into fitbit or other body
tracking software and have that drive VR or AR objects. You
can create an AR app that runs outside next to ERF. You
could take an existing card game like Munchkin and enhance
it with AR. There is a lot of real-time data available
today, so another possibility is to map that data into some
kind of virtual or augmented world. You could create small
game like fruit ninja in VR.
These days its pretty trivial to lead in a bunch of models and walk around them. Its helps if the models are really pretty, but just walking around in a virtual or augmented space gets boring pretty fast. The main focus needs to be on the user's interaction with the virtual world.
Draw storyboards - the
first thing you must generate are storyboards. Draw pictures
of the user standing in the CAVE or wearing an HMD or carrying
their phone as an AR device. Make it like a comic book. Each
panel has some action initiated by the user or the computer,
and the next panel has the response. Draw a series of these
storyboards for the common usage patterns. They should show
the flow of the experience. The storyboards do not need to be
pretty, or realistic looking. They are there to help you
organize your thoughts on the experience. You want to mentally
visualize the person interacting with your application - where
will the user have problems?
Learn by doing - the flip side of drawing storyboards, which show what you want to do, is knowing what you CAN do in a given library / language. Write small programs. Try out simple versions of your ideas quickly to see if you are on the right track. A spiral development model works much better than a waterfall model in developing VR applications.
Focus on the user - see the application from the user's point of view, not the programmer's point of view. The user doesn't see the code. The user doesn't care how clever you did something. All the user sees is the end product.
Don't forget audio - ambient sounds and/or music are a good way to create mood and increase the sense of presence. Incidental sounds are a very good way of giving the user feedback (but its usually good to give visual feedback as well)
Play to your strengths -
in the case of VR remember that you have a user who is head
and hand tracked who holds one or more wands, but has no
access to a keyboard. Create worlds where the user has natural
interactions with his/her body. Also remember that the user
has stereo visuals. Create worlds that surrounded the user;
create worlds where the user interacts with virtual objects.
in the case of AR make use of things in the real environment,
especially tables, floors, walls and other flat surfaces.
Decide on the Physical laws - decide early whether there is gravity in your world, whether the user can fly, whether the user can walk through objects, what size the user is, how fast the user can move, etc.
Choose your preferred display platform - decide if you are writing a piece for a CAVE or a tablet or an HMD or whatever and focus on the strengths of that platform.
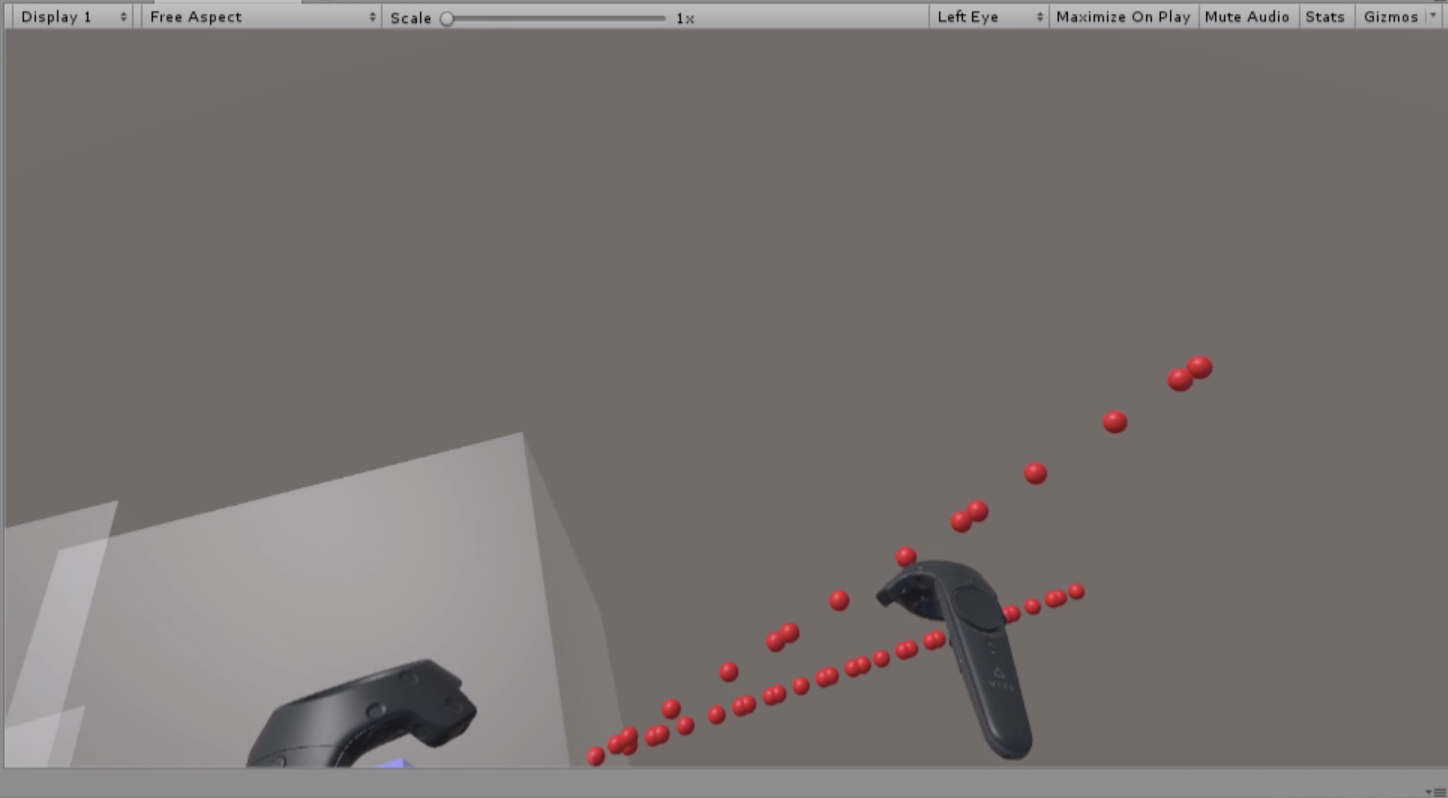
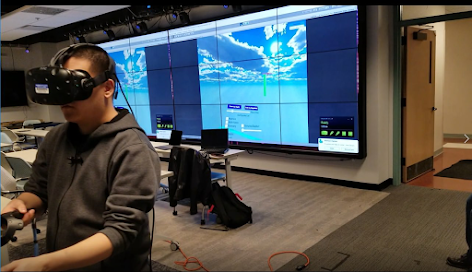
Test on the real display - desktop simulators are nice for testing your application but there is no substitute for regularly trying things out in a tracked full-scale 3D environment like. Interaction with a tracked hand is very difficult to simulate on the desktop. Movement speeds are hard to judge in the simulator - the speed may be very different when you are interacting on the real device.
Get lots of feedback -
Once you have something working, ask others for feedback and
LISTEN to them. Its very easy to come up with an interface
which makes complete sense to you but makes no sense to anyone
else. In most cases you are not writing the interface for
yourself, so listen to your audience, especially if they 'just
don't get it".
Make sure it works - your application must not crash. No matter what the user does, your application must not crash. Its better to have less functionality that you are sure will function correctly.
Get permissions - be sure to get permissions to use anything (images, models, sounds) that you don't create yourself. Don't steal.
Create reusable modules - if you are going to continue building VR worlds / interfaces then think about making things reusable - there are many things that you will be doing over and over again so its better to write them once and reuse them.
Focus on collaboration early - if the application is going to be collaborative or may be collaborative then focus on collaboration from the start. Its difficult to make an application once it has already been created.
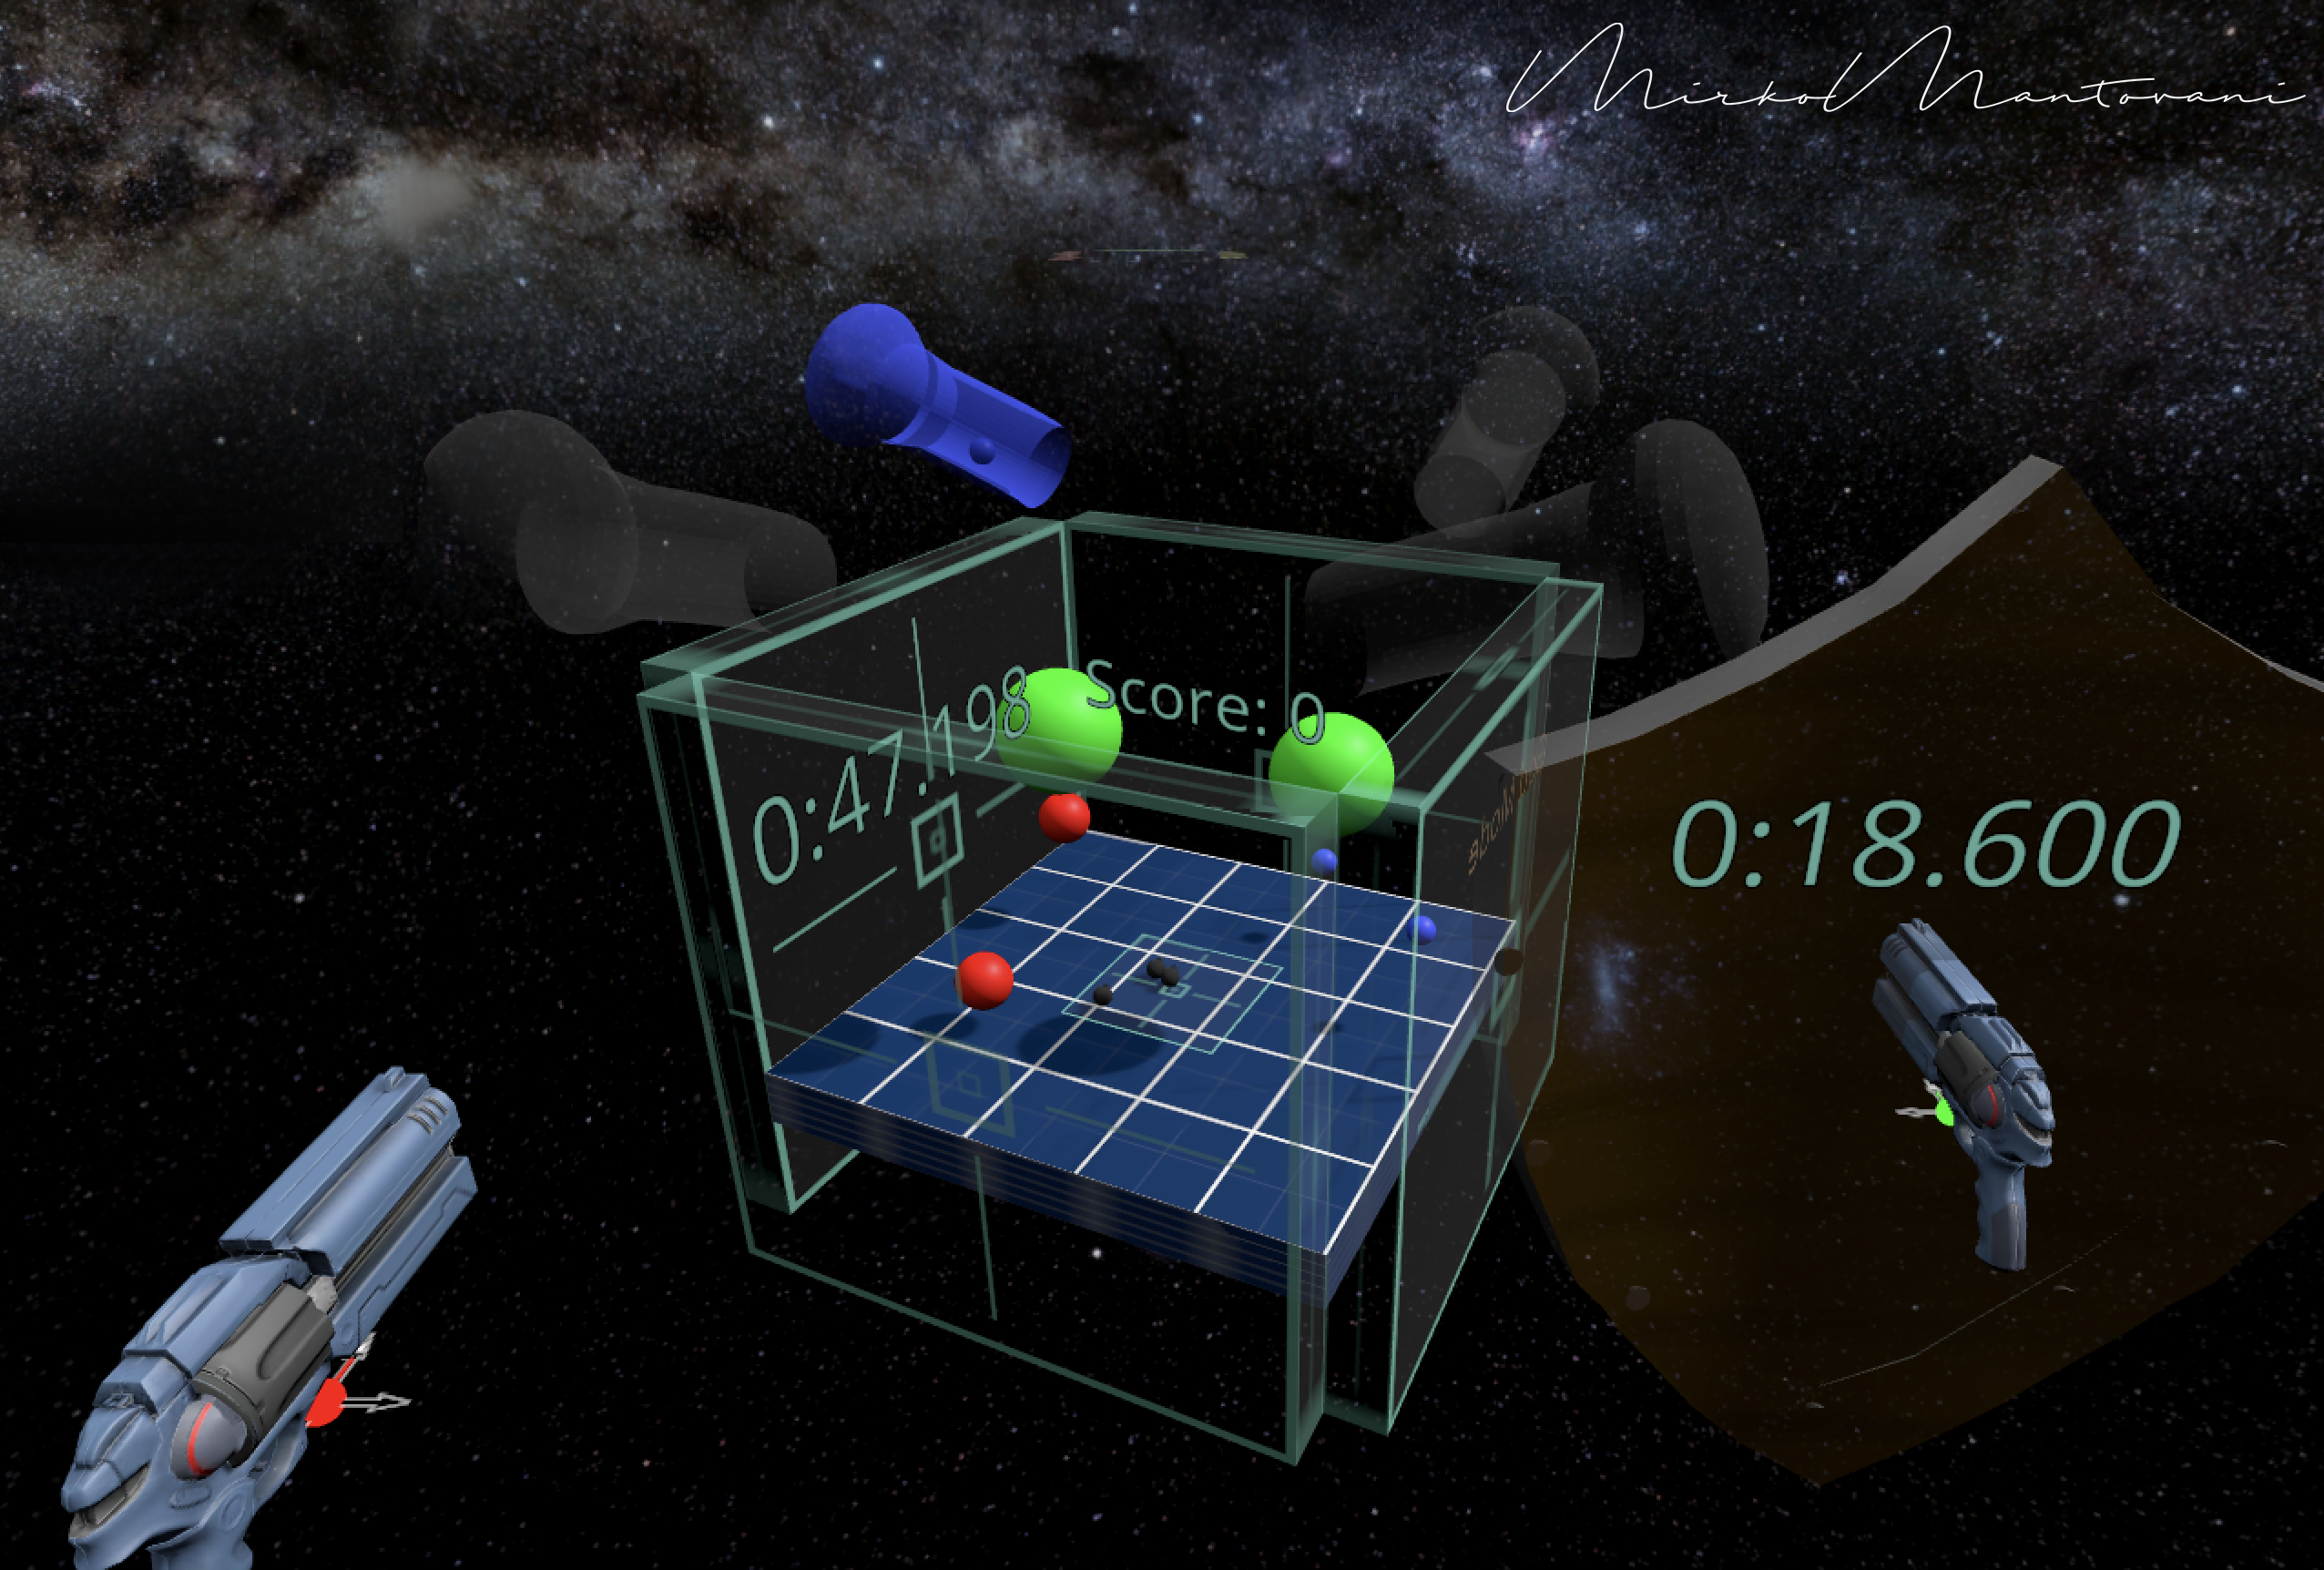
| 1 |
Mantovani |
BubbleVR |
link link |
 |
| 2 | Janowski,
Stranczek |
Default P3 | link |
|
| 3 | Jaiswal,
Bhurani, Jhanwar |
Adventure VR Game |
link link |
 |
| 4 |
Hughes |
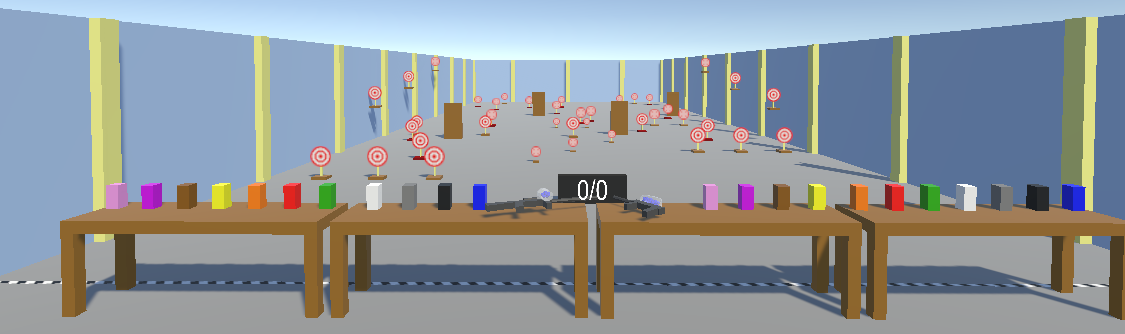
Paintball |
link link |
 |
| 5 |
Sonzogni |
Tower Defense Game |
link link |

|
| 6 |
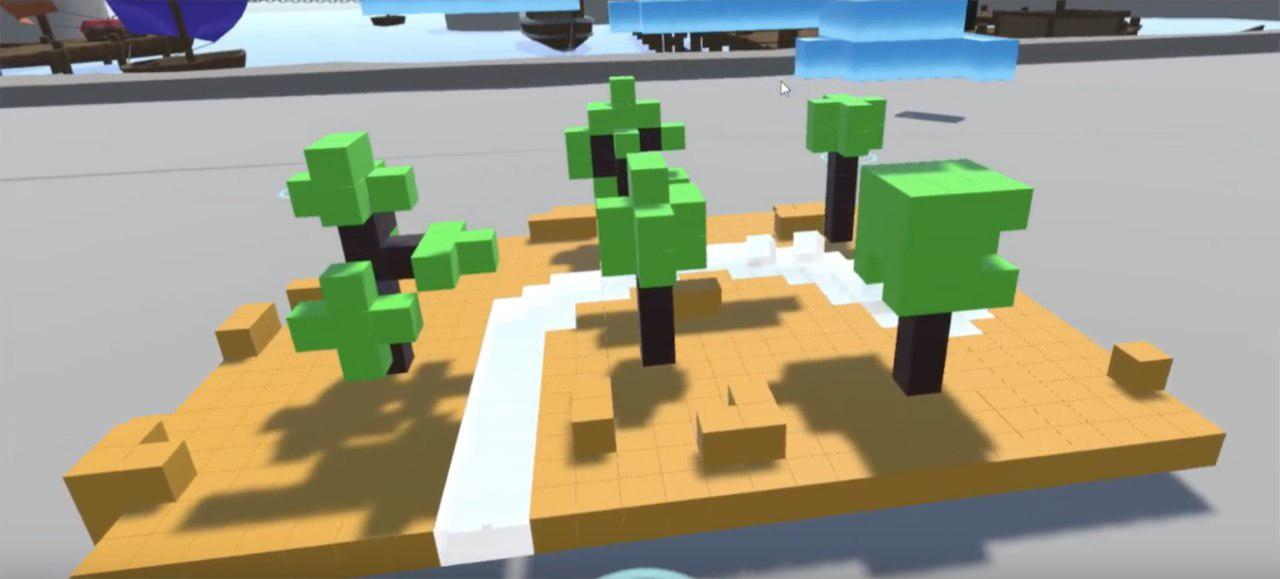
Sandrelli, Tricarico | 3D Pixel Art Editor |
link link |
 |
| 7 |
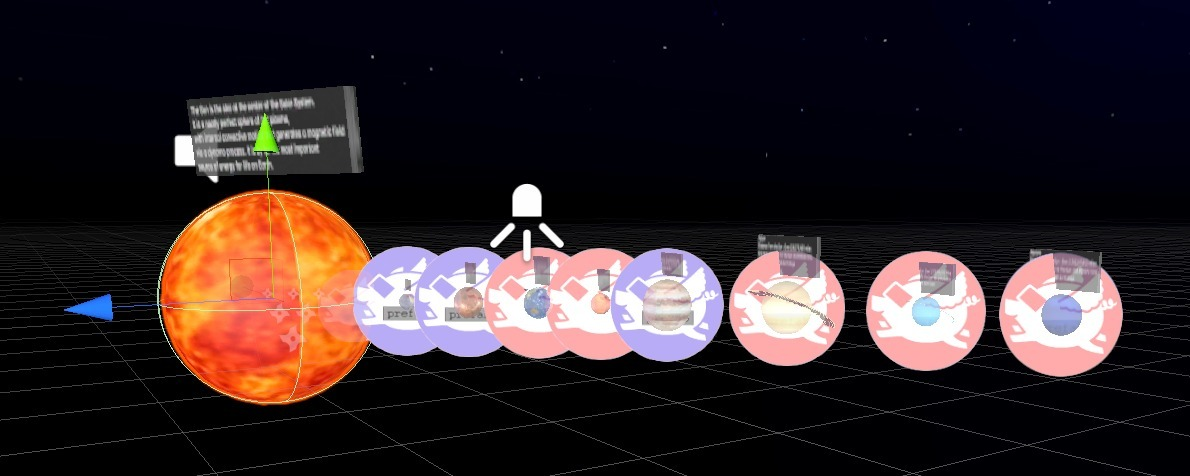
Alam,
Condrella |
Adler Planetarioun
Exhibits |
link link |
 |
| 8 |
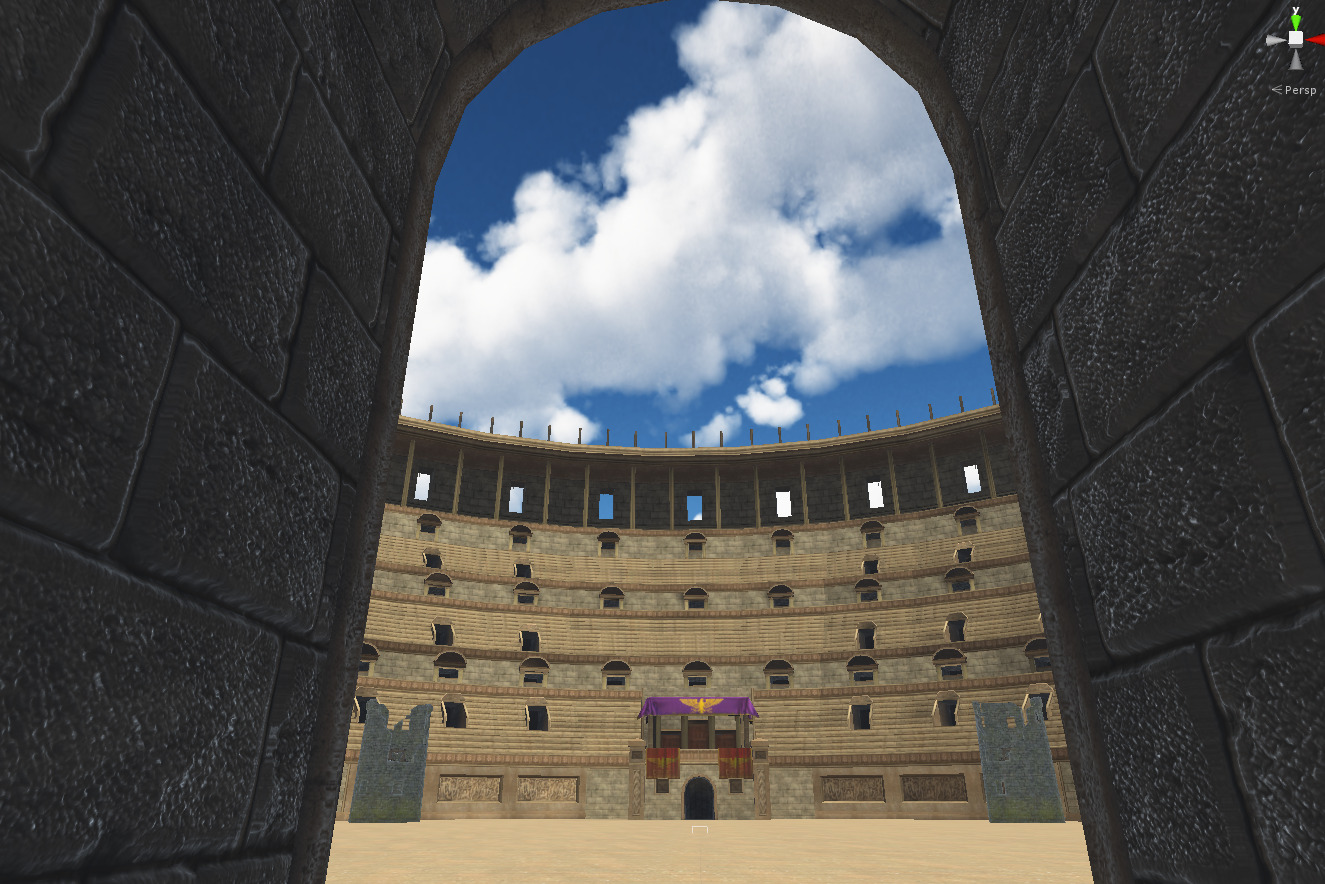
Bellini,
Marziali, Santambrogio |
VRena |
link link |
 |
| 9 | Takkar,
Manchundiya |
Battle Royale AR |
link link link |

|
| 10 | Nishimoto |
J.A. Incarceration:
A VR Storytelling Experience |
link link |
|
| 11 | Rastogi,
Kulkarni |
Array of Things VR |
link link |
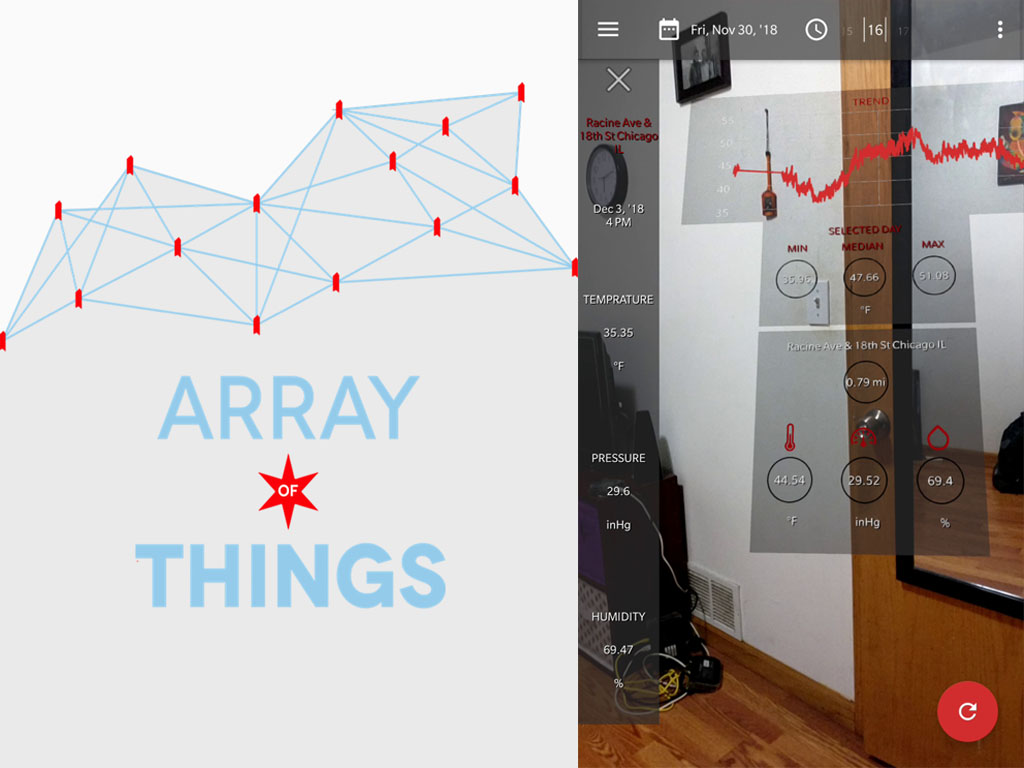 |
| 12 |
Arellano,
Norman, Akintoye |
AR Zodiac Cards |
link link app |
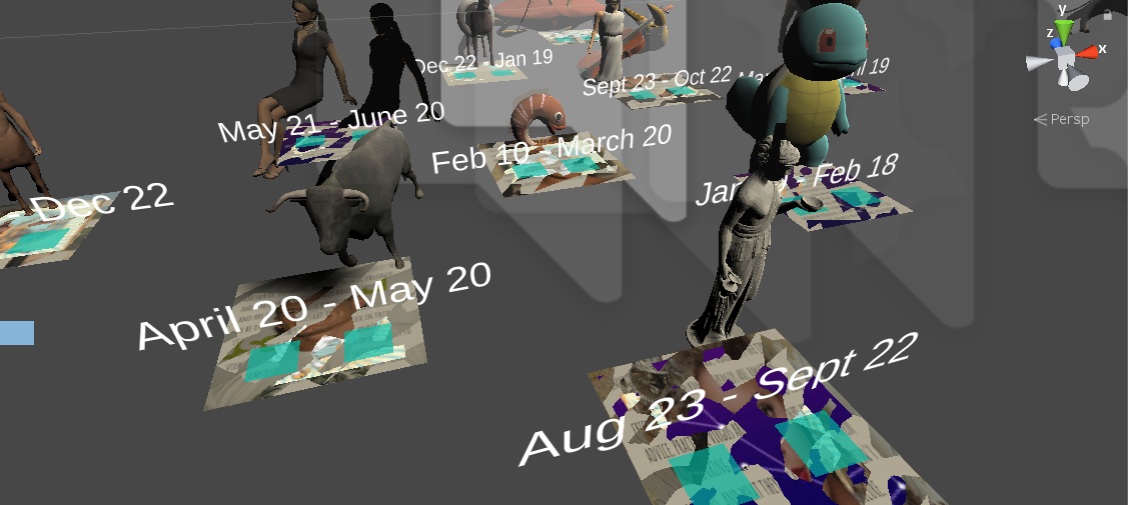 |
| 13 | Phaltankar,
Datta, Samy |
Physics in AR |
link link |
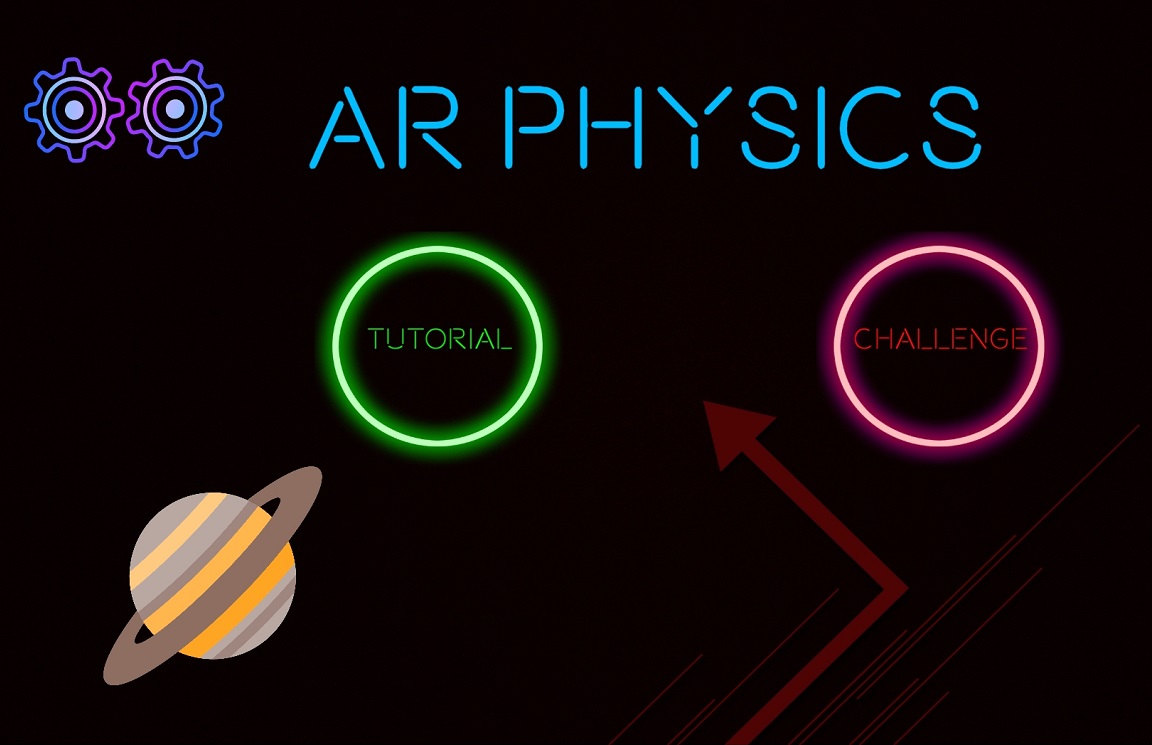 |
| 14 |
Almoujahed,
Dolat |
An
Escape |
link |
 |
| 15 | Haynie |
Default P3 | link |

|
| 16 | Molina | Default P3 | ||
| 17 |
Tran |
Magnetic Fields |
link link |
|
| 18 |
Lubek,
Kuhn |
VR
Foosball |
link link |
 |
| 19 |
Krishnamoorthy,
Neelakantan |
Pokemon Battle of Honor |
link link |
 |
| 20 |
Lee,
Taj |
Default P3 | link |
 |
| 21 | Kidwai,
Jamal, Vega |
Cyborg FPS |
link link |
 |
| 22 |
Huynh,
Hruby |
Default P3 | link |
 |