Alpha Due Saturday 10/12
at 8:59pm Chicago time Application
Due Saturday 10/19 at
8:59pm Chicago time Documentation Due Monday
10/21 at 8:59pm Chicago time
This second project is
focused on immersive Virtual Reality at room scale. This project
will give you some experience with building virtual worlds for
people to move around in and interact with, seeing that world at
both human scale as well as other scales.
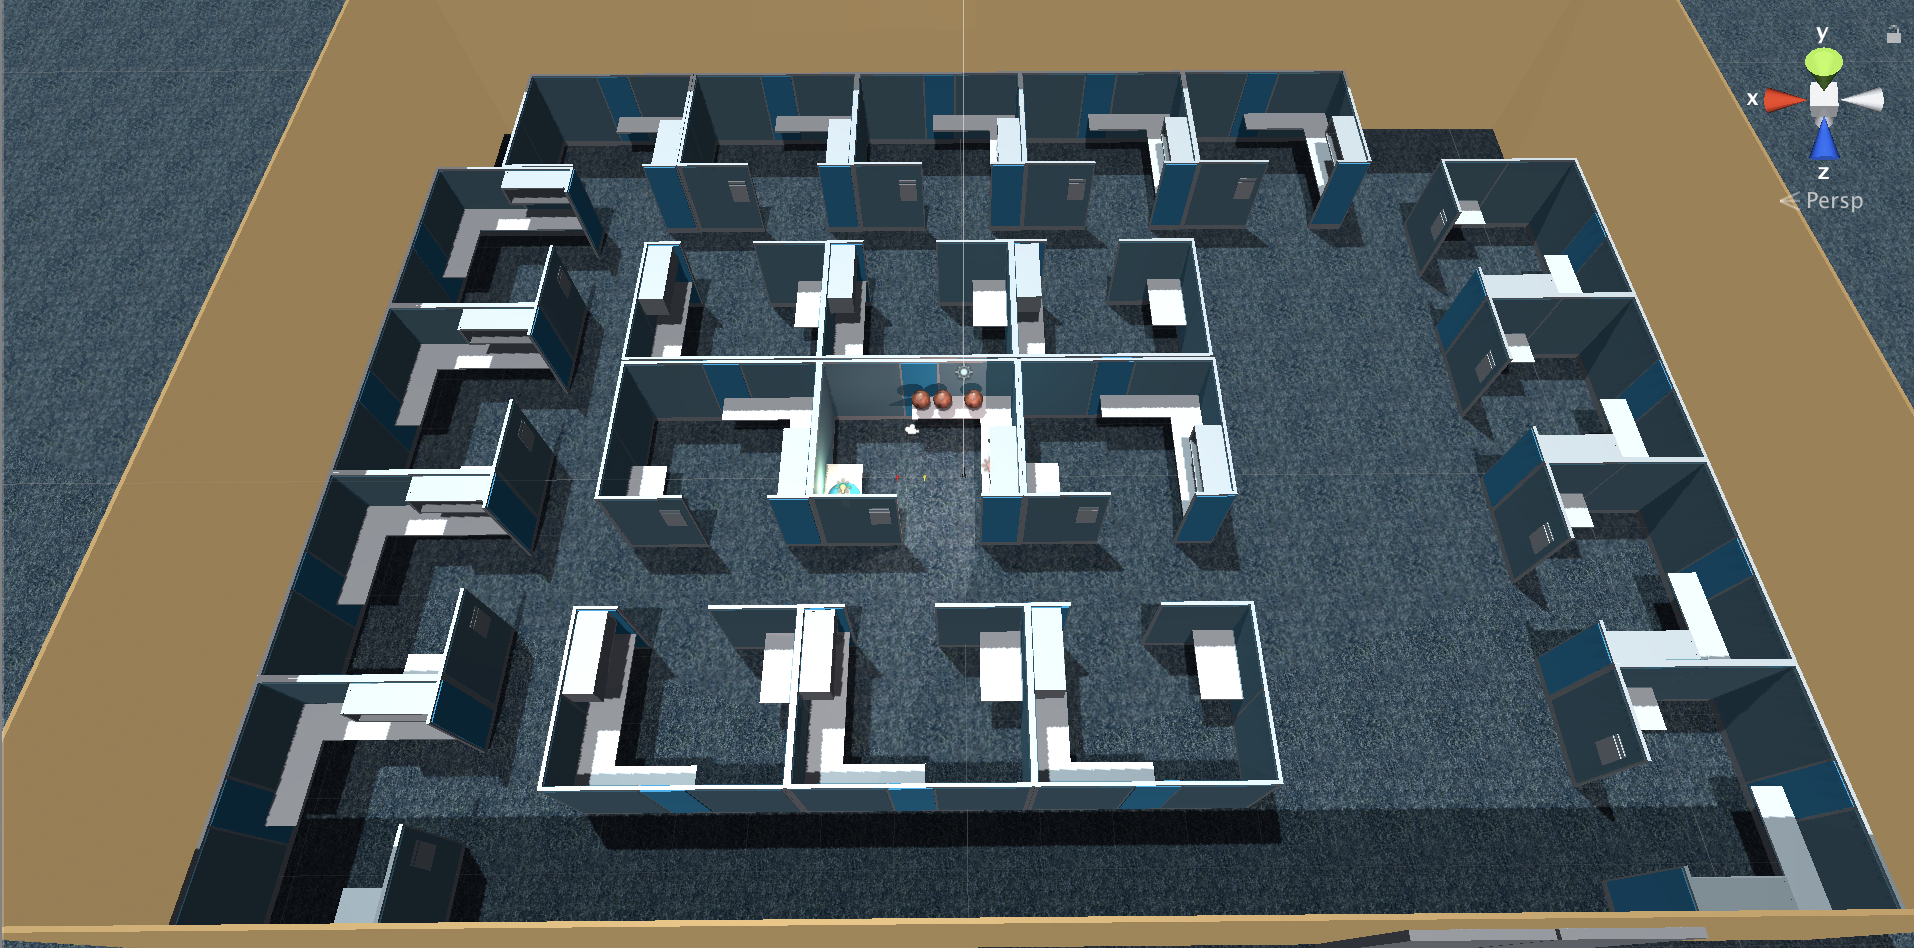
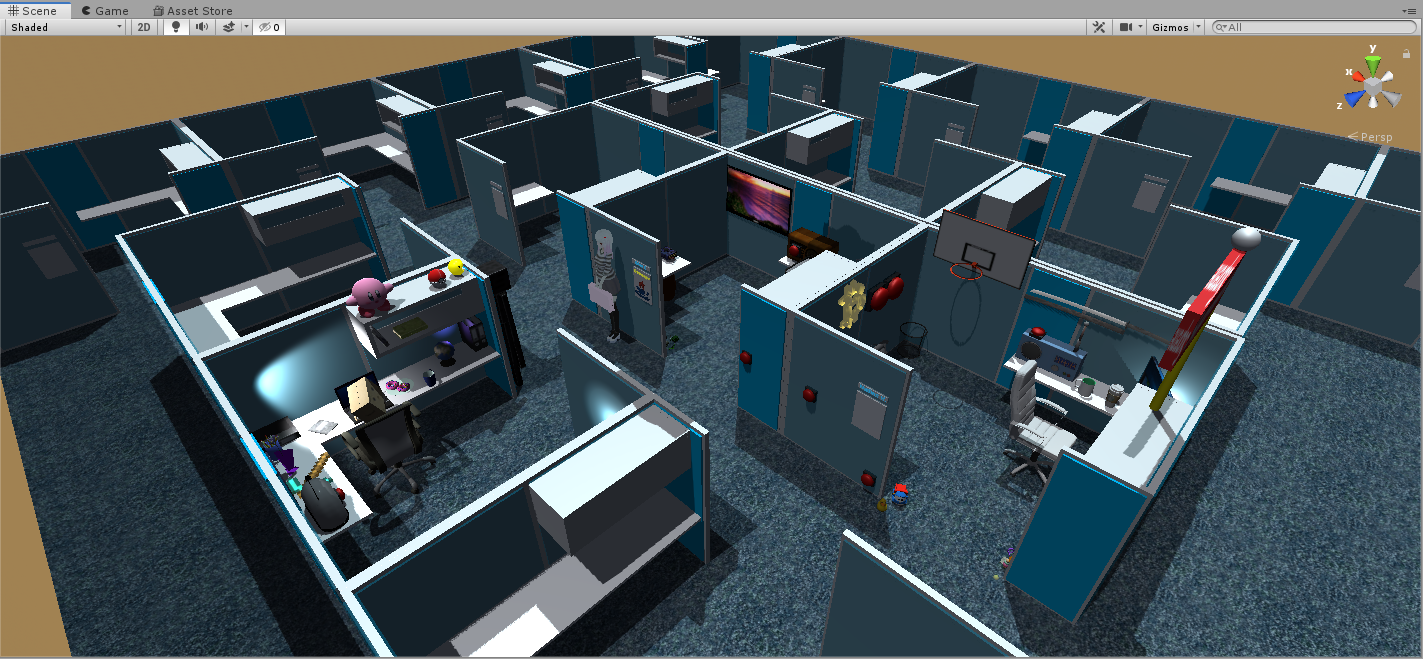
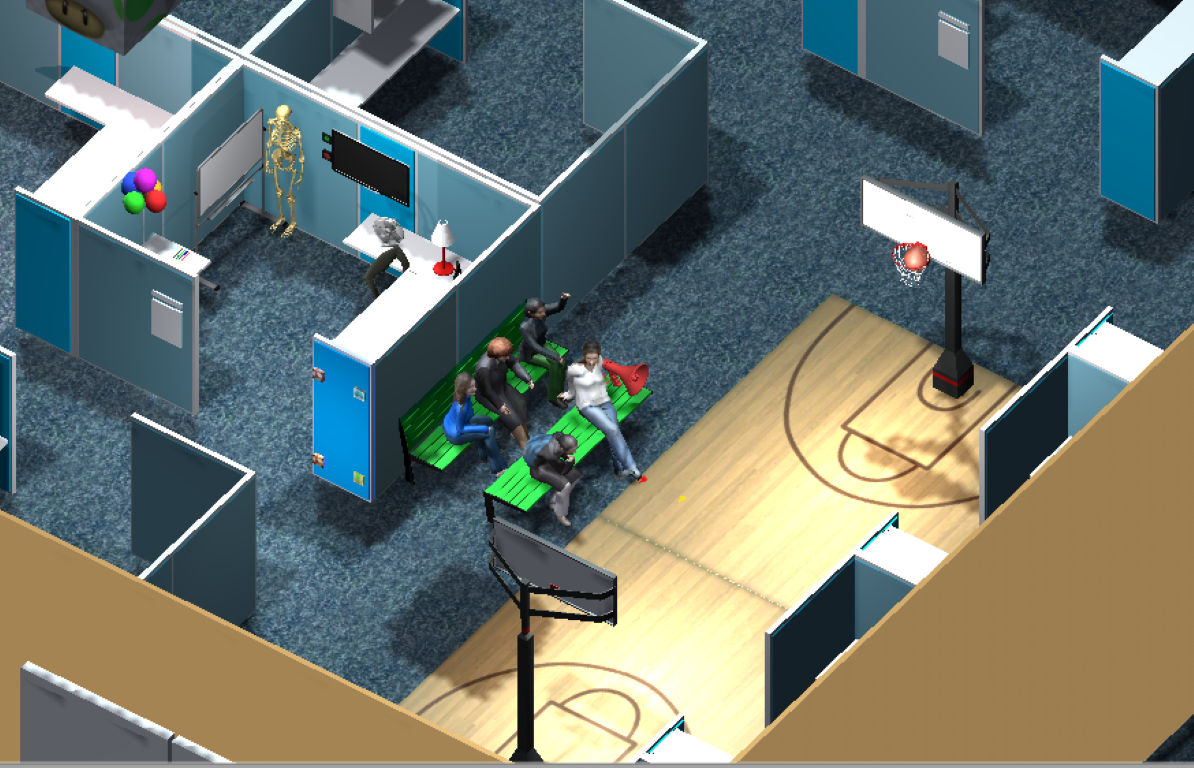
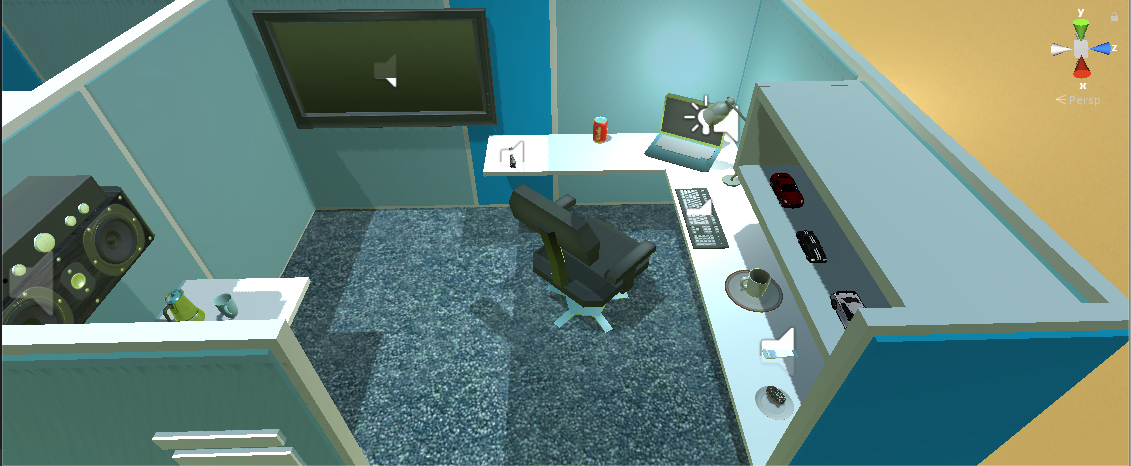
In this project you
are given the task of designing your dream work cubicle within a
somewhat depressing team work area. You can work on this project
alone, or in groups of two or three. The number of
cubicles you need to populate equals the number of people in
your team. Note that the cubicles are not graded independently
for a group project - the entire space is graded as a single
whole, so group members must make sure their individual work
combines together well. You can keep the same
group from the first project or create a new one.
The office could be
more of a traditional (i.e. boring) space, or something more
tech startup inspired, but the contents of the space should be G
/ PG rated, and be a place that a wide variety of potential
clients would feel comfortable in.
Implementing the
Project
You will be implementing the project in Unity 2019.2 and VRTK 4 to run
on the HTC VIVE in the classroom using the classroom PC.
You should already
have installed git so you can use it to clone the project2
repository, then remove the empty Assets/VRTK directory and
reinstall it from Git according to the VRTK 4 instructions
at https://github.com/ExtendRealityLtd/VRTK
under 'Cloning the repo' and then start up the appropriate
version of Unity from Unity Hub.
If you are seeing a bunch of 'Missing Prefab's in
your hierarchy then you didn't install VRTK4 into the project
assets folder correctly.
You should also be
sure to go through the VRTK4 videos and tutorials, and run the
sample farm scene by going through all the instructions on
the https://github.com/ExtendRealityLtd/VRTK
page and creating a new project to get a sense of the kinds of
things you can do with VRTK 4. I checked and the Farm demo still
works fine under 2019.2.6.
A couple particularly
good (though long) videos are:
Be sure when looking
for videos or documentation that you are looking at the 2019
VRTK 4 information, and not the earlier VRTK 3 information as
things were dramatically reorganized (for the better) in version
4.
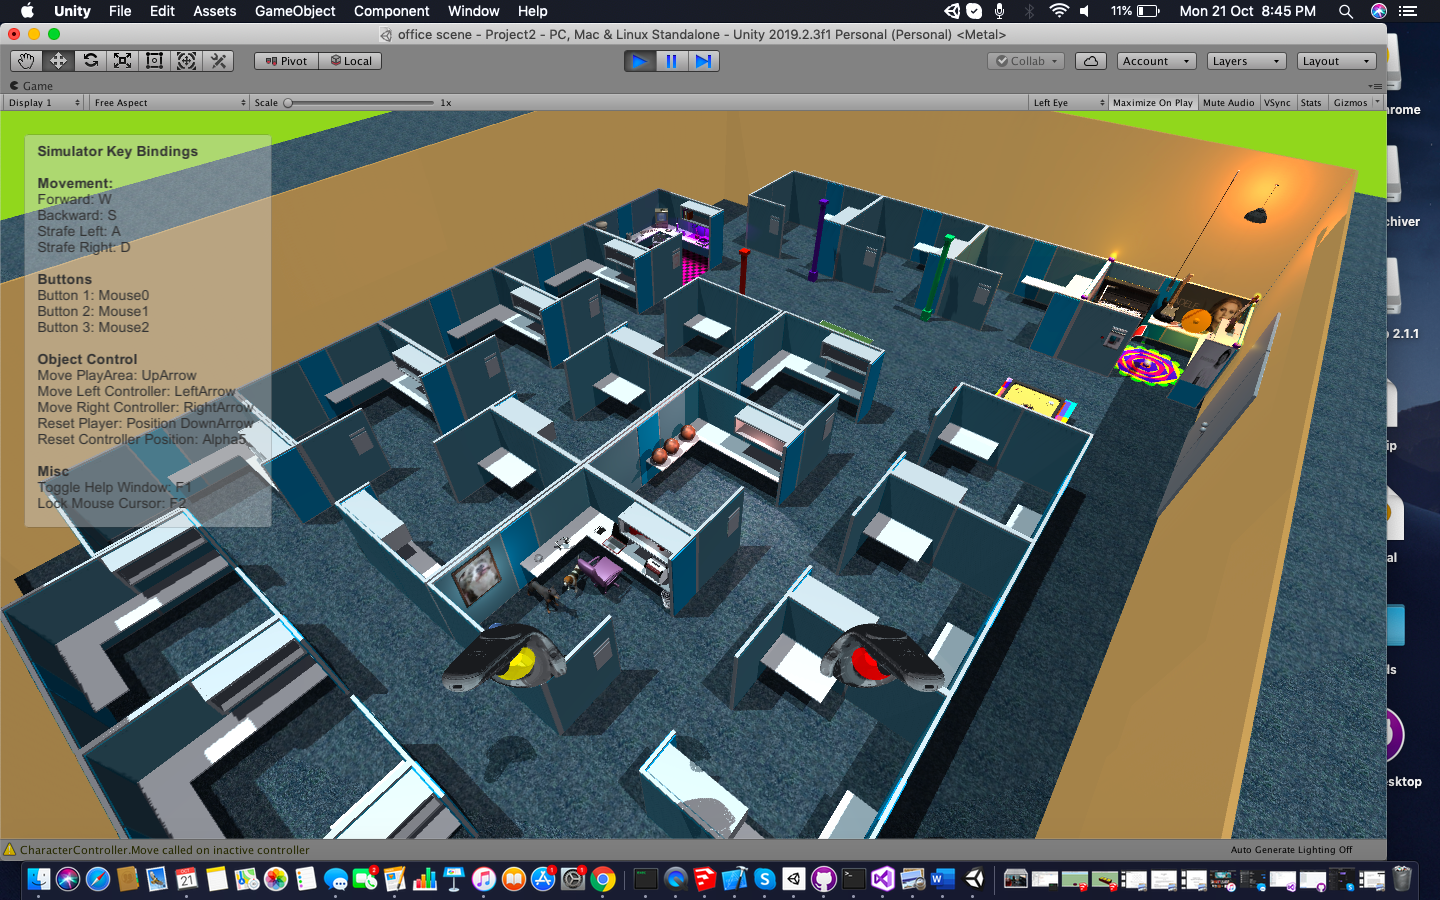
Before running my starter app you
should enable either the UnityXRCameraRig or the
SimulatedCameraRig depending on where you are testing.
I went through their
tutorials and videos and used them to create my scene. In the
simulator you can move around through the cubicles with the
WASD keys. In 'real' VR you teleport with the left controller.
For the simulator I adjusted the controls somewhat to use the
arrow keys to take control of the different virtual controllers
(as shown in the key bindings overlay in the simulator), and I
added the ability for the virtual controllers to pick up objects
like the Mars balls (left mouse button to grab with the left
virtual controller, right mouse button to grab with the right
virtual controller). Grabbing is done with the triggers for the
actual controllers. The small UFO in the
office should make sounds as you get close to it.
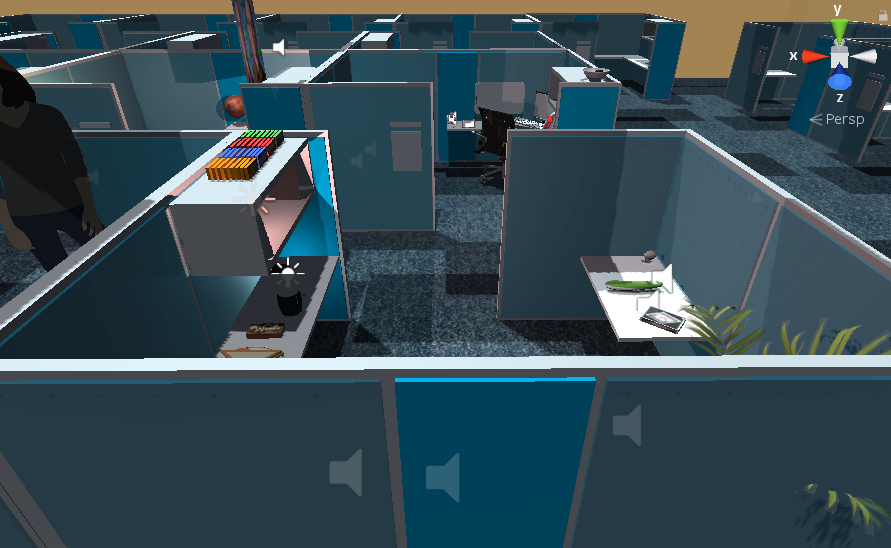
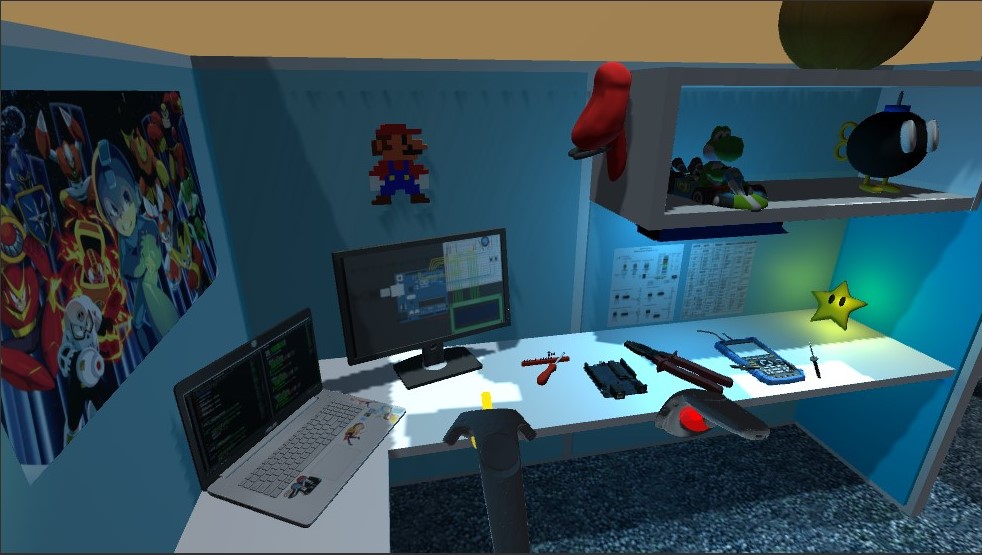
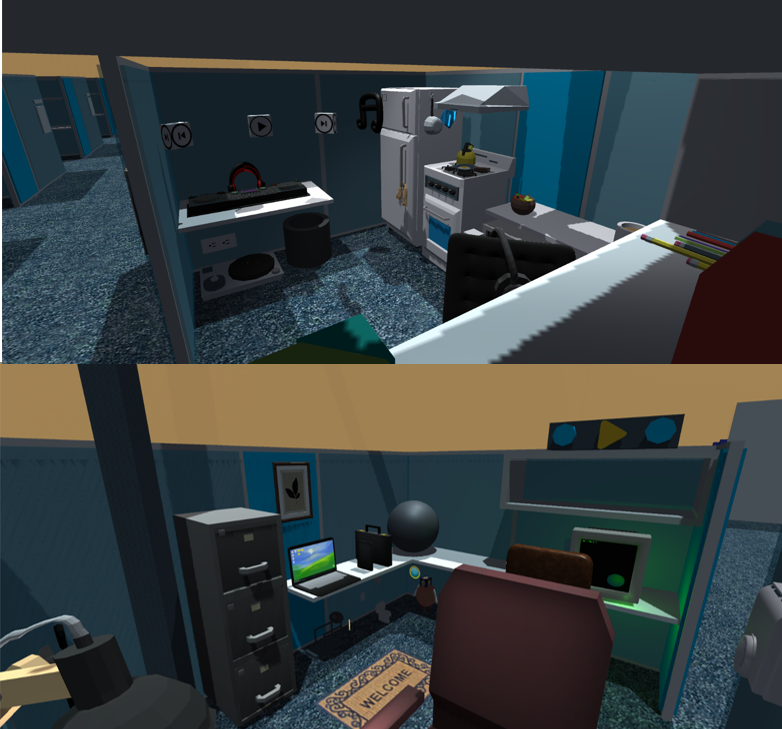
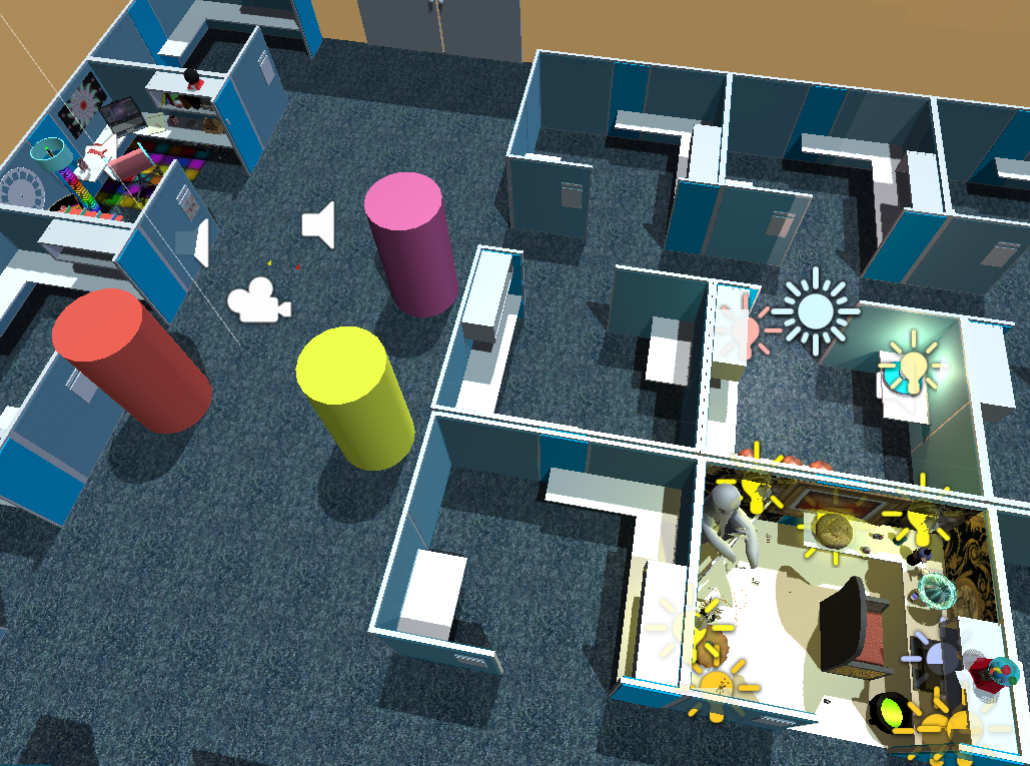
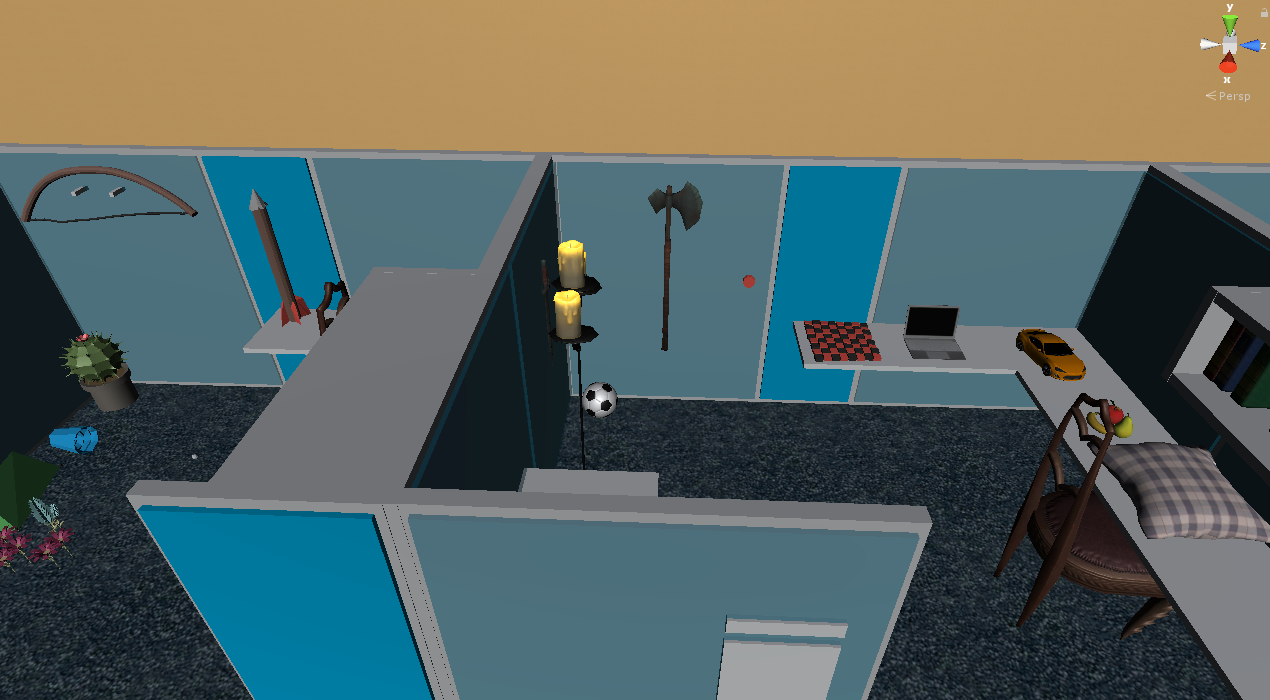
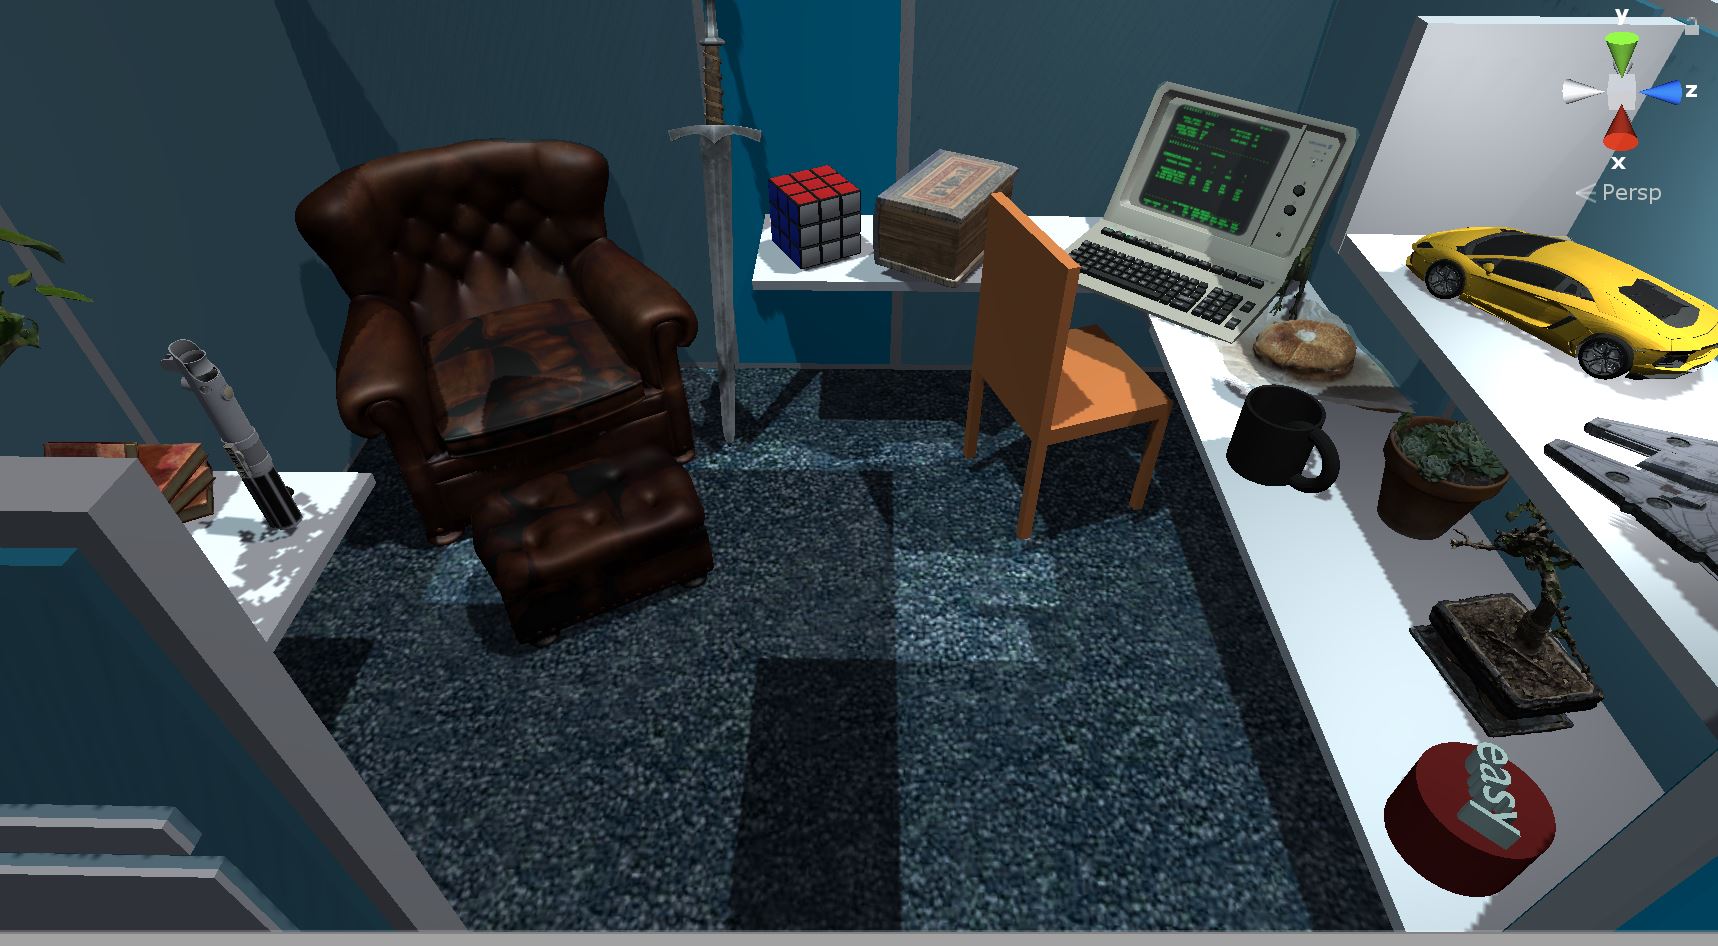
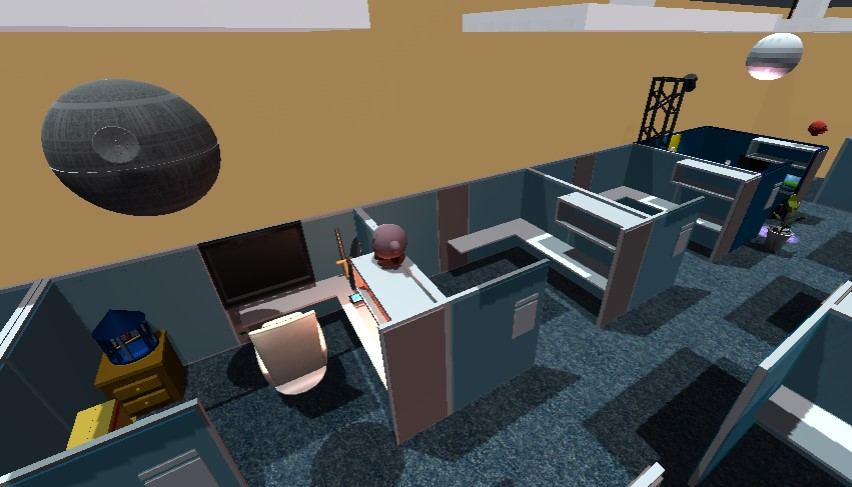
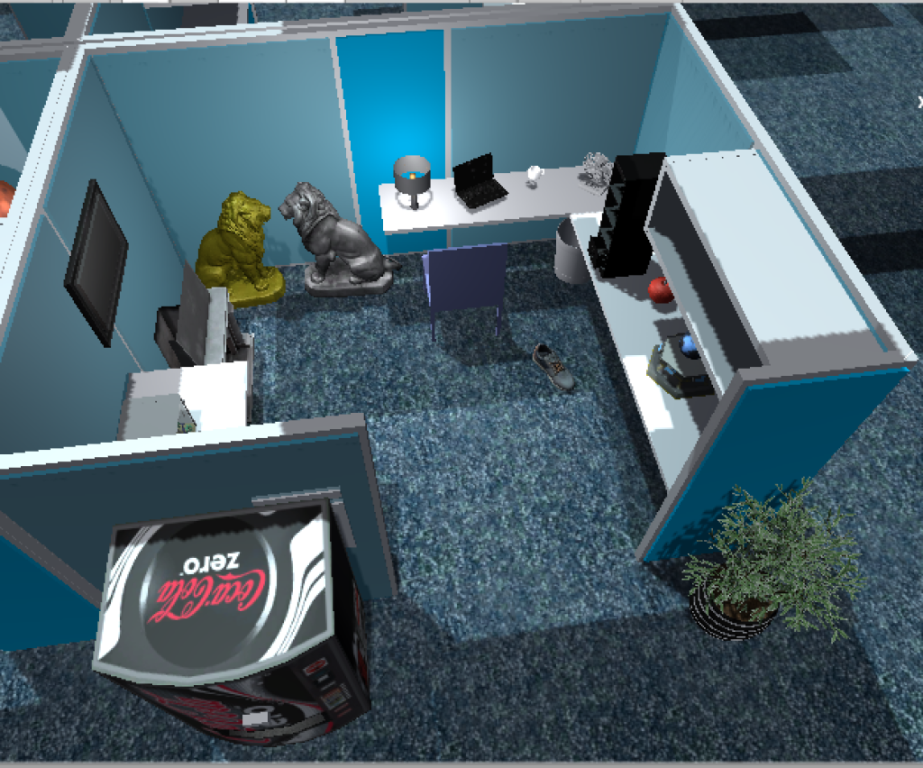
You can pick any of
the cubicles in the room to redesign. You can use the stock
tables or replace them in your cubicle if you wish, but the
other cubicles should remain as they are. You can change the
colors of the panels on the cubicle walls or add things onto the
walls. You cannot move cubicles around or enlarge or shrink the
cubicles. Each of the cubicles should have a consistent theme.
While I left the ceiling off to see all the office
space by default, you should have the ceiling on / visible
when running your application.
The number of
cubicles you need to populate equals the number of people in
your team. Each team member should work on their own cubicle,
but all the cubicles should work in the same space (i.e. if
you have a giant palm tree hanging over your cubicle it
shouldn't take up the same space as the climbing wall in the
next cubicle). The whole room has to has to run at a decent
smooth frame rate for VR so test moving around the entire
office space with all of your models in the space as quickly
as possible to see if you need to simplify the models or
replace some of them or dynamically turn some of them on and
off.
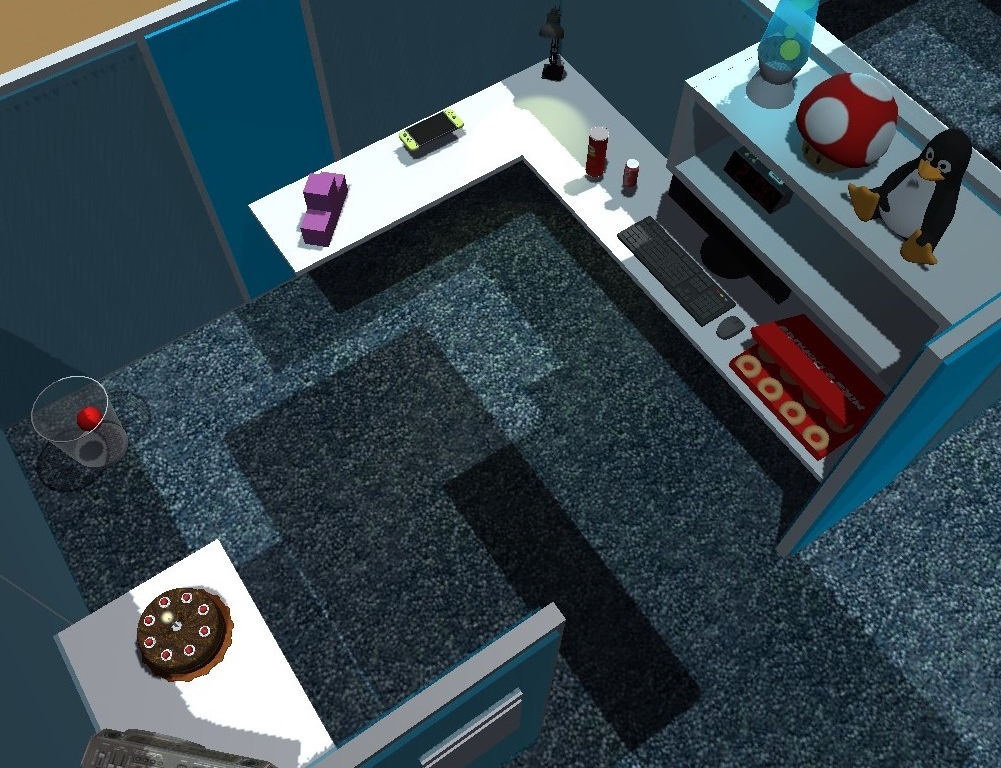
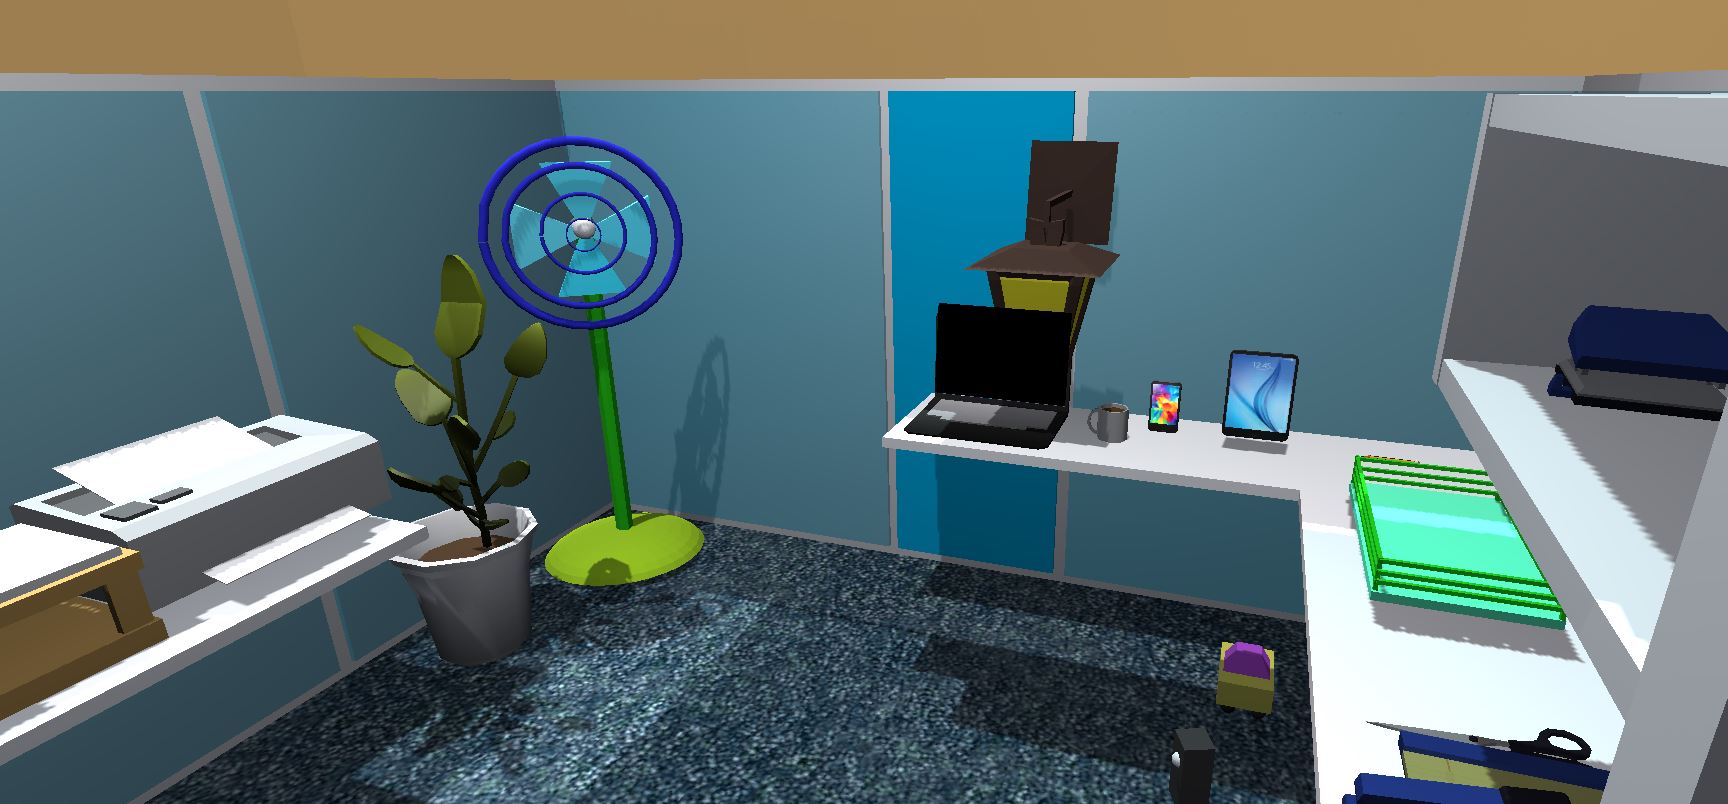
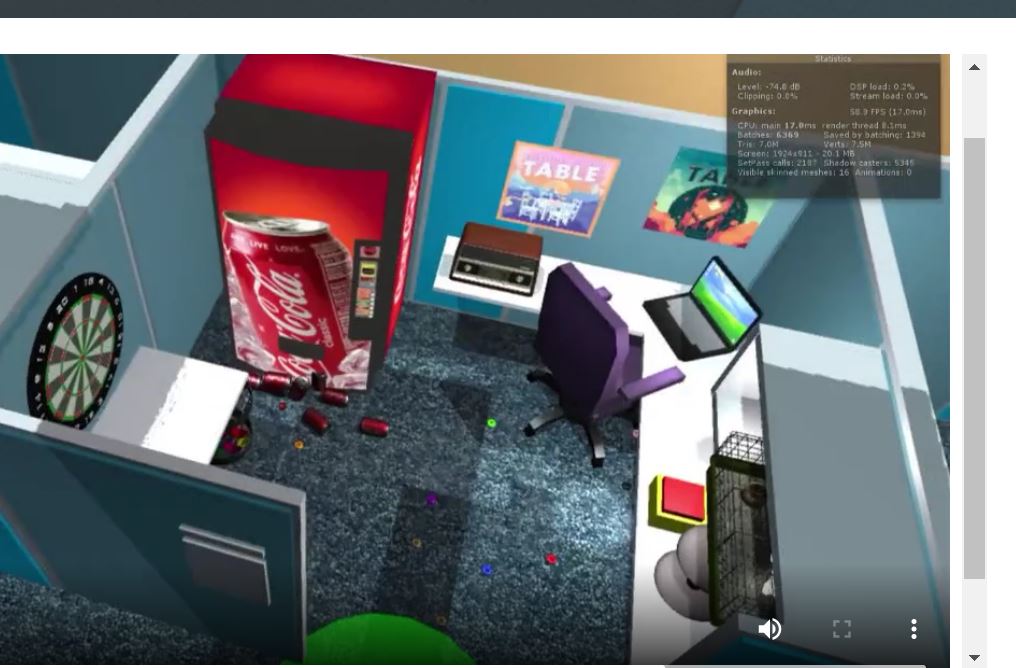
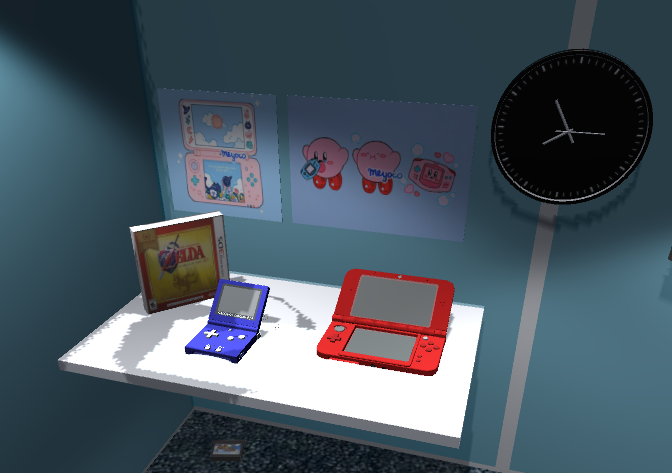
To get a C on the project each cubicle should
have
at least 10 unique
models
create 2 unique models
of your own to put in the space
two of the models
should react when
a user touches them (e.g. pressing a button on a a drink
machine could vend a can, or a monitor could turn on, or
coffee could be brewed, or a PC could boot up)
at least oneambient sound or piece of
music
two local light sources
To get a B you need to add to each cubicle ...
an additional 5 unique
models
add appropriate physics
to at least 5 objects in the scene
create another 2 unique
models of your own to put in the space
add in 4 more sounds
that are triggered by the user moving close to certain
objects in the scene or interacting with certain objects
To get an A
you need to give the user control to change their size (or
conversely change the size of the environment around them).
The user should be able to easily shrink to down to 6 inches
(15 cm) tall (allowing you to fulfill your incredible
shrinking man / land of the giants / ant man / downsizing
fantasy), resume their normal size, or grow to 20 feet (6
meters) tall (allowing you to fulfill your attack of the 50
foot woman / amazing colossal man fantasy).
When
small the user should be able to walk around on the floor
or tables to see the world from a different perspective.
For the 6" scale you should ...
add an additional 5
unique models for the user to interact with at that scale in each cubicle
create 2 more unique models
of your own to put in the space for the user to interact with
at that scale in each cubicle
add appropriate
physics to at least 3 of those objects in the space in
each cubicle
change the loudness of
the sounds based on the users size
For the
20 foot scale the user should be able to move around and
look over the entire work area (so you will need a good way
to deal with the ceiling, and be sure you have enough floor)
The graduate students
need to also work on the large common area
create a theme for this area (entry
area, game area, shared storyboard area, dance area, kitchen
area)
add another 5 unique models times
the number of people in the group suitable to that theme of
which 2 need to be interactive and have sounds
Be
very careful when you are collecting or creating models
for your space as the polygons start to add up; you need to make
sure you maintain a good interactive frame rate in stereo on the
classroom VIVE PC from every point in the scene - i.e. you may
have good frame rate in the middle of the scene with the models
around you but the frame rate may drop too low if you move
to a corner of the team space and all the models are in front of
you. The frame rate should remain high throughout.
Other potential gotchas:
- be sure the models that you import do not have
their own cameras - unity may get confused about what camera
to use
Note that you also
have the ceiling above your cubicle, the floor, and the wall
outside the entrance to work with.
Note that there is a very big difference between
getting something working and getting it working well. The first
is not that hard. The second takes much more time. You are
expected to have things working well, so be sure to test on the
actual hardware regularly. Having things running in the
simulator does not count. The projects are going to be graded
based on how they run on the classroom VIVE+PC.
You should create a
new private gitHub repository for your project. You can
integrate Unity with git so that it will track all your changes,
or just regularly push files to git. The final project will need
to be turned in via git so we know the timestamp on the files,
but it can be also helpful to have regular commits to resolve
any potential group conflicts. Initially this repository should be private yo your
group, and then you can make it public for turning it in.
Turning in the
Project
There are three due dates for the
project.
The alpha is due first. At this point
you should have all the basic C level functionality working.
Add the TA as a collaborator to your GitHub repository so
she can have access to your work, and email a link to the
repository to her. You should also create a short 1 minute
video YouTube video showing all of the basic C level
functionality of your application running on the classroom
VIVE PC or a computer of your choice, probably captured
through a screen capture program or a cell phone if you are
running it live in the classroom. Send a link to the video
to Andy and the TA by the alpha deadline.
The unity source and application is due
next. This will be turned in via git. Make your repository
public and be sure to email the location of your repository
to Andy and the TA before the deadline.
The third deadline is for the
documentation.
You should create a set of public web pages (visible to anyone
for at least the duration of the course) that describe your
work on the project. You can host your web pages at UIC(http://people.uic.edu)or
the provider of your choice, as long as they remain publicly
available to all. You can use any publicly available templates
as long as you cite them, or create your own.
These pages should include:
introduction and
description of how to use your application and the things
you can do with it
links to all the source
code and any assets (models, textures, sounds) that you used
along with instructions on how to build your application on
the classroom PC
link to your git page
that allows someone to easily download a zipped folder
containing your entire project to the class PC to be run
enumerated
list with images of the n models you used and the ones you
created for your application to make it easy to see that
you have those n models in your scene (one good way to do
this is to take some high resolution screen shots of your
scene and put numbers next to each of the models and then
have a textual list showing where the models came from and author credits or
that they were created by you)
enumerated
list of the sounds you used and their sources, or state
that you created them
at least a one page /
500 word discussion of how effective this technique could be for
planning out a space ahead of time, whether a cubicle
or an apartment, or other space for people.
all of which should haveplentyof
screenshots with meaningful captions. Web pages like this can be
very helpful later on in helping you build up a portfolio of
your work when you start looking for a job so please put some
effort into it.
You should also create a 2-3 minute YouTube video showing the
use of your application including narration with decent audio
quality. That video should be in a very obvious place on your
main project web page. The easiest way to do this is to interact
with the video in the classroom or the EVL main lab in front of
the tiled LCD screen showing what you are seeing - this way
people watching can see you interacting and what you are seeing.
You can try to narrate while interacting but you will most
likely find its useful to do some editing afterwards to tighten
the video up.
The web page including screen snapshots and video need to be
done by the deadline so be sure to leave enough time to get that
work done. Once you have your webpage done, send the URL to Andy
and the TA before the deadline. We will respond to this email as
your 'receipt'. We will be linking your web page to the course
notes so please send Andy a nice representative jpg or png image
of your application for the web. This should be named
p2.<your_last_name>.pg or p2.<your_last_name>.png
and be roughly 1024 x 768 in size. When the project is
done, each person in a group should also send Andy a private
email with no one else CC'd ranking your coworkers and
yourself on the project on a scale from 1 (low) to 5 (high) in
terms of how good a coworker they were on the project. If you
never want to work with them again, give them a 1. If this
person would be a first choice for a partner on a future
project then give them a 5. If they did what was expected but
nothing particularly good or bad then give them a 3. By
default your score should be 3 unless you have a particular
reason to increase or decrease the number. Please confine your
responses to 1, 2, 3, 4, 5 and no 1/3ds or .5s please. Presenting the Project An
important part of creating VR applications is getting feedback
and using it to improve your design.
We will be spending time in class for each person/group to show
off their work.Given
the number of groups, each group will have <?> minutes
to present their project.
The
classroom VIVE PC will have a folder on the desktop named 428
Fall 19 Project 2. You should put
a copy of your executable and its associated data folder
into a folder named after you, and then put that folder into
the 428
Fall 19 Project 2 folder.Be sure to test and
make sure your project runs well through the VIVE and its
controllers on that PC as that is where they will be shown
in class and officially graded.