Application
Due Saturday 11/28 at 8:59pm Chicago time
Documentation Due Monday 11/30 at 8:59pm Chicago time
Project 3 is going to focus on Virtual Reality.
Normally we are using the VR headsets in the classroom and
comparing how movement and interaction in that physical space
compares to movement and interaction in a virtual space. This
time we are going to flip that around since very likely for all
of the term we will not be in the actual classroom, so we will
let you experience the classroom virtually.
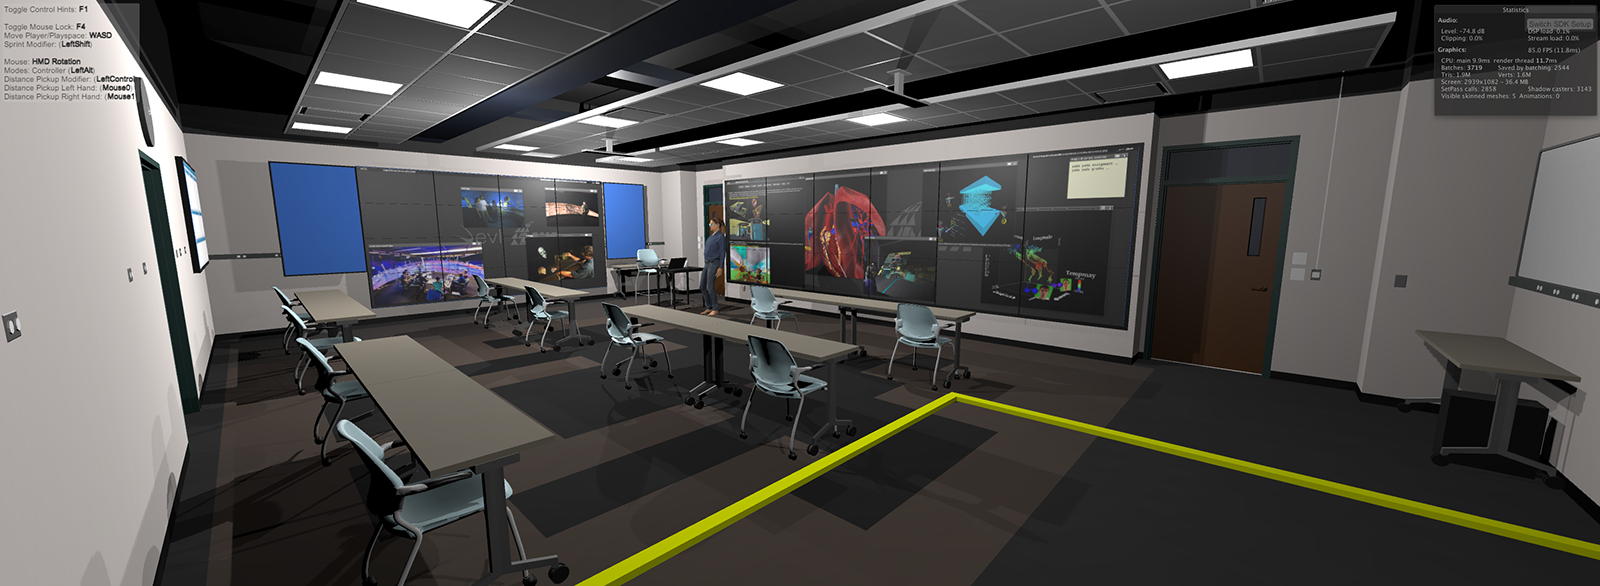
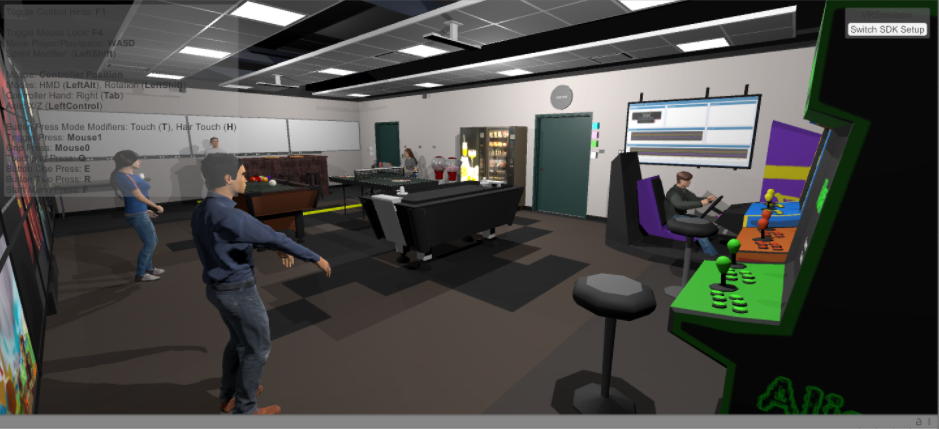
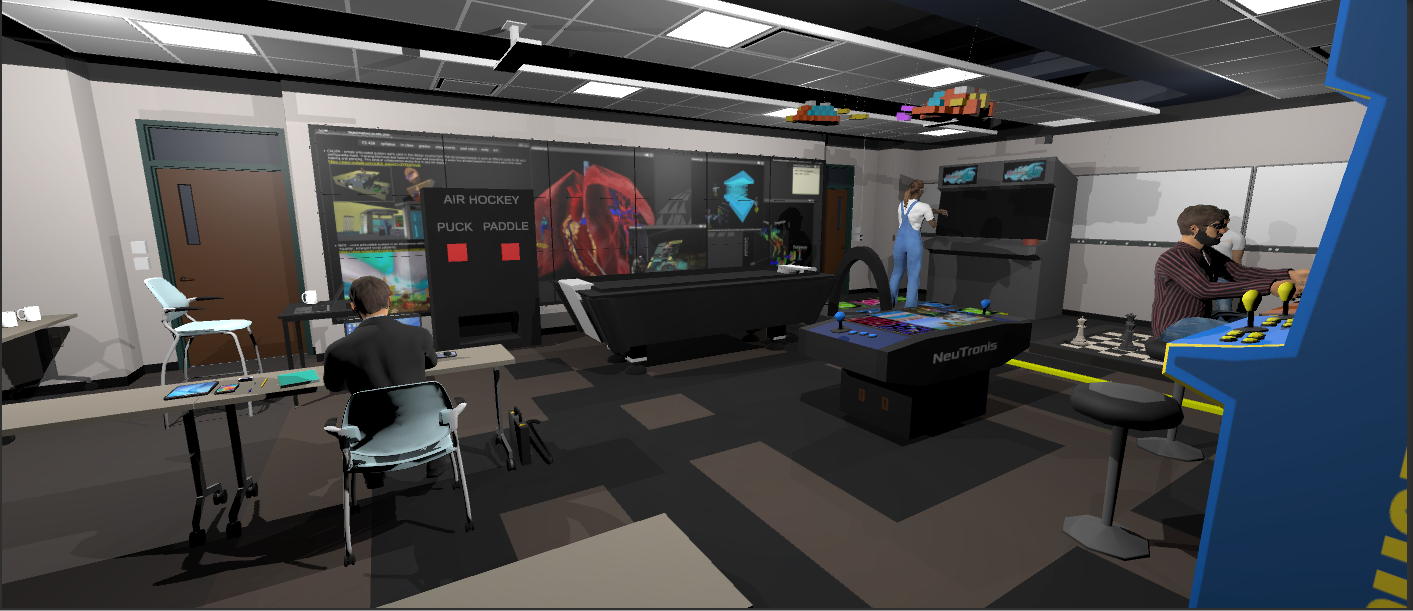
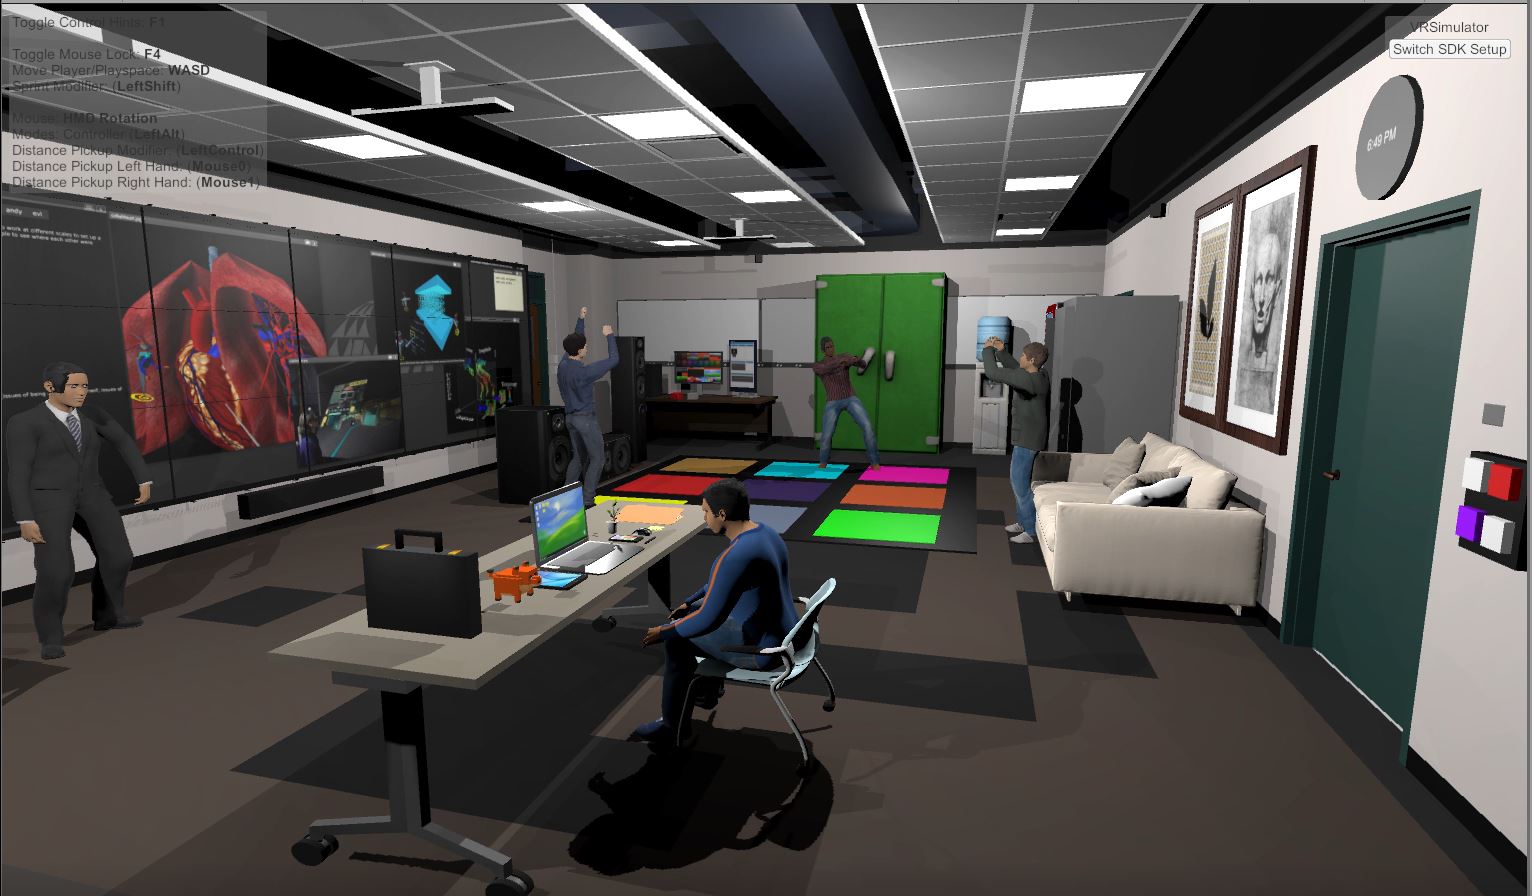
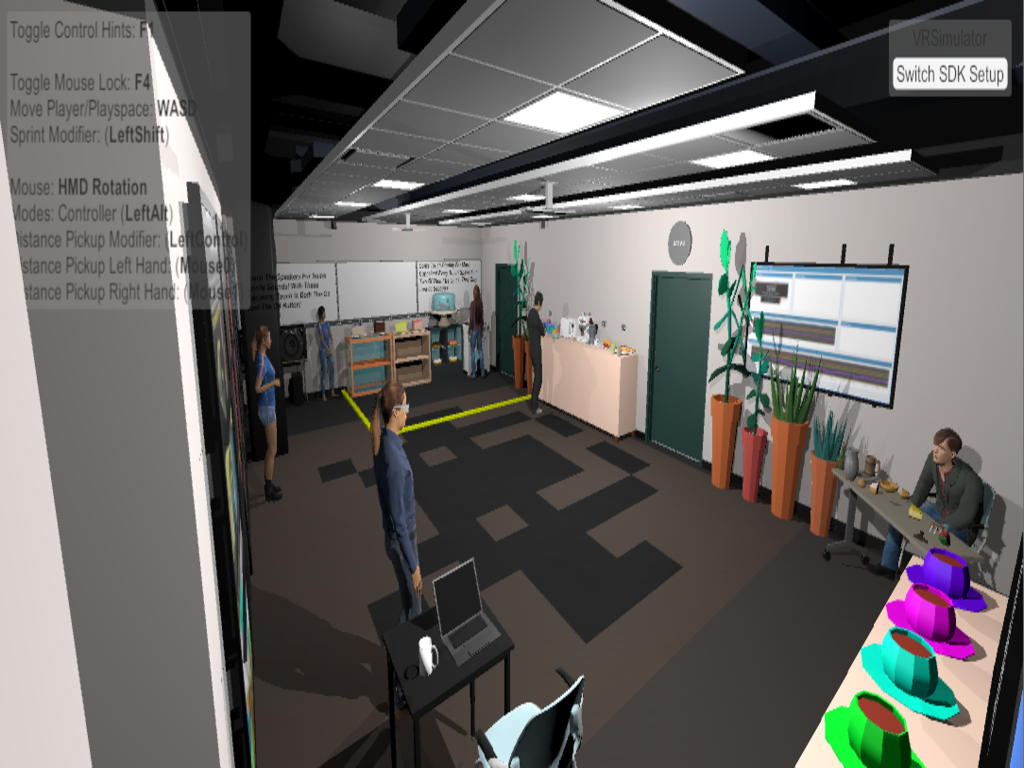
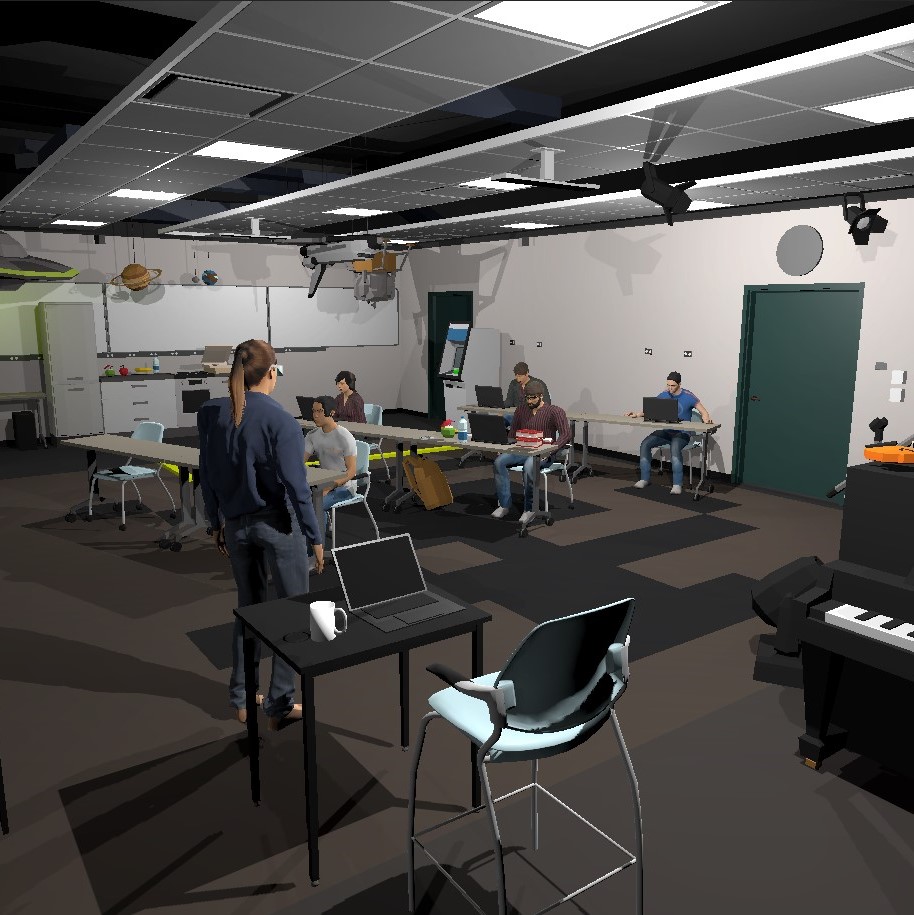
Here
is a fairly accurate representation of what the classroom would
look like with social distancing, based off the classroom model
by Arthur Nishimoto in the lab.
In this assignment you will get to create your 'dream'
classroom space. Whereas project 2 had you creating a small
Augmented Reality scene that you could look down at on a desk or
look over at human scale on a floor, here you are creating a
scene that completely surrounds you at human scale. Again,
please keep your scene appropriate for the general public.
The
goal here is to give you some familiarity with programming VR,
and if things improve enough to let people try their creations
out in VR in the classroom at the end of the term. This should
let you try out different kinds of movement in VR, and what
level of interaction is currently possible. It should let you
experience an embodied 3D head and hand tracked environment to
see how different this is from traditional media. If we can get
people using the headsets in the classroom by the end of the
term you will also be able to compare how the virtual space
feels compared to the same real space. It will also let you see
how simulators are used to do a fair amount of the creation of
these spaces.
This is an individual
project.
Implementing the
Project
You will be
implementing the project in Unity
2019.4.1f1 and VRTK 3. There are several different VR
libraries out there right now, and this lack of compatibility
has been a major issue for over 25 years and different
manufacturers go their own way. VRTK has been one of the better
cross-platform libraries of recent years, though it also looks
to be disappearing. Version 3 is more solid than version 4, so
we are going to go back to version 3. There are a lot of good
tutorials out there on VRTK, just make sure you are looking at
the version 3 tutorials.
You should already
have a recent version of Blender - https://www.blender.org/ -
installed on your computer (2.83 is probably safe, 2.7.9 will
probably leave you with missing walls) as it was needed for the
desk and chair from project 2 which are also used here.
The starter Unity project with the basic classroom
and VRTK is located here
https://www.evl.uic.edu/aej/428/428F20P3.zip
I
removed the Library folder from the project to shrink the size
of the zip file. You should be able to drag the EVL scene into
the hierarchy from Assets/virtualuic-evl/Scenes and then remove
the default scene, and hit play and you should be in the
classroom like I showed in Week 2.
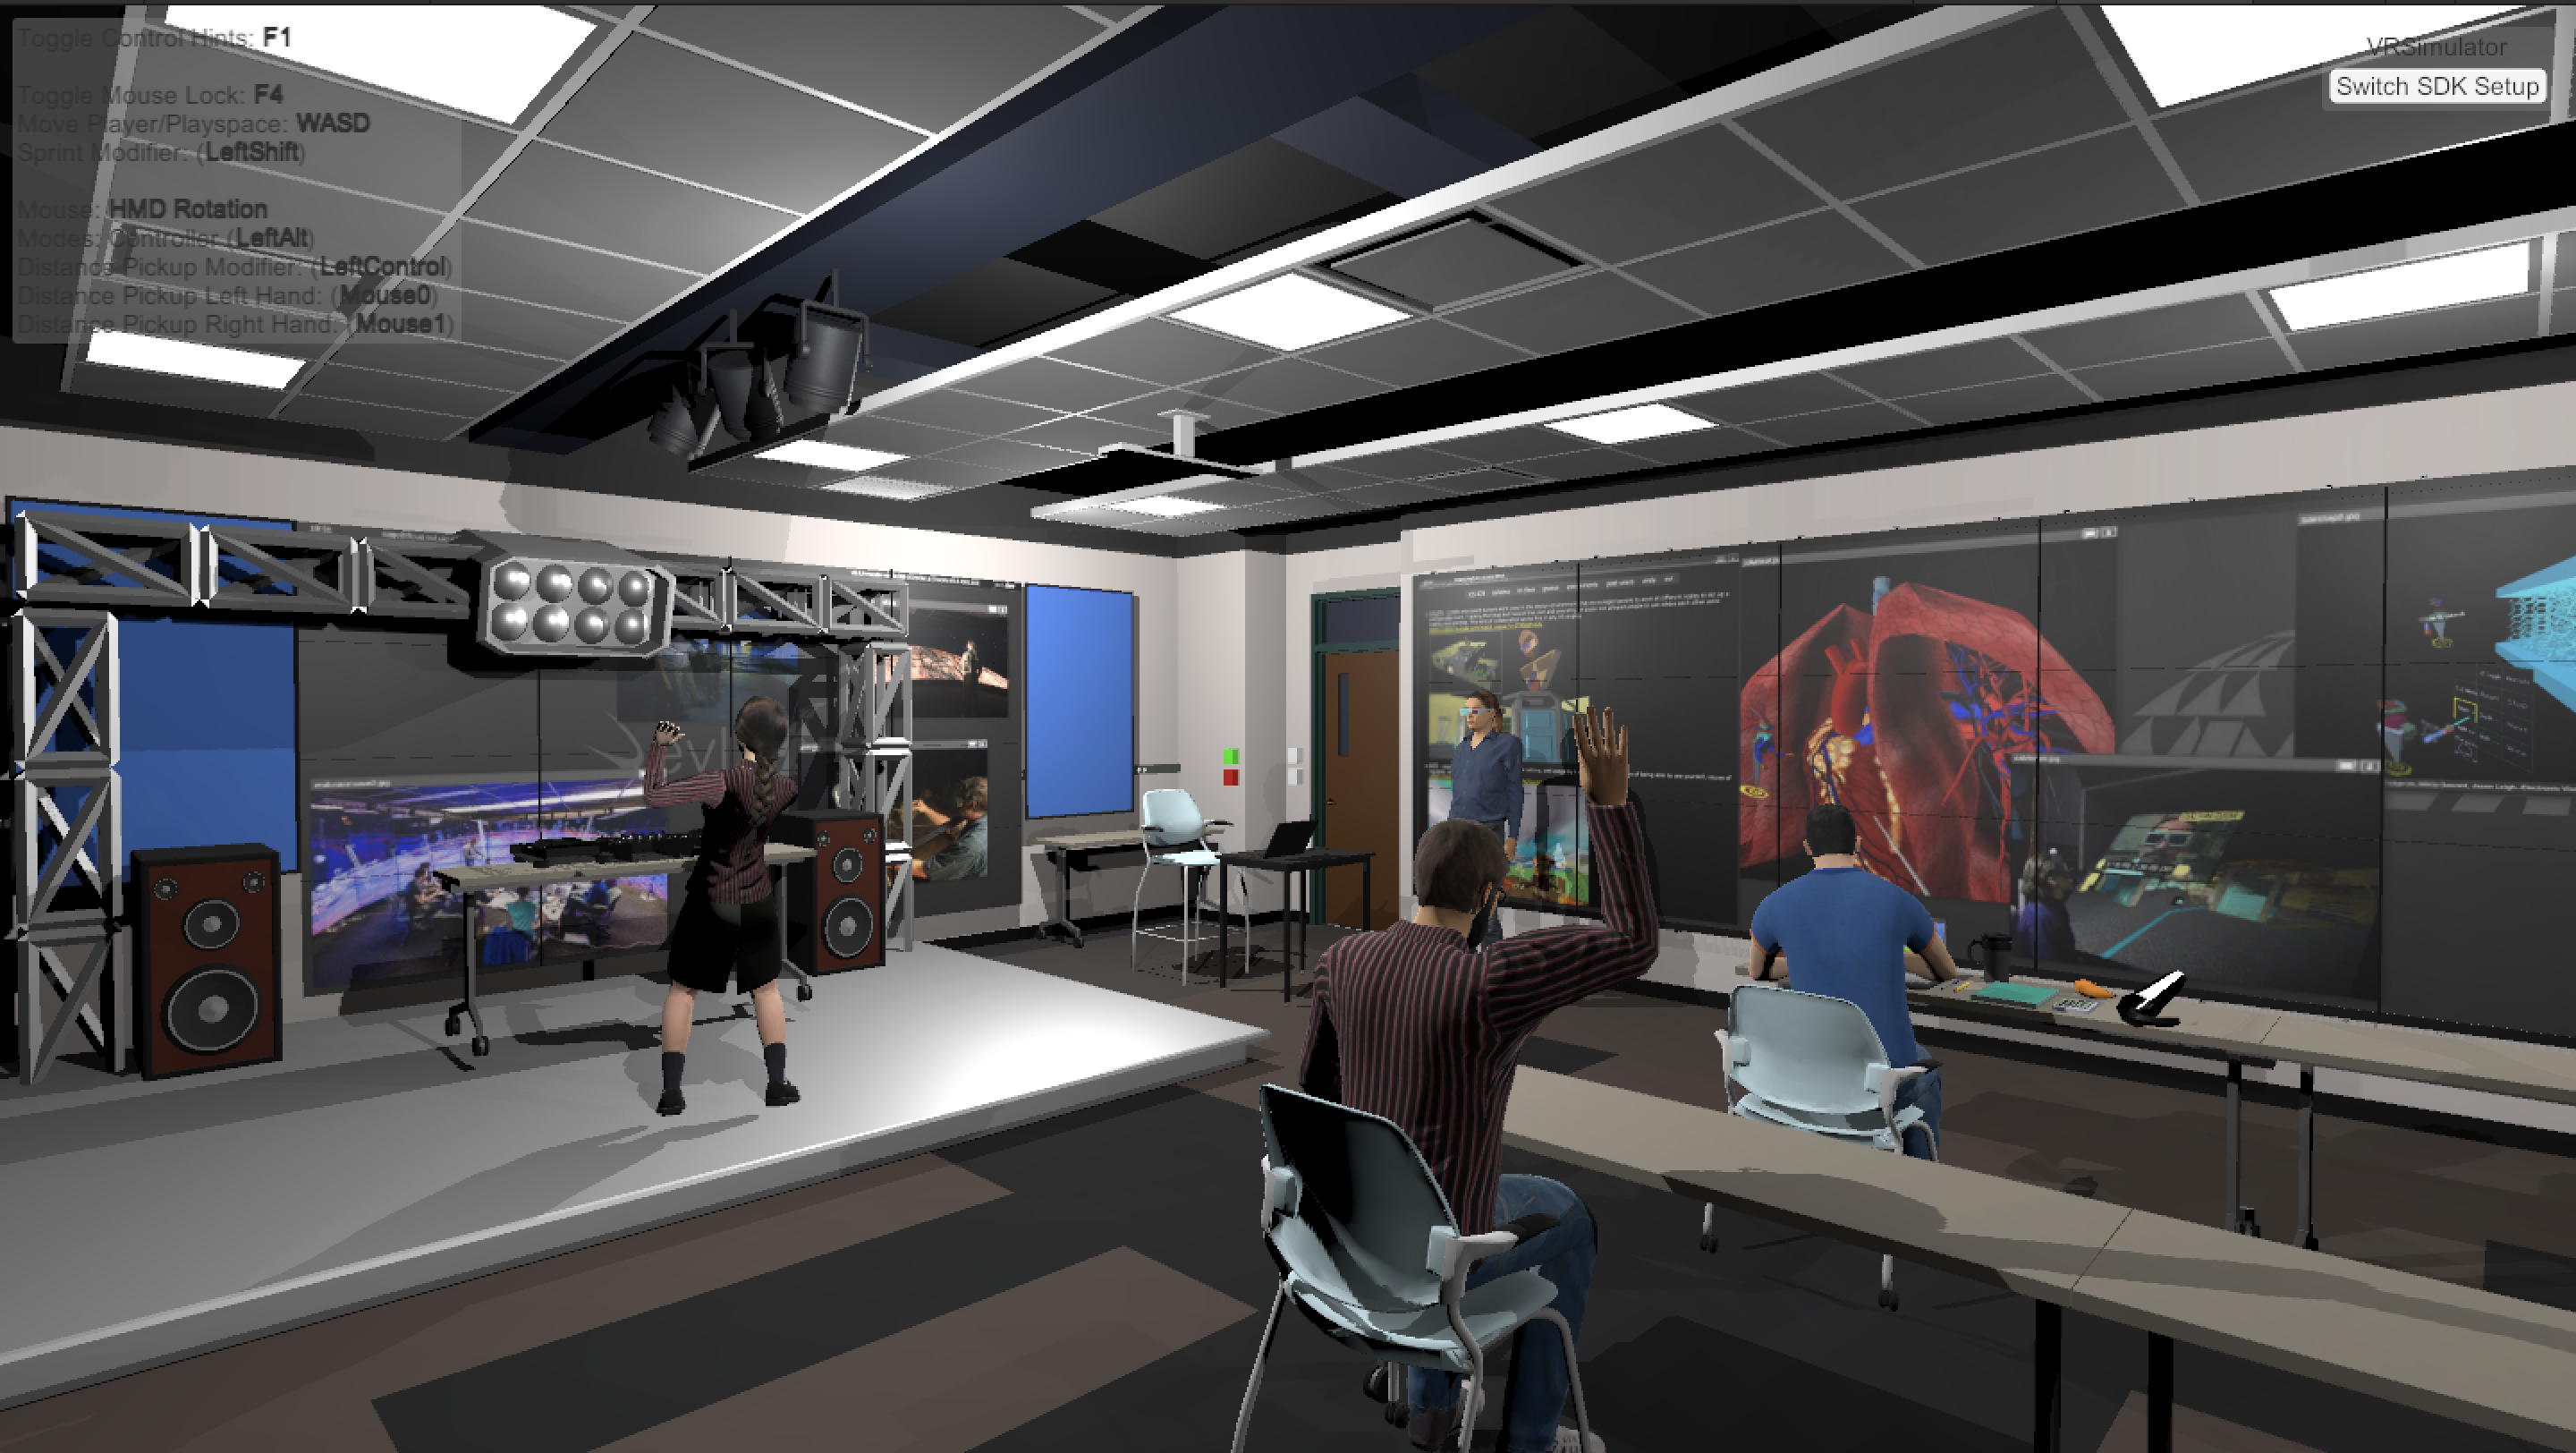
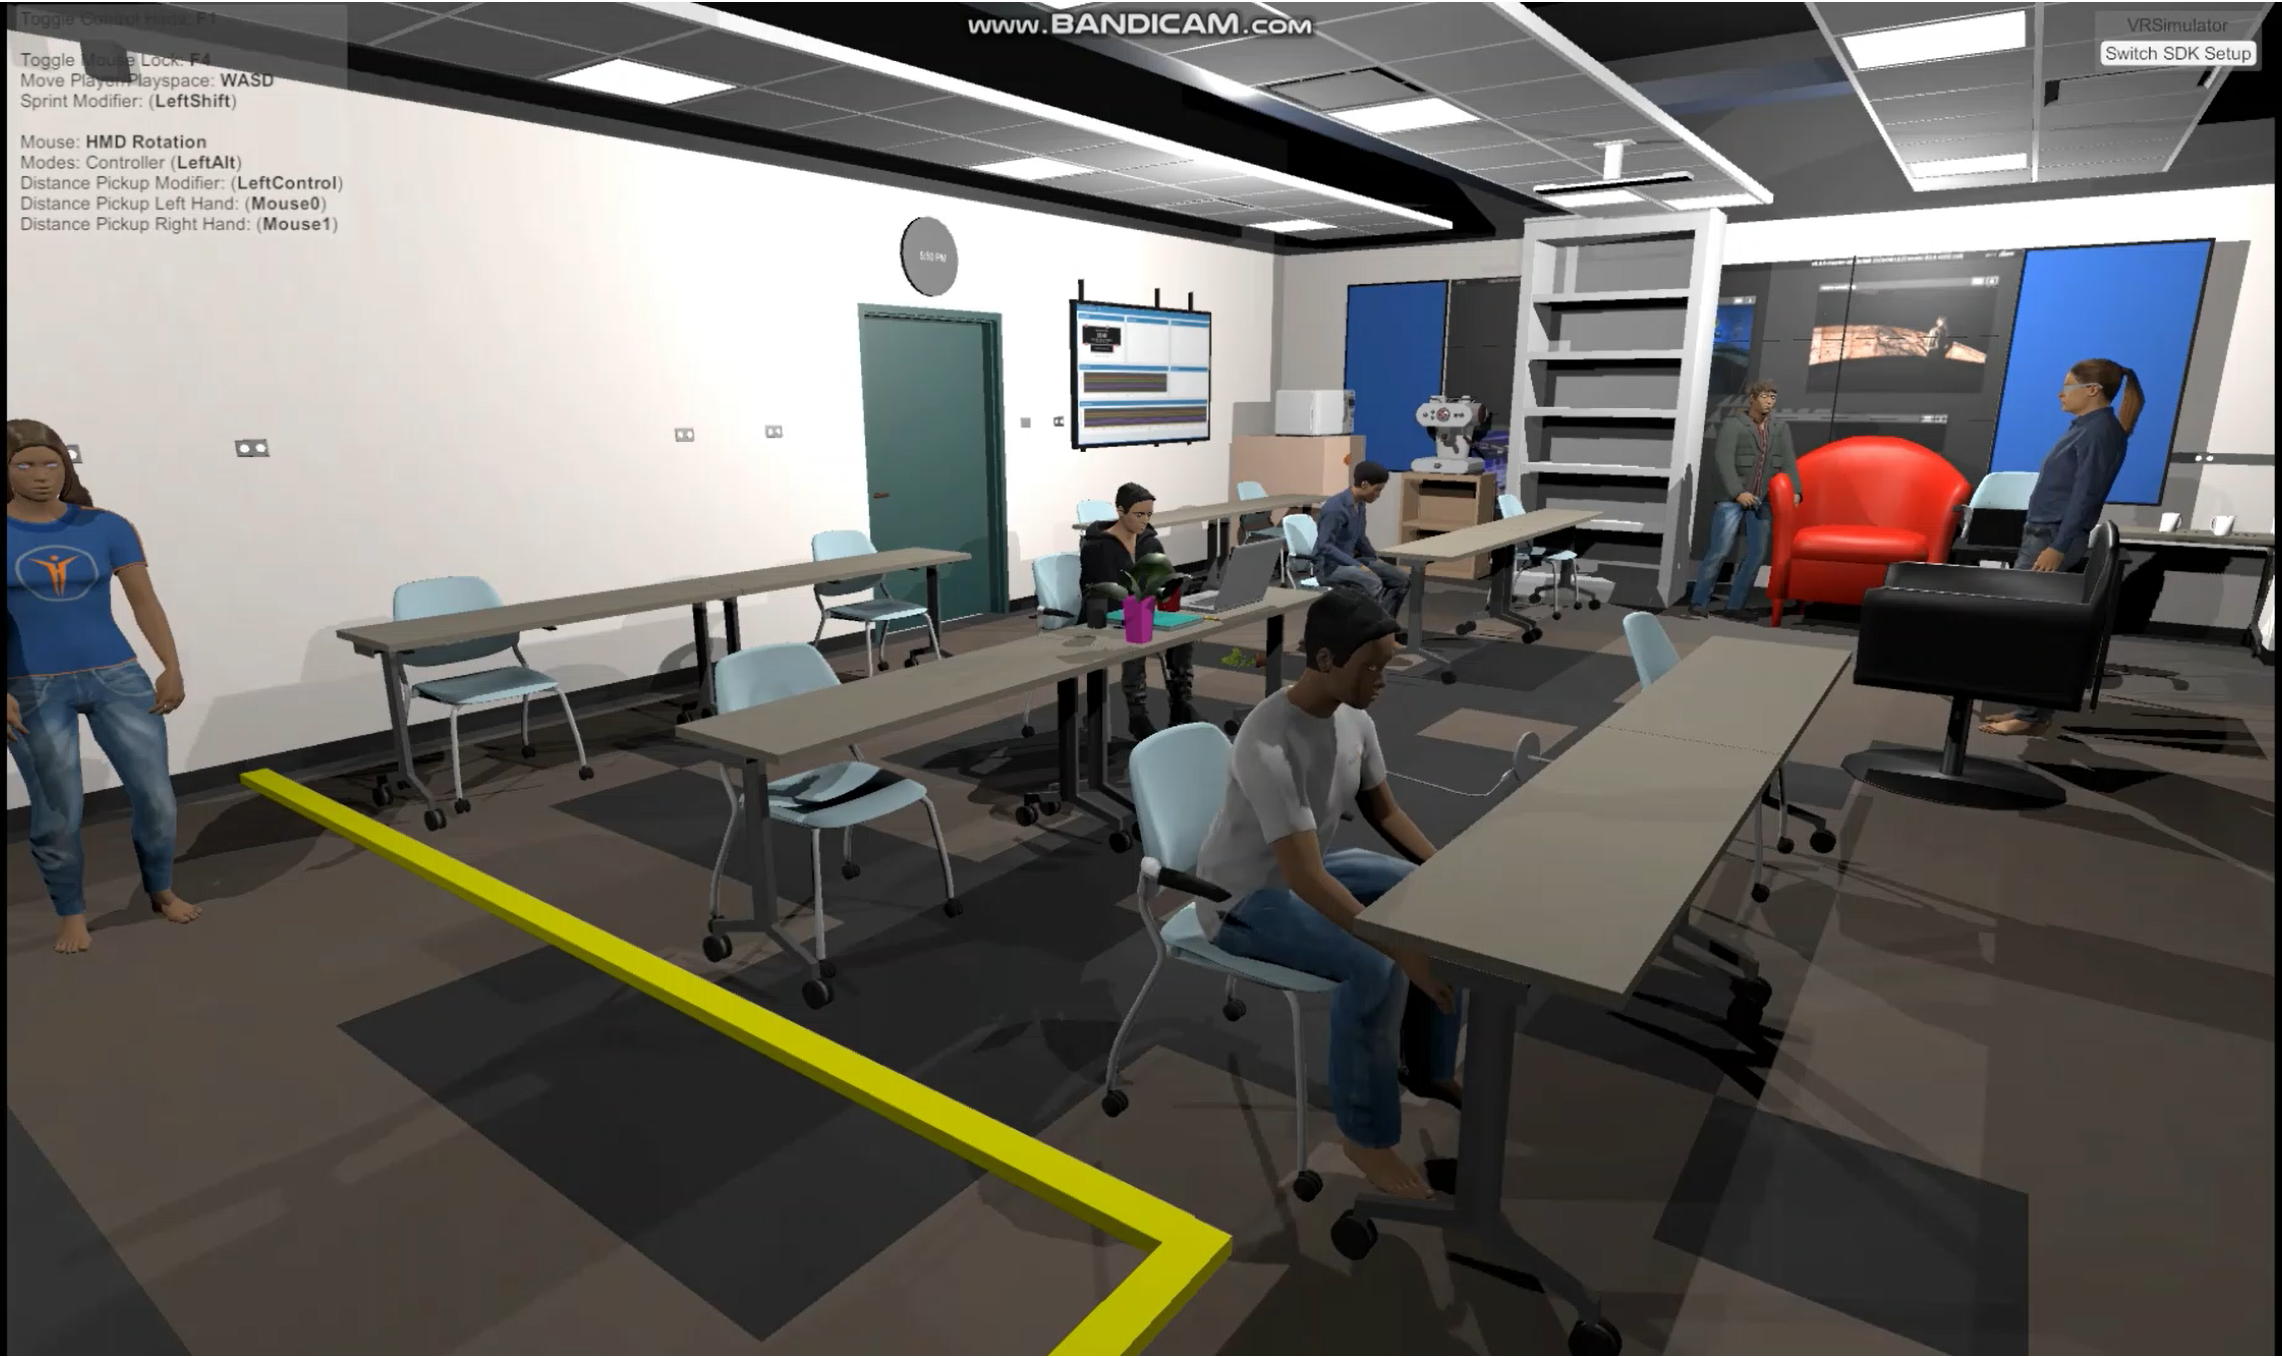
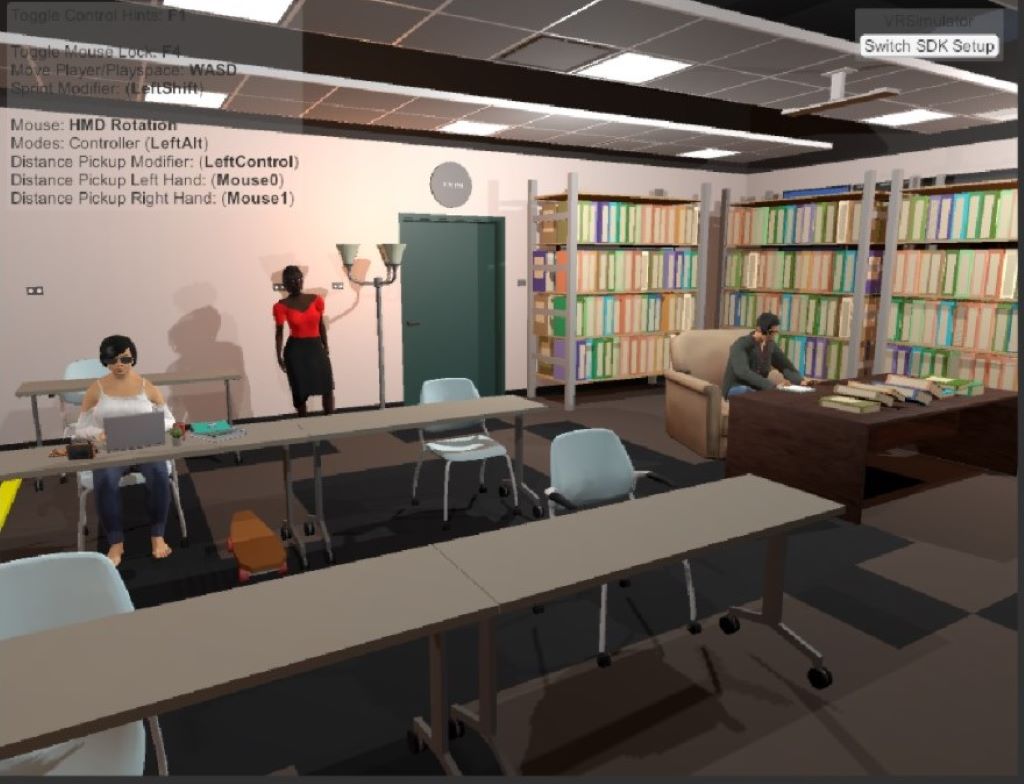
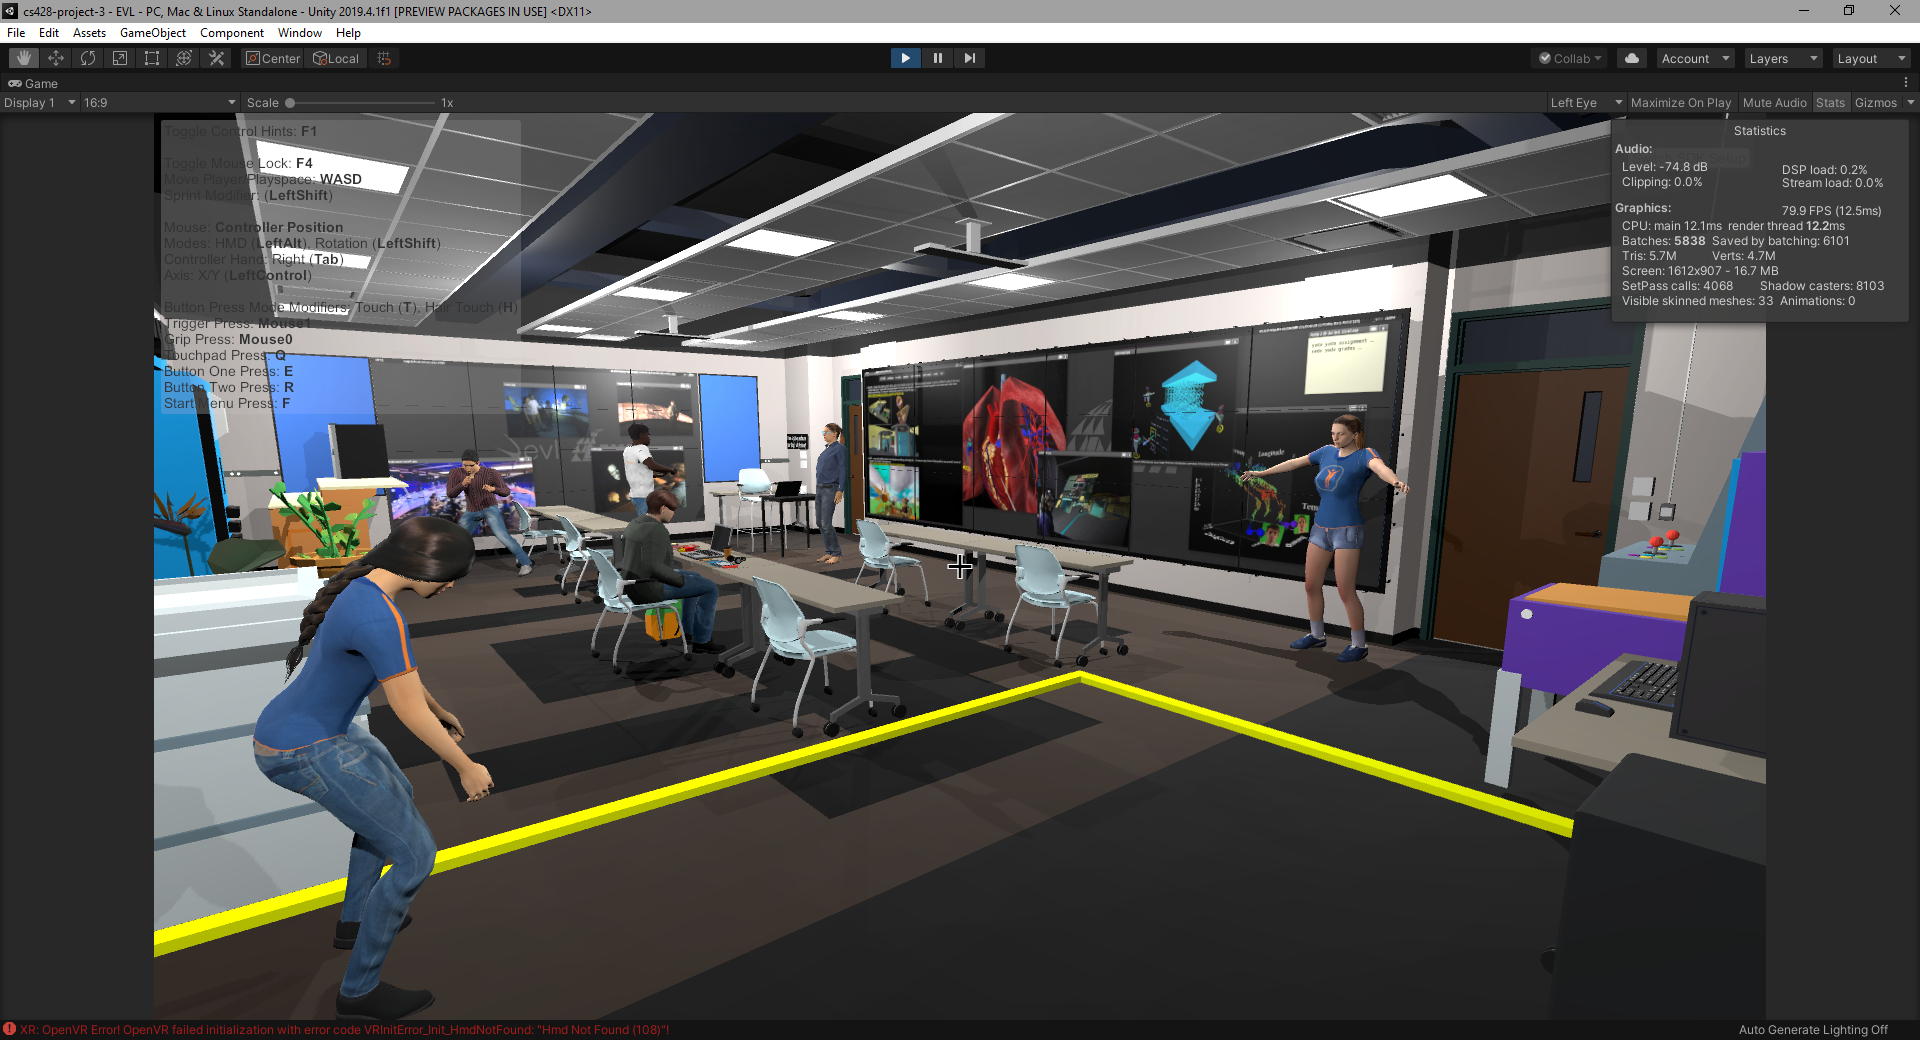
If
you run the project you will be in the VRTK simulator, which is
pretty good as far as VR simulators go, and you can move around
and interact with objects. Take a look at what frame rate you
get. Frame rate is critical in VR, and normally we would have
everyone run on the classroom PC giving us a common platform to
judge the frame rate. Since we probably wont have that
capability this year we need a way to make sure what you create
is fast enough that people don't get sick using it. When you are
done developing your Project 3 it should run at least half as
fast as the starter Unity project provided to be fast enough to
run comfortably in stereo. That is, if the starter application
runs at 90 frames per second on your machine, make sure the
version that you turn in runs at least 45 frames per second on
your machine.
Note - if you get an annoying
Steam popup when you play the scene just click Ignore All and it
should go away.
For this project you can either create your own models and
sounds, or make use of more professional ones from the web, as
long as you have the right to use them, and as long as you fully
cite the creators for your work. You also need to make sure that
those models do not have too many polygons and slow down your
application. You should also make sure these models don't have
any embedded cameras that will mess up your scene. Note that if
you find a collection of objects that you like online and you
position them as a group then it counts as one object. If you
break that set apart and independently position the various
objects in different locations then those count as separate
objects
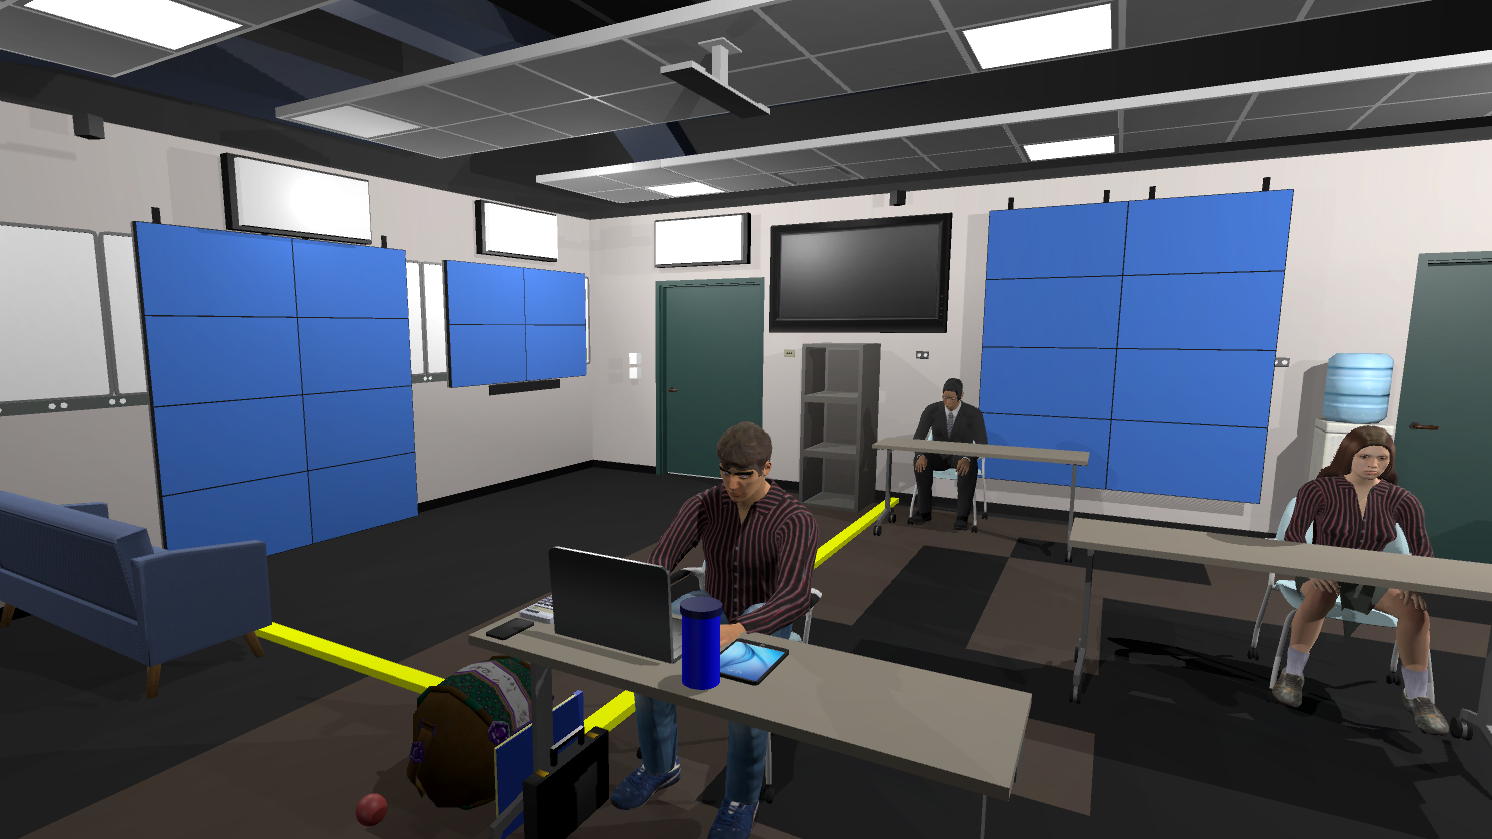
60% of the points on
the project are for your basic classroom
you can not
change any of the structure of the room - the walls, the
things on the walls, the ceiling, the things in the ceiling,
the floor, and you should not block any of the doors. You can
put new things in front of the walls, or hanging from the
ceiling.
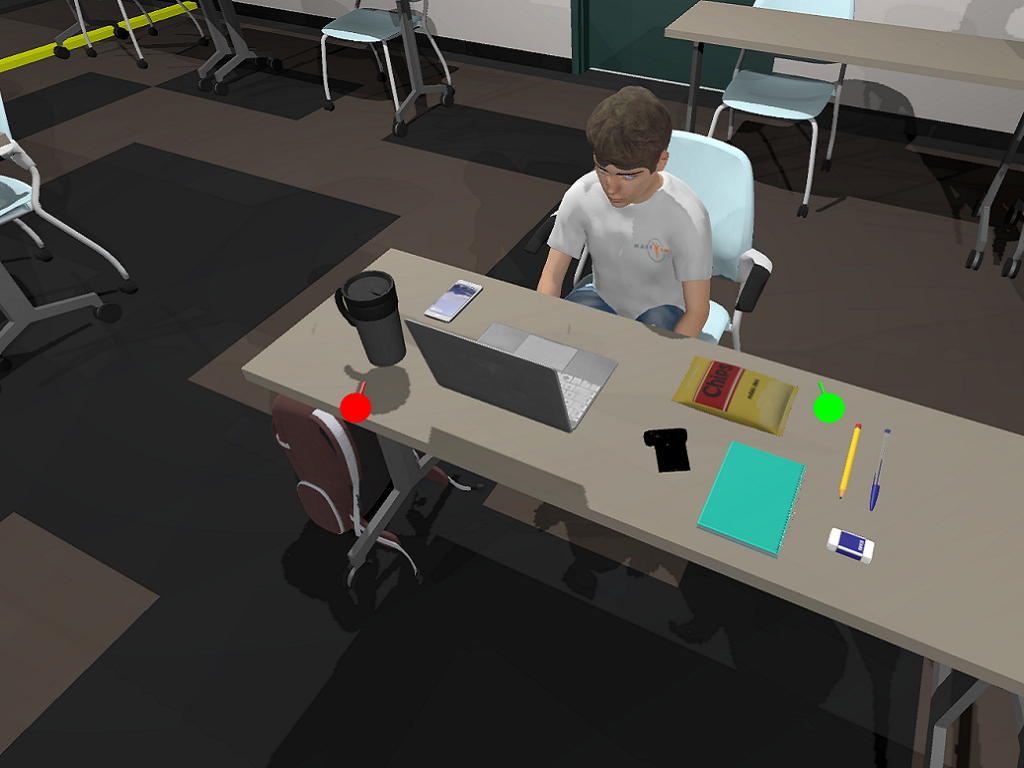
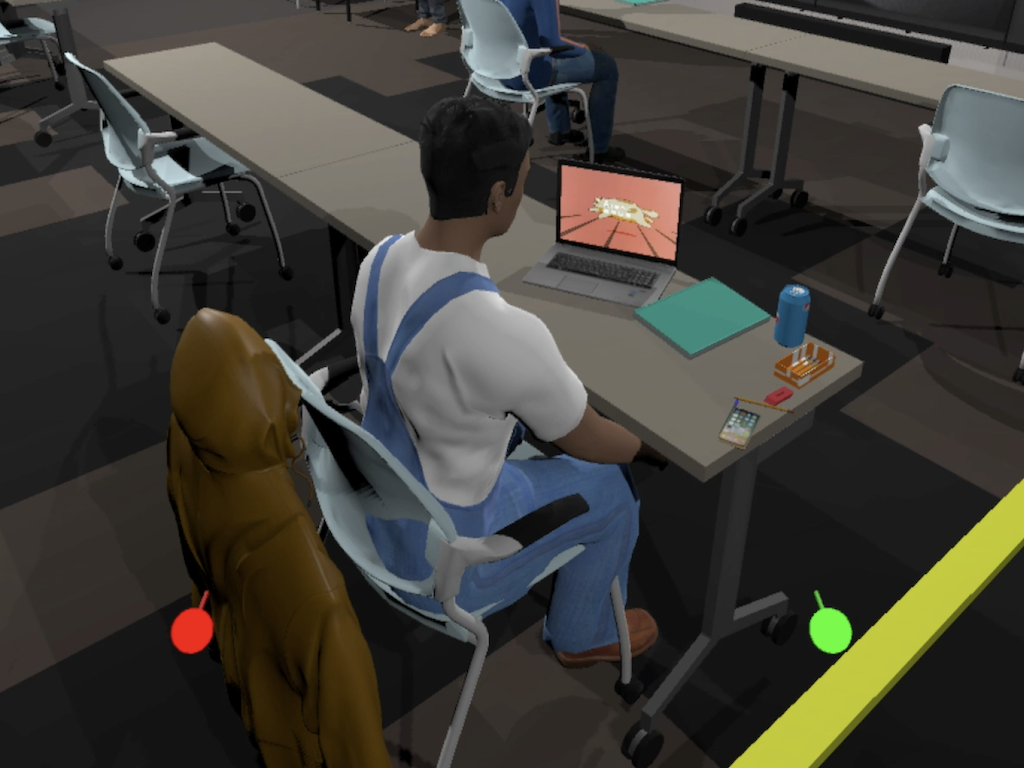
pick a desk
to sit at and using your MakeHuman and Mixamo knowledge put a
life-size version of yourself into the seat with a default
animation. You can move or remove other student tables if you
wish.
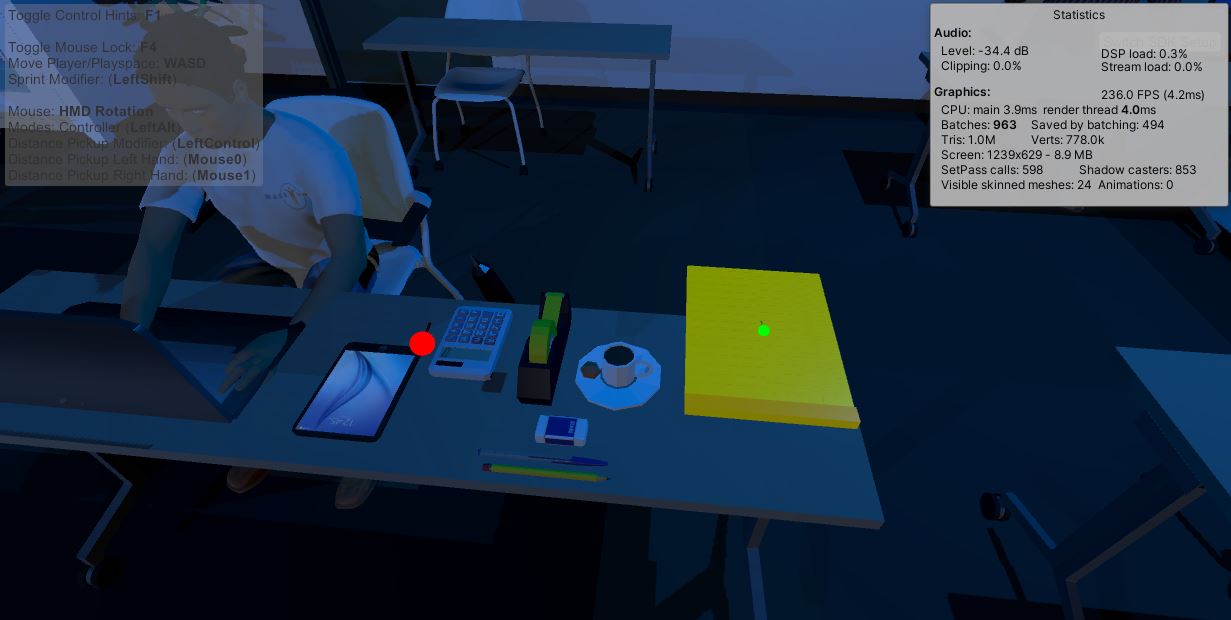
add 10
small things on the desk area around you (laptop, phone,
lunch, etc.) - things you tend to take to class, or things you
would like to take to class but typically can't. All of these
objects should be grabbable, should fall when dropped, and
should have realistic colliders. You can take over the space
on, above, and below your desk. Note that the things should
not be too small or they wont be grabbable.
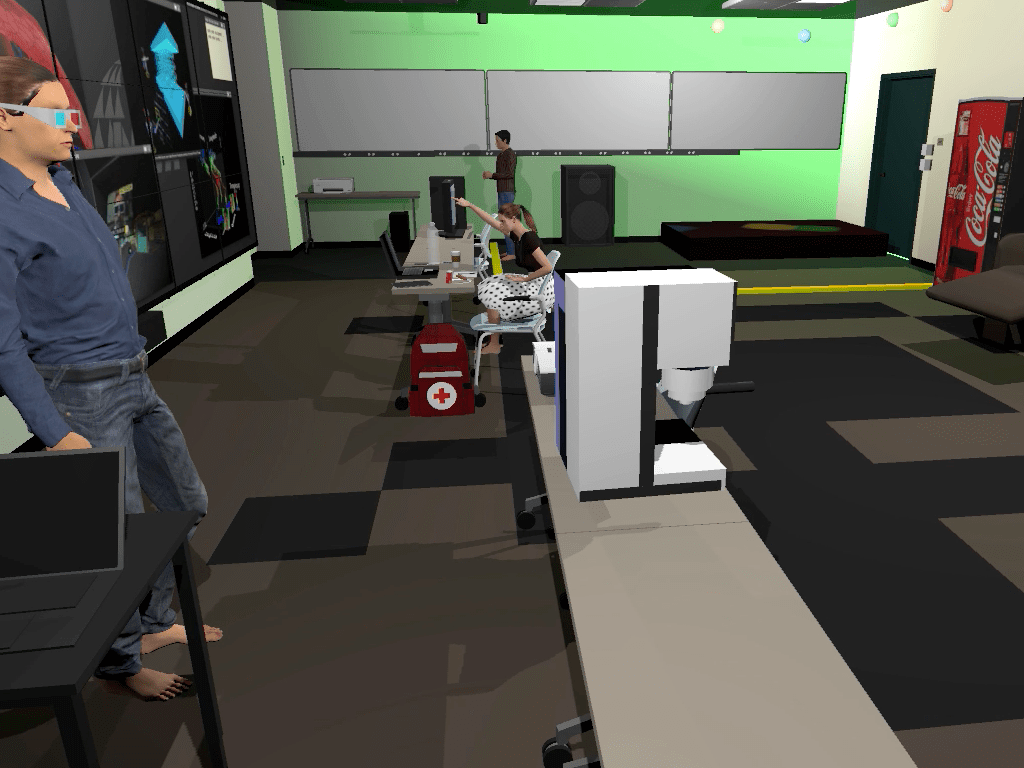
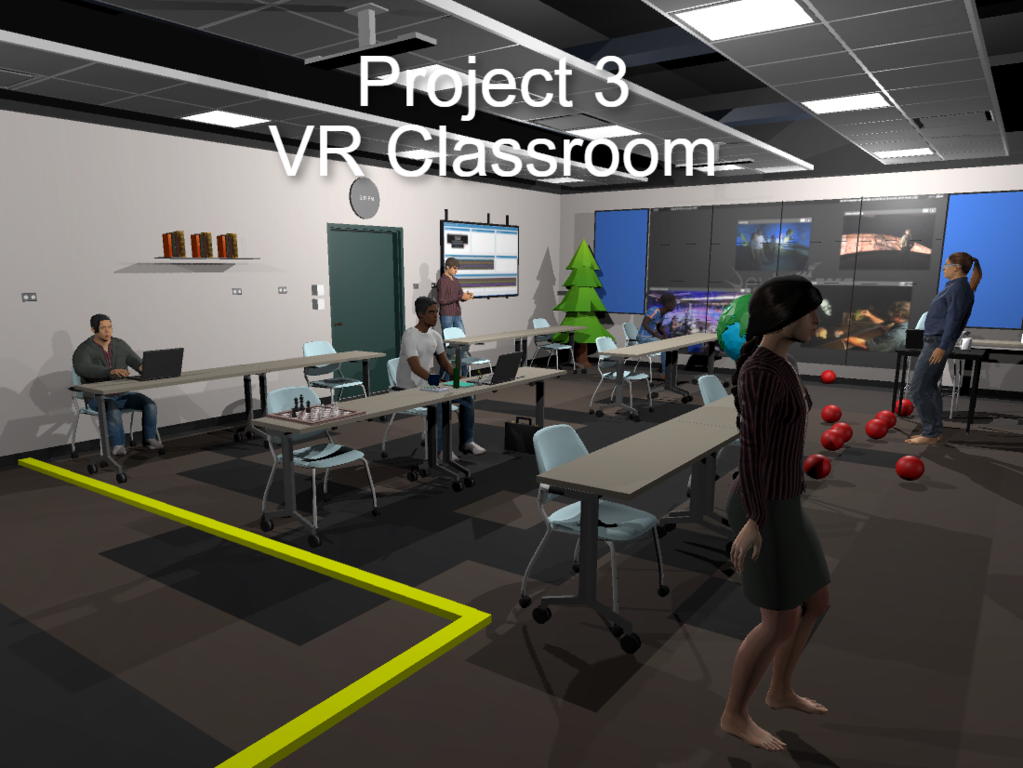
add two
large objects (6 feet / 2 meter tall or wide kind of things)
into the room based on a theme of your choice. We are going to
have to rethink classrooms anyway so maybe they should be
combined with Coffee Bars, Dance Floors, Museums, or Medical
Clinics. These large items should not be grabbable, since they
are big but should have appropriate colliders.
add four
other life sized students into the room either sitting or
standing. Two of these figures you must create yourself but
two can be from other students in the class. Note that you may
not use another person's figure without their explicit
permission, and you should also get permission if you want to
change their clothing. All of these figures should have their
own appropriate, different looping animations. They should all
be maintaining appropriate social distance.
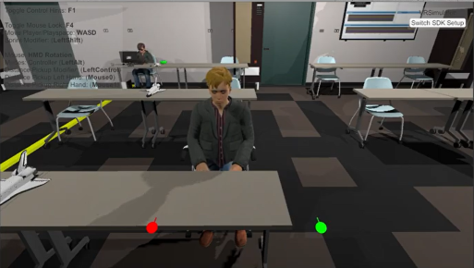
all of the
humans should have appropriate colliders - you can use the red
balls to test.
the user
should be able to physically move around the space so make
sure to leave enough room to walk, and be able to teleport
using the default code
your desk
area should have at least one relevant sound that gets louder
as you get closer
the frame
rate should remain high
40% of the points on
the project are for ...
add another 8 appropriate large objects into
the scene
two of the large objects should be interactive
so that when the user touches them with their hand something
changes (e.g. a vending machine vends something, a desktop
computer turns on, or something starts playing music) and at
least one of the large objects should generate new
physically based objects (e.g. a fax machine that spews out
paper)
come up with a new appropriate lighting scheme
with at least 4 new lights for the room. The room currently
has two switches to turn the lights on and off. Add another
set of switches to turn your new lighting concept on and
off.
each human, including yourself, should change
their default animation and say something appropriate every
time the user gets close to them, but not say it again until
you move away and come back.
Graduate
students in the class also need to be able to ...
allow
the user to shrink down to be 6 inches tall. Note this has
nothing to do with the scale factor in the unity IDE - the
best way to do this is to scale up the entire world (and
adjust the physics and the volume levels of the sounds).
Basically this lets you be the action figure you created
back in Project 2 and move around the room. You should
still be able to grab any very small things at this scale.
You also need to give the user a control to get back to
normal size. The user should be able to change size in
both directions using a button on their hand held
controller.
I realize that doing a VR
project with only the simulator is fairly lame, so if some of
you are particularly motivated to try out your Project 3 using
one of the headsets in the actual classroom then we may be
able to make that happen near the end of the term, with
appropriate social distancing, and sanitizing. If you are
interested, please let me know on Piazza and I will see what I
can work out.
Turning in the
Project You should create a GitHub page
for your project. You can integrate Unity with git so that
it will track all your changes, or just regularly push
files to git. The final project will need to be turned in
via git so we know the timestamp on the files, but it can
be also helpful to have regular commits in case something
goes wrong so you can get partial credit. Initially this repository
should be private to yourself, and then you can make it
public for turning it in.
Note that there is a very big
difference between getting something working and getting it
working well. The first is not that hard. The second takes
much more time. You are expected to have things working well.
There are
two due dates for the project.
There is no alpha
this time.
The unity source and
application is due first. This will be turned in via
GitHub by making your repository public to at least
everyone at UIC. Be
sure to email the location of your repository to Andy and
the TA before the deadline.
The third deadline is
for the documentation.
You should create a public web page with multiple sections
(visible to anyone for at least the duration of the course)
that describes your work on the project. You can host your
web page at UIC(http://people.uic.edu),
GitHub, or the provider of your choice,
as long as it remains publicly available to all. You can use
any publicly available templates as long as you cite them,
or create your own.
This page should have several sections including:
introduction and
description of how to use your application and the things
you can do with it
link to your git page
that allows someone to easily download the source code to
your entire project to be built and run. This page should
have instructions on how to build your application and
list the supported version numbers of all relevant
software (Unity, VRTK, etc.).
listing of the source
for any assets (models, textures, sounds, music) that you
used that you didn't create yourself
link to a 5 minute
video showing off your project (see below)
at least a one
page / 500 word discussion on seeing and interacting
with people and objects in a purely synthetic world,
embodied at 1:1 scale.
all of which should haveplentyof
screenshots with meaningful captions. Web pages like this can
be very helpful later on in helping you build up a portfolio
of your work when you start looking for a job, so please put
some effort into it.
You should also create a 5 minute YouTube video showing the
use of your application including narration with decent audio
quality. That video should be in a very obvious place on your
main project web page. There are a couple students that have
headsets, and if they want they can capture video while
interacting through the headsets, otherwise people can capture
interaction from the desktop simulator. You can try to narrate
while interacting but you will most likely find its useful to
do some editing afterwards to tighten the video up. This video
is helpful for us to know which parts of your project work,
and may be useful in the future when you want to show off some
of the projects you did but you cant get the code to compile
anymore or you have lost the markers.
Once you have your webpage done, send the URL to
Andy and the TA before the deadline. We will respond to this
email as your 'receipt'.
We will be linking your web page to the course notes
so please send Andy a nice representative jpg or png
image/photo of your application for the web. This should be
named p3.<your_last_name>.jpg or
p3.<your_last_name>.png and be roughly 1024 x 768 in
size.
Presenting the Project
An important part of creating
AR applications is getting feedback and using it to improve your
design.
Normally we would be spending time in class for each person to
show off their work and get feedback. This term we will be doing
this asynchronously. See the course notes
for week 15 for more details.