50% of the points on the project is for creating
a basic kiosk with
- 15 unique models from the web (remember to cite
the creators)
- 5 unique models that you create on your own (more on this below)
- at least 5 of the models need to have appropriate physics and collliders to be grabbable, droppable, and tossable, and collide with other parts of the kiosk and the floor
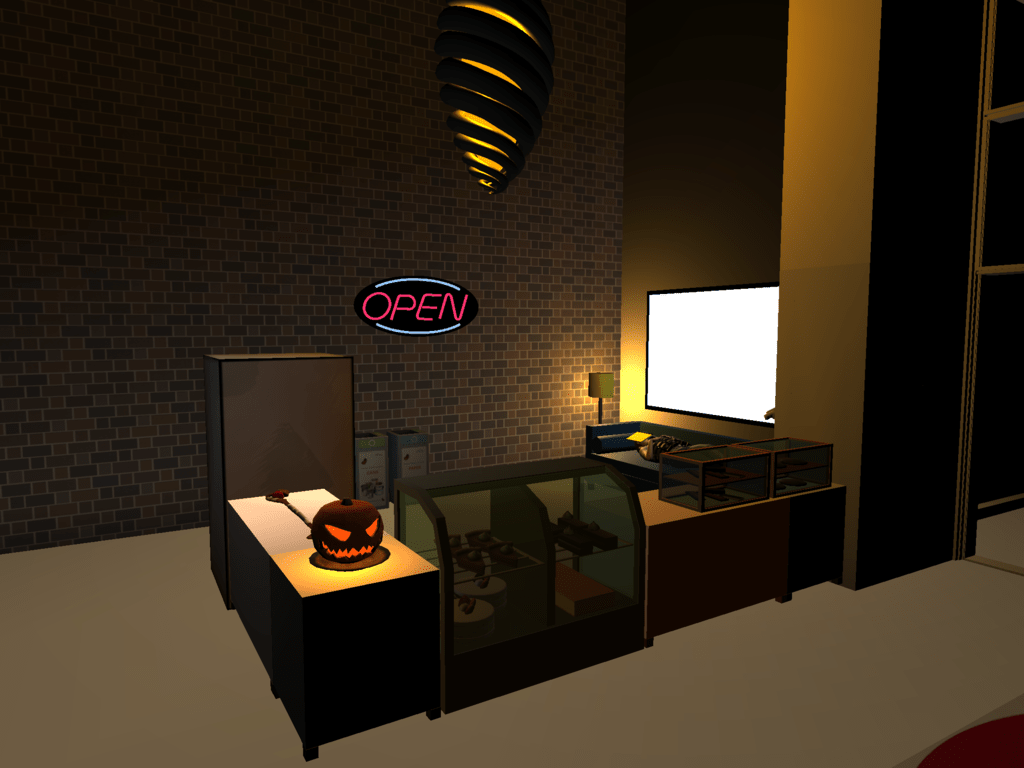
- create a new appropriate
lighting scheme with at least 2 new lights for the kiosk
- at least 1 relevant (and not annoying) ambient
sound or piece of music
30% of the points
on the project are for ...
- the user needs to be able to interact with at
least 2 objects in the scene using their hand and have each
of those objects produce new objects (i.e. every time you
open the oven a new pie pops out, or every time you touch
the ticket machine it produces a new ticket). Interaction
must happen locally with the users hand intersecting the
object, not at distance.
- at least 2 of the models should be
animated and move, or move some of their parts
- at least 5 more of the models need to have appropriate physics and collliders to be grabbable, droppable, and tossable, and collide with other parts of the kiosk and the floor
- at least 4 unique sounds that get
louder as you get closer, or that are triggered by
interacting with objects in the scene, or that sound when
objects hit other objects.
20% of the points on the
project are for ...
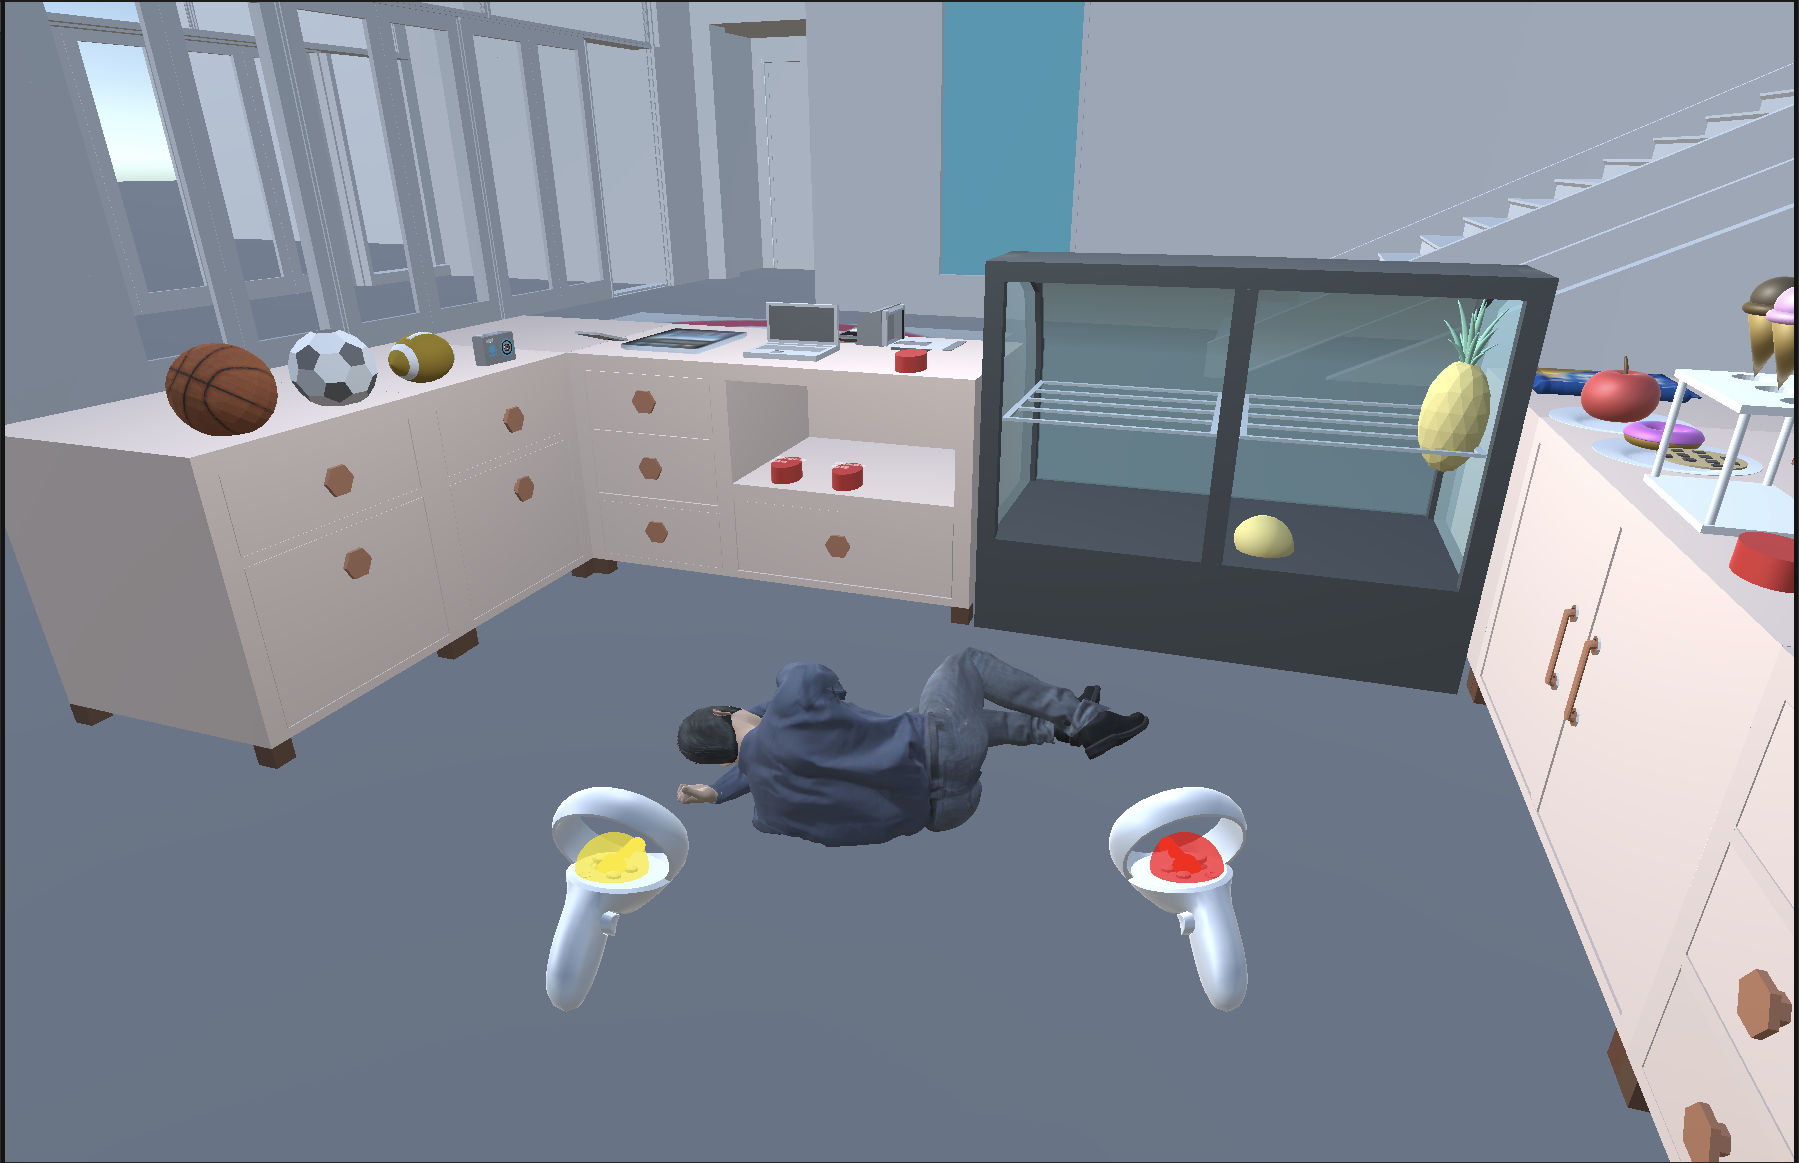
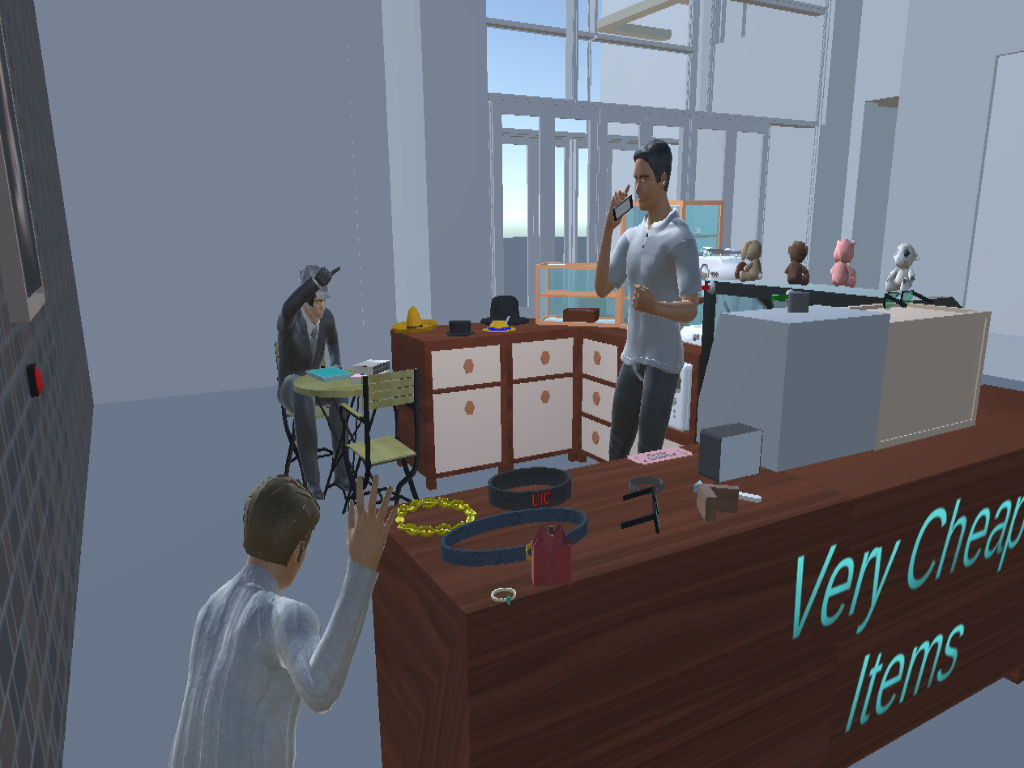
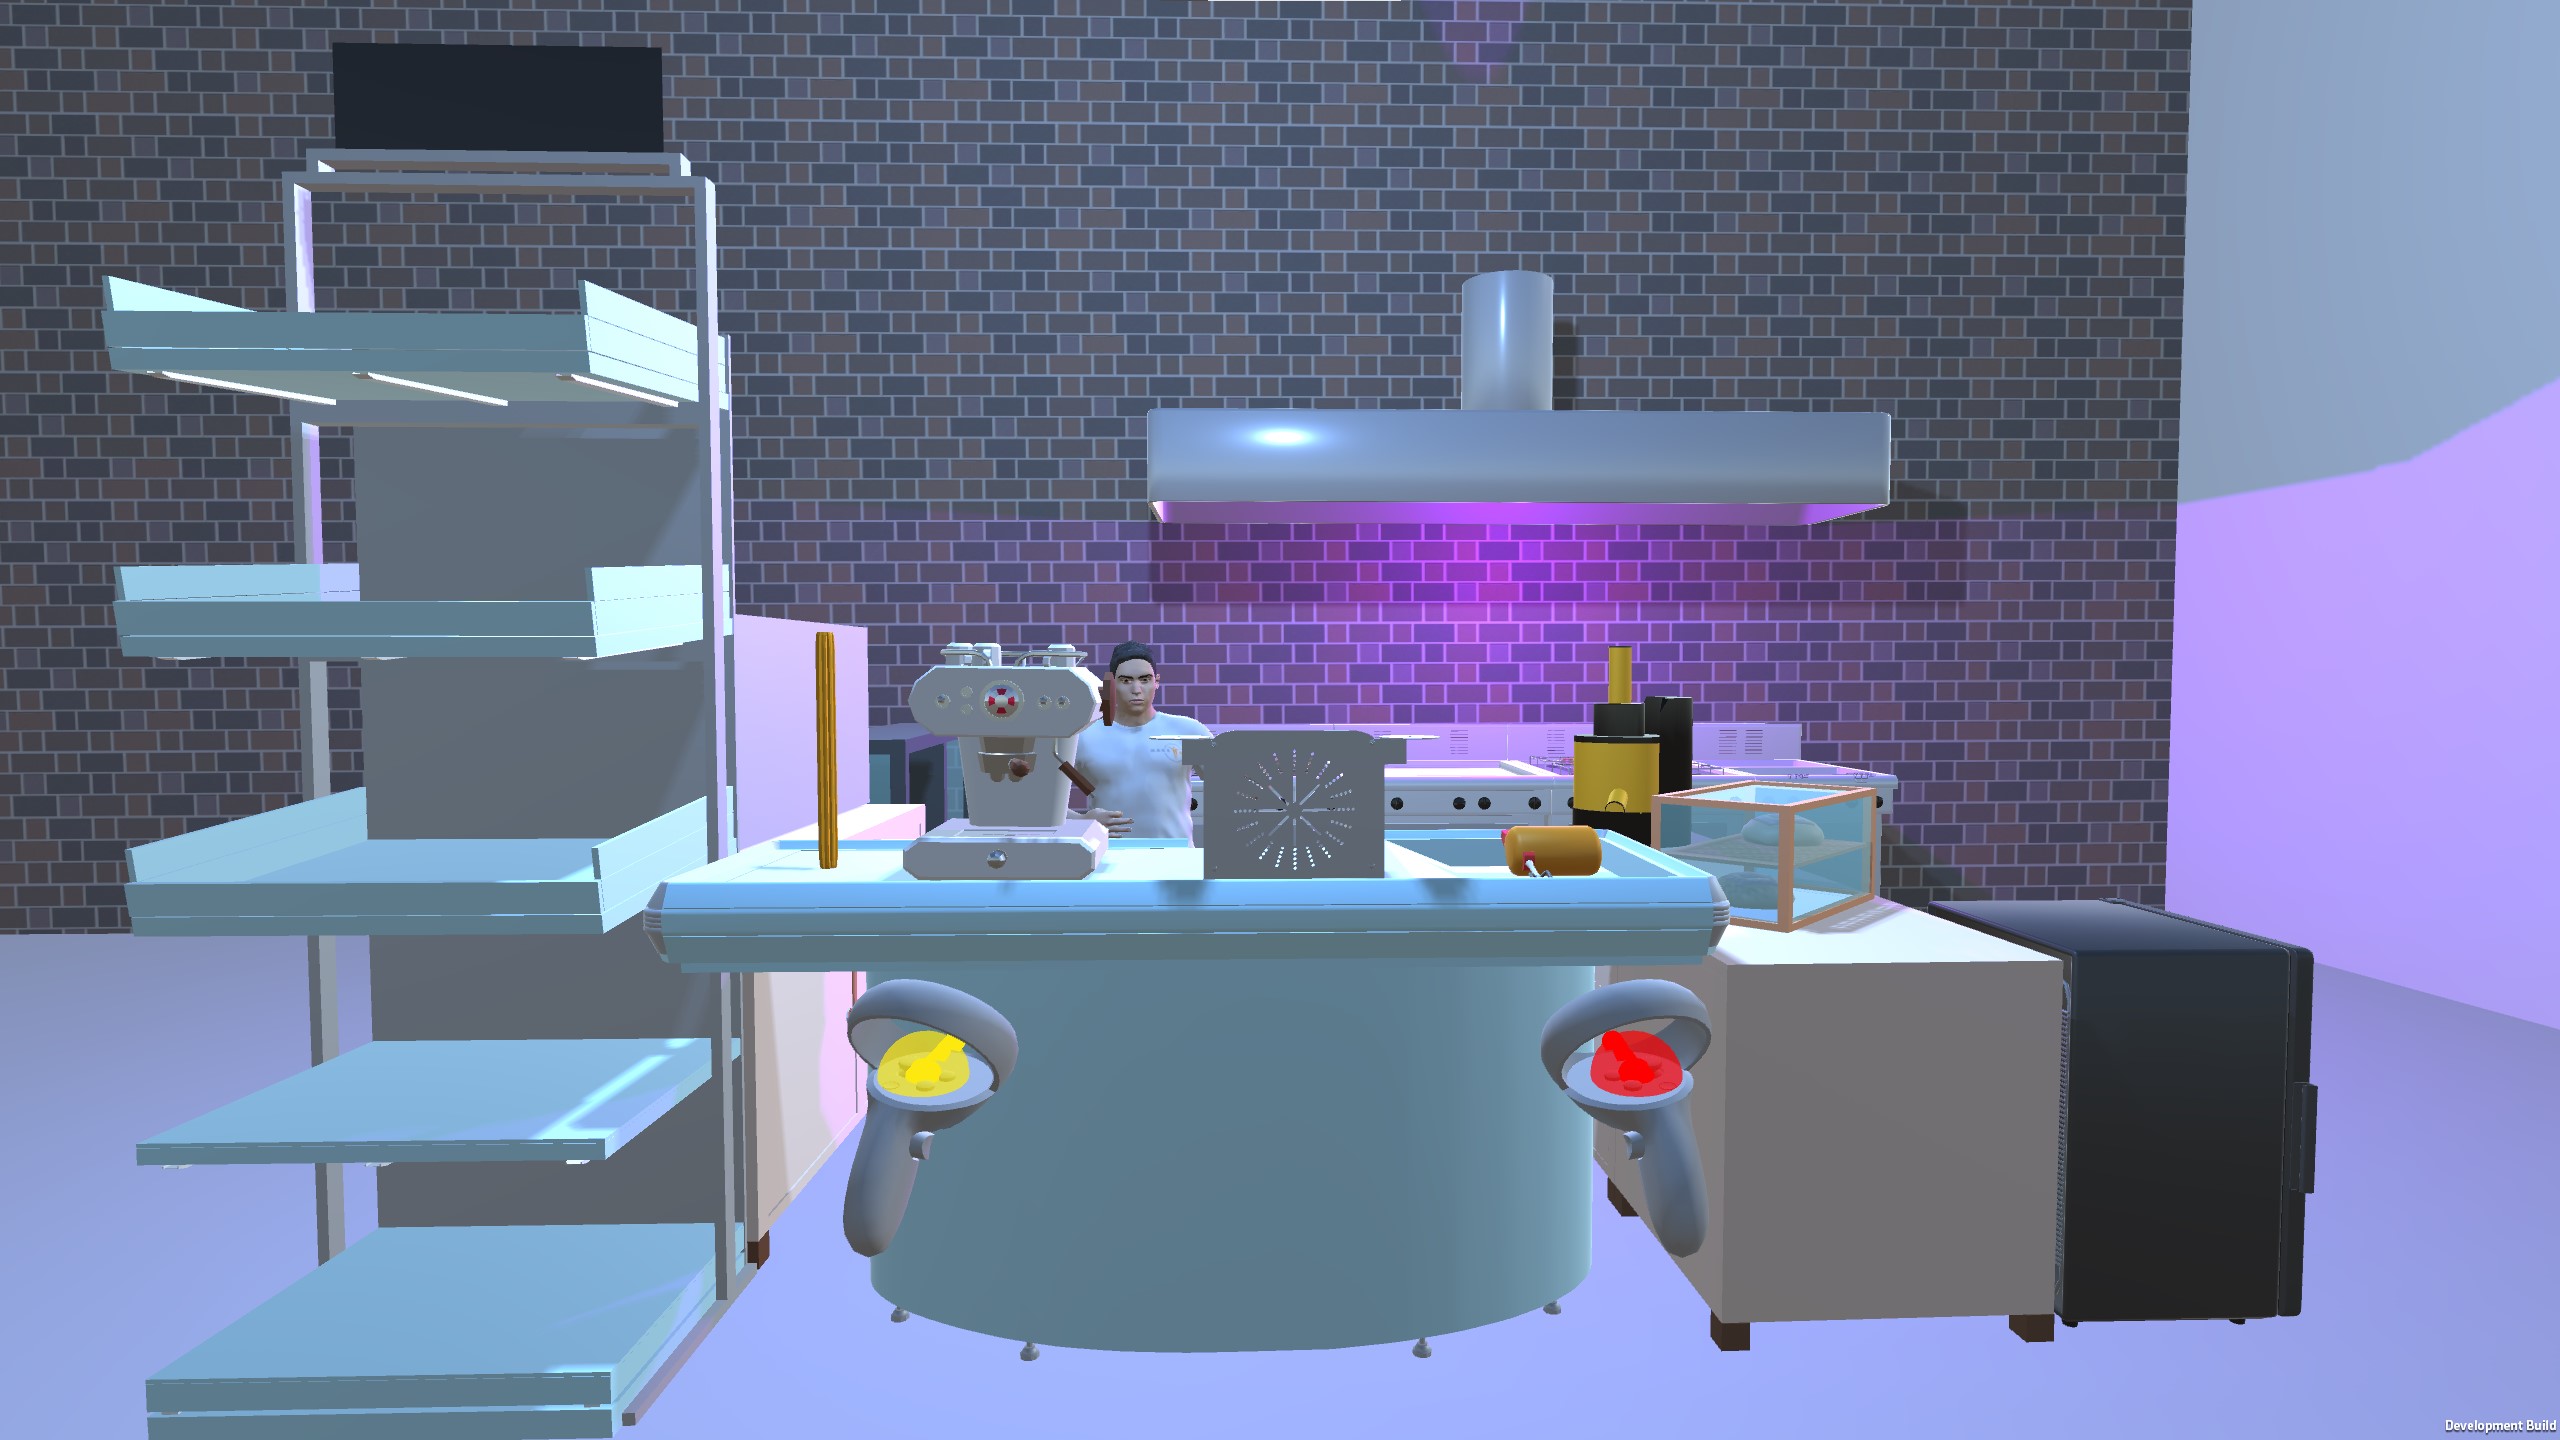
- each member of your team needs to
use Makehuman and Mixamo to create a 1:1 scale kiosk
worker that looks (reasonably) like you, wearing
something G rated, with a suitable G rated idle
animation. The worker could be trying to attract new
customers, or working the register / pad, or ignoring
the customers and looking at their phone, or sleeping,
etc. The worker should say something when you touch
them with either controller.
- create
a seating area for at least 2 customers with tables and
chairs and 1 more animated person seated there. Note
that this area may be outside the 10' (3m) square
walking area so teleporting may be needed here).
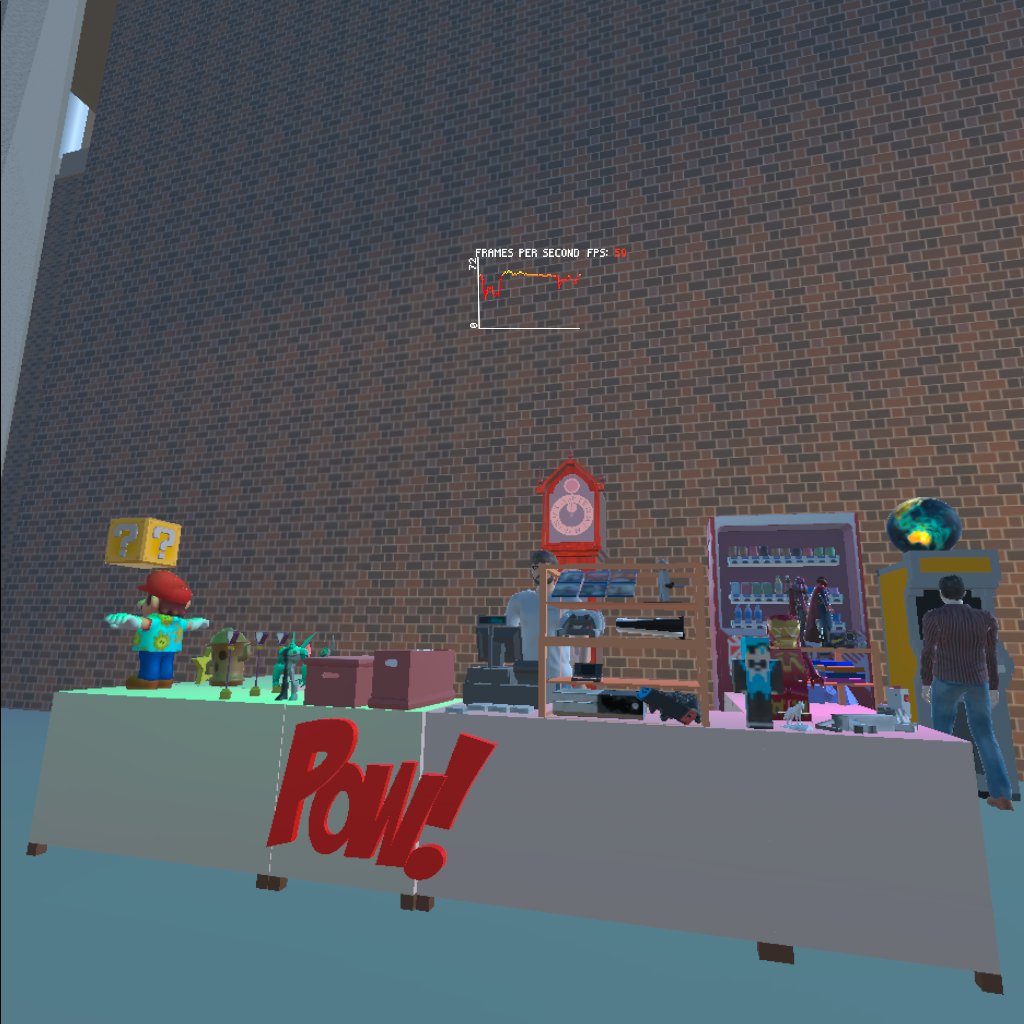
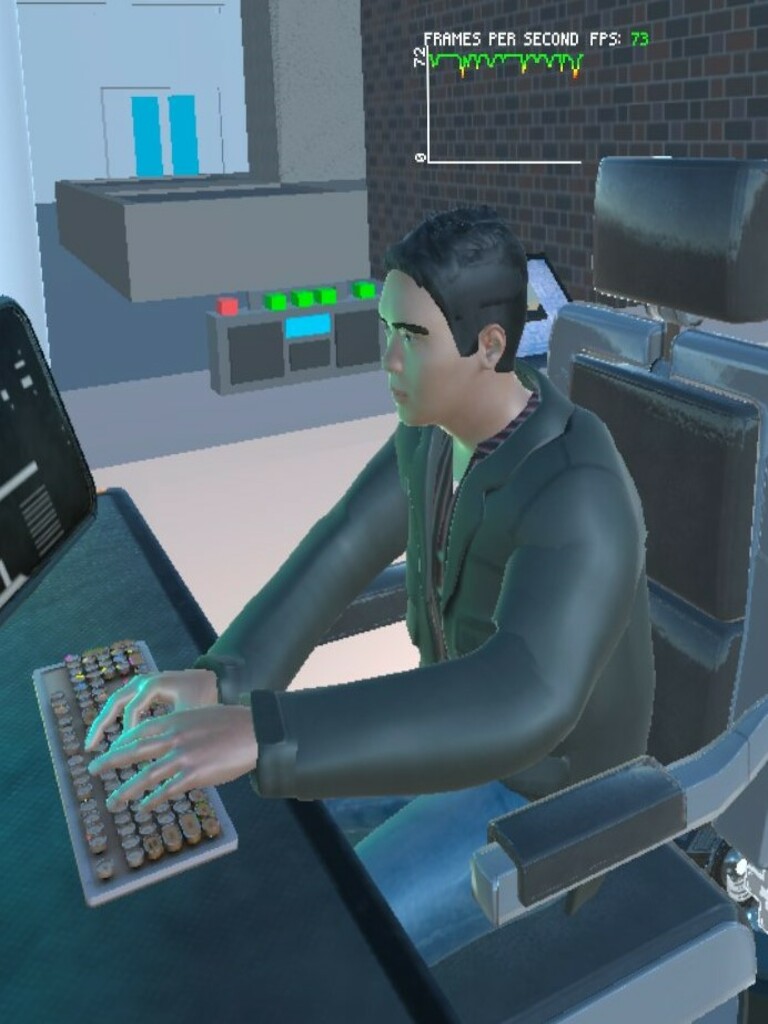
in all these cases the frame rate should remain decent (at least 30 frames per second in stereo on the Quest 1 headsets). Ideally the frame rate should be more like 60, but with an architectural model involved, 30 is a more realistic minimum.
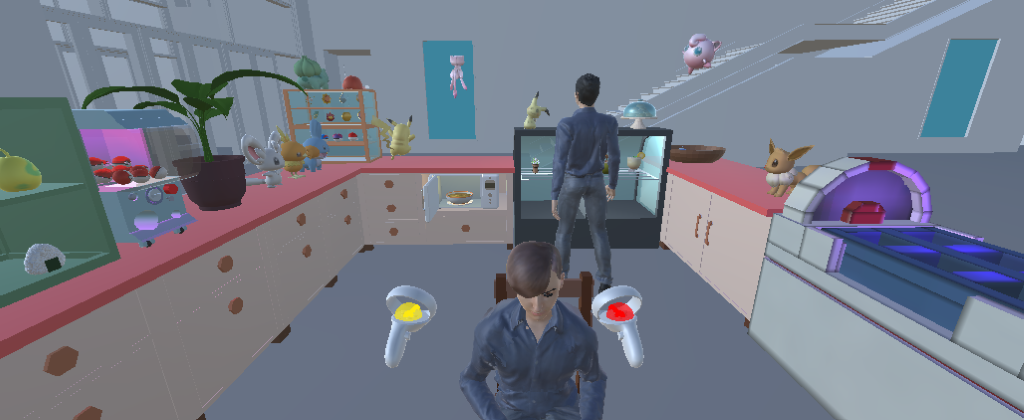
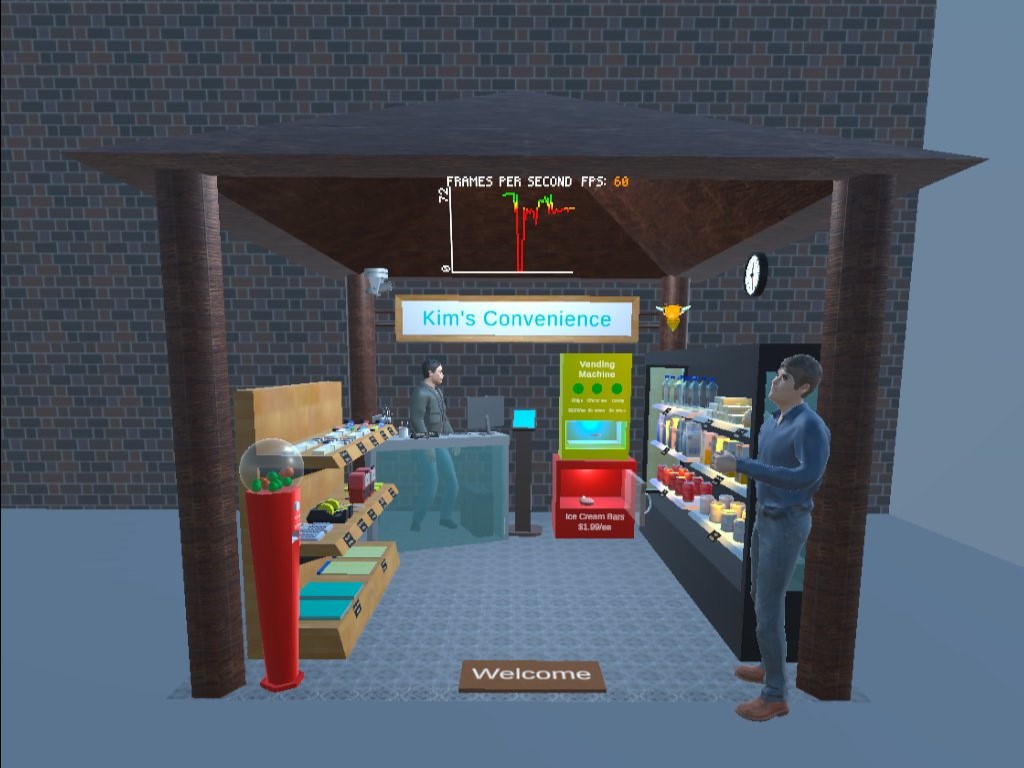
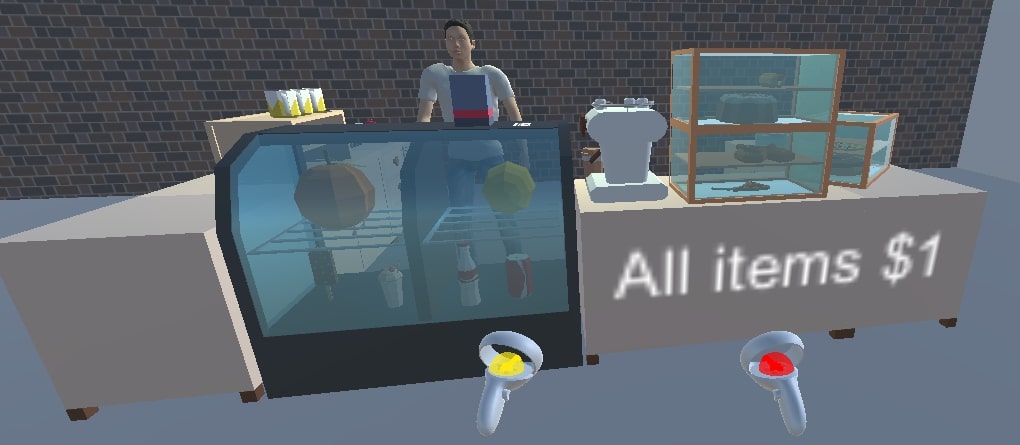
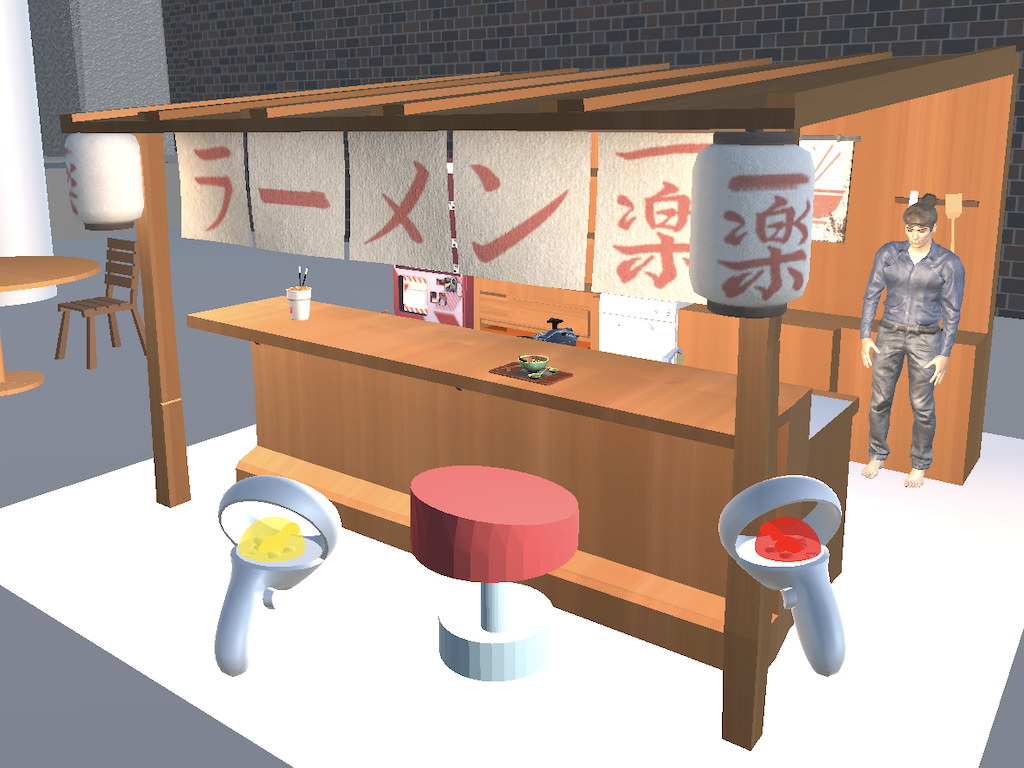
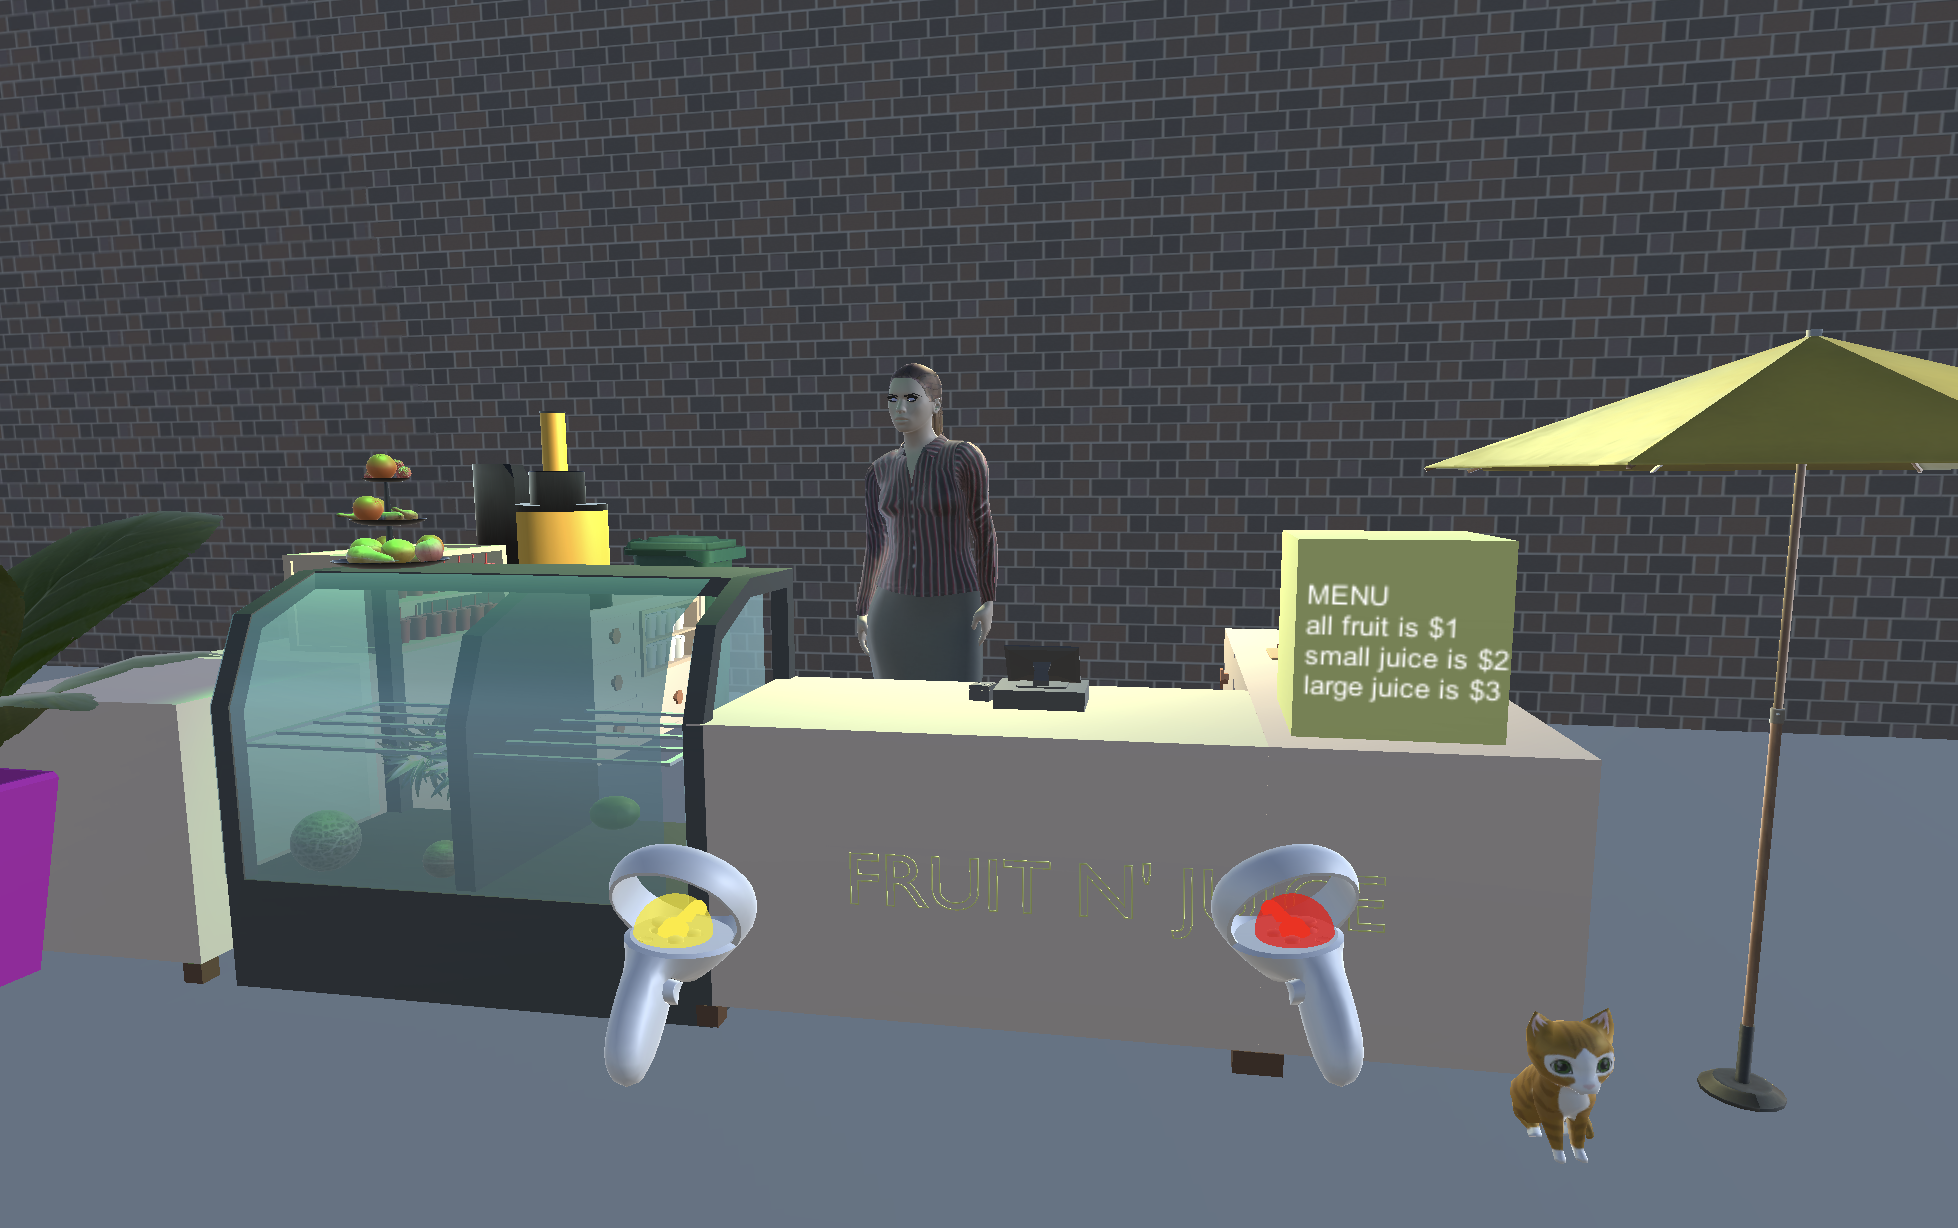
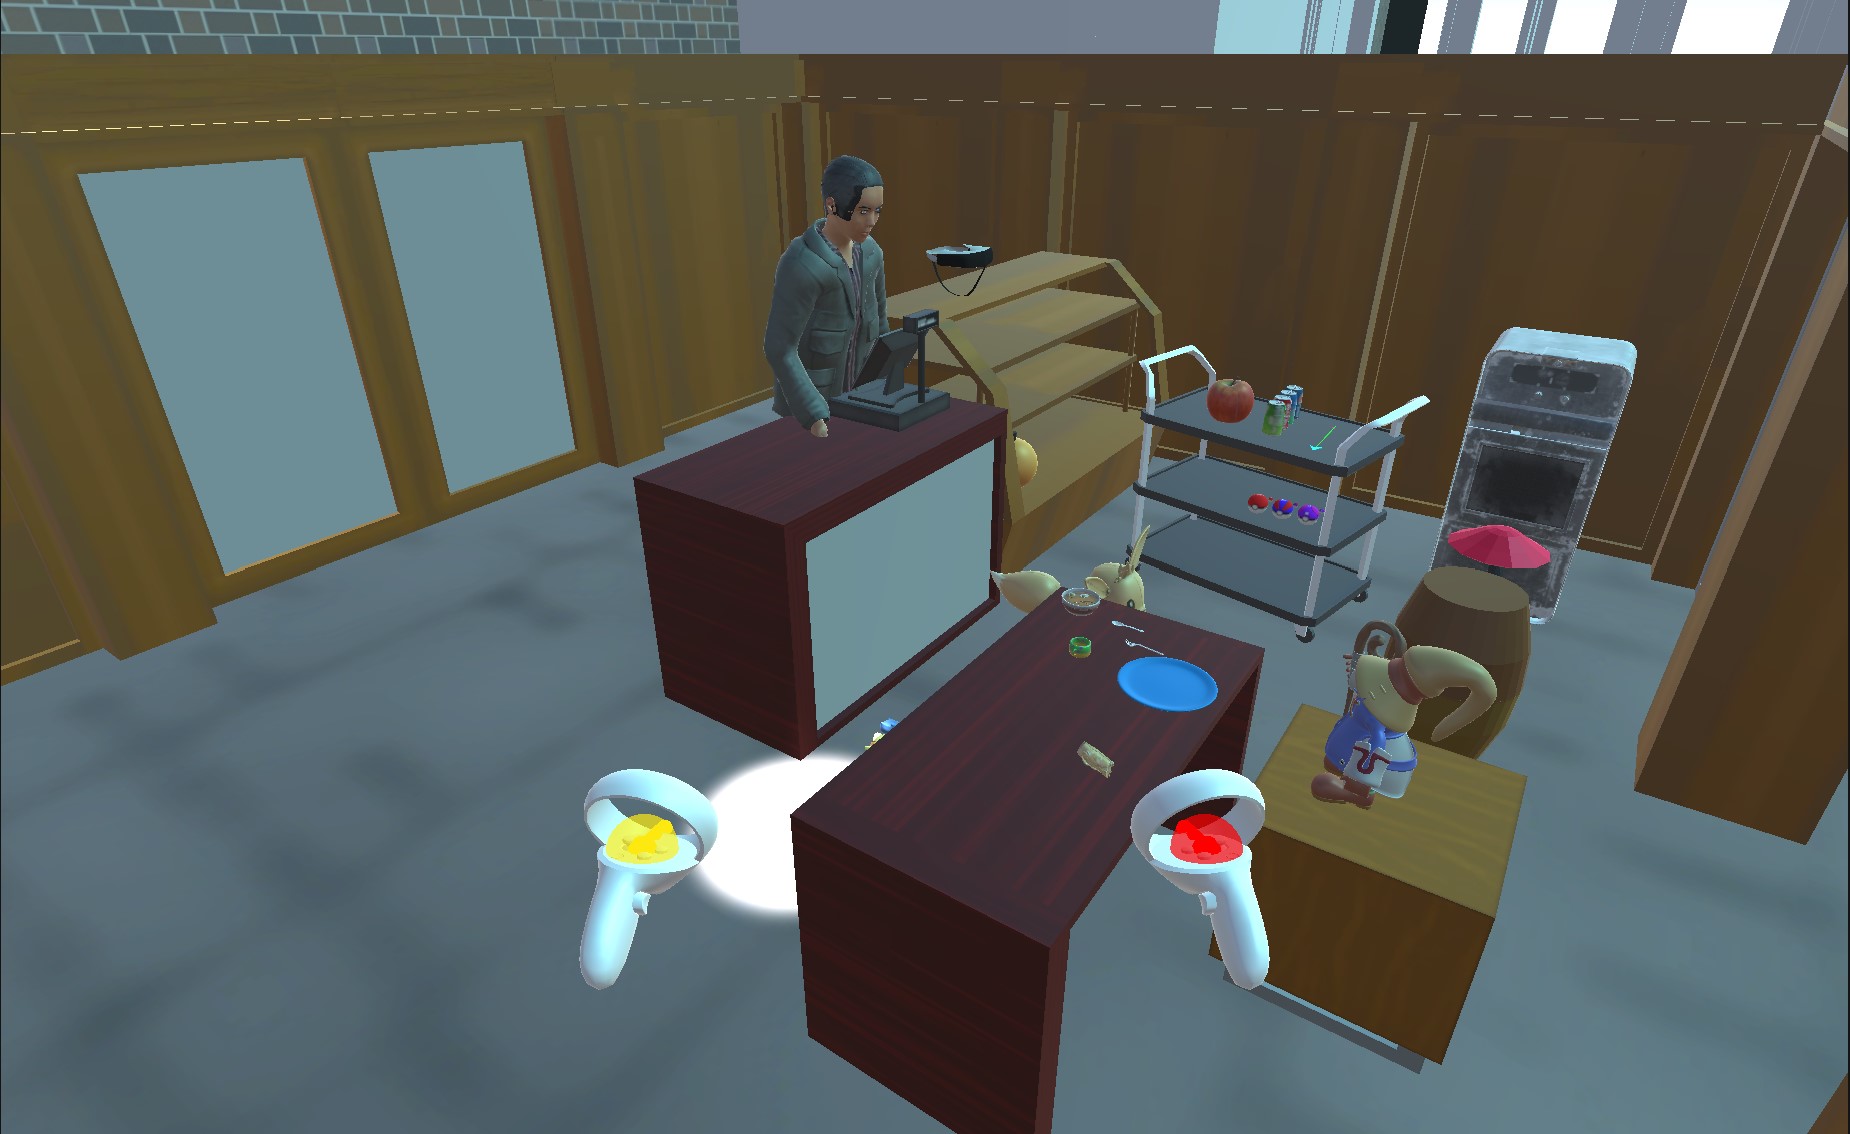
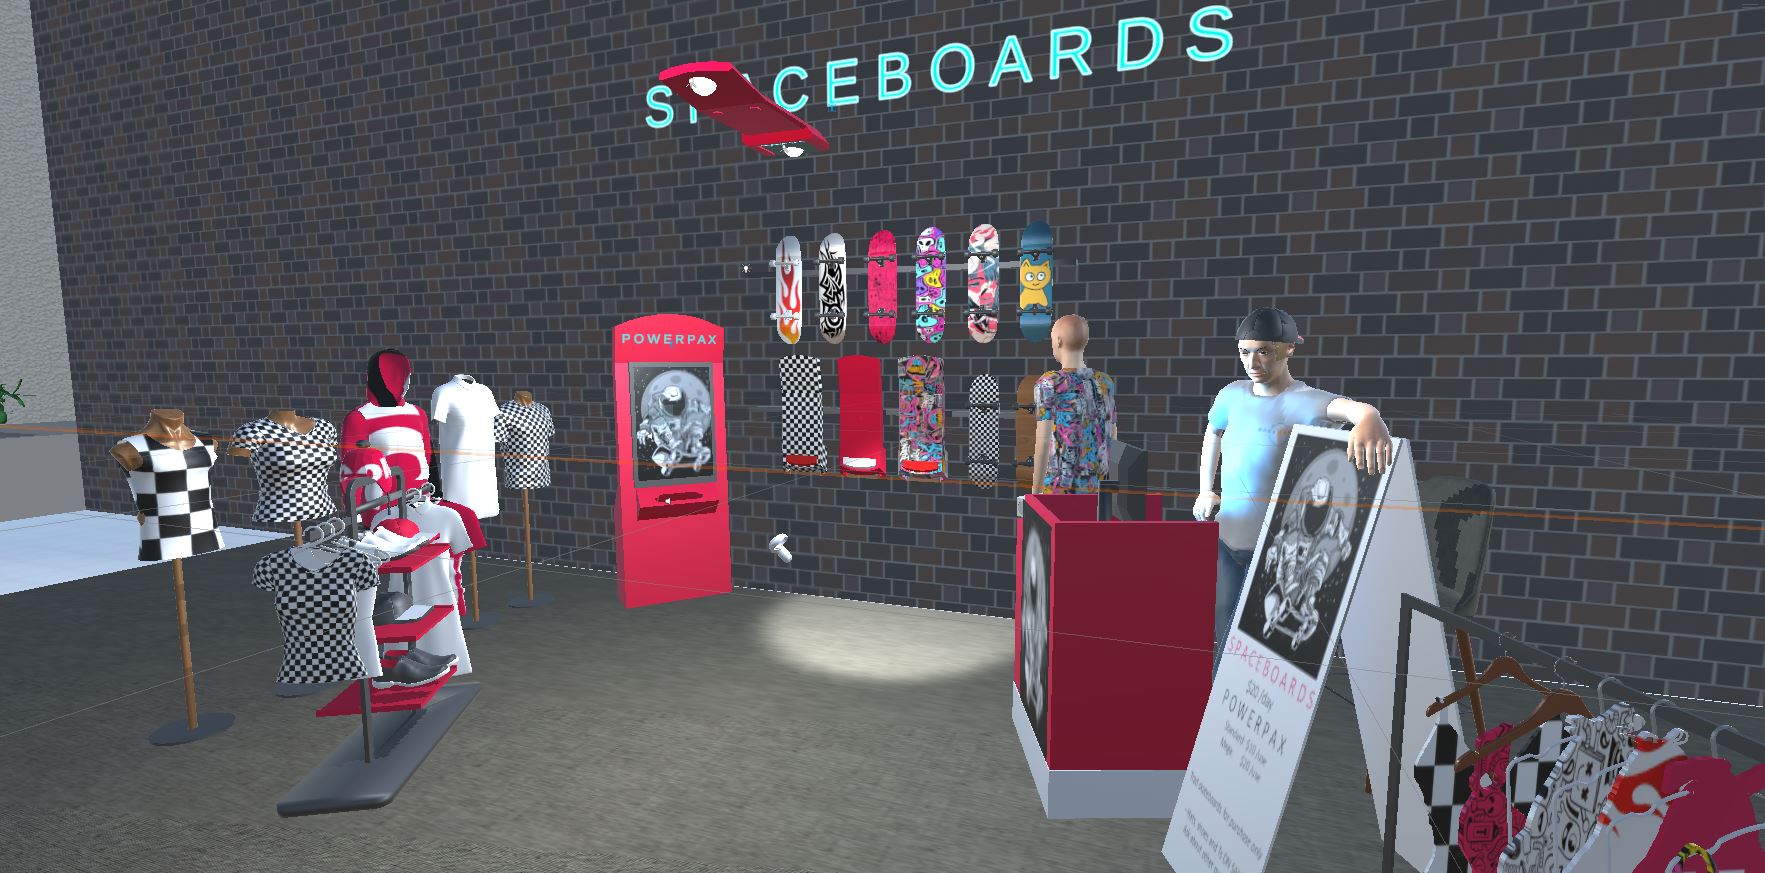
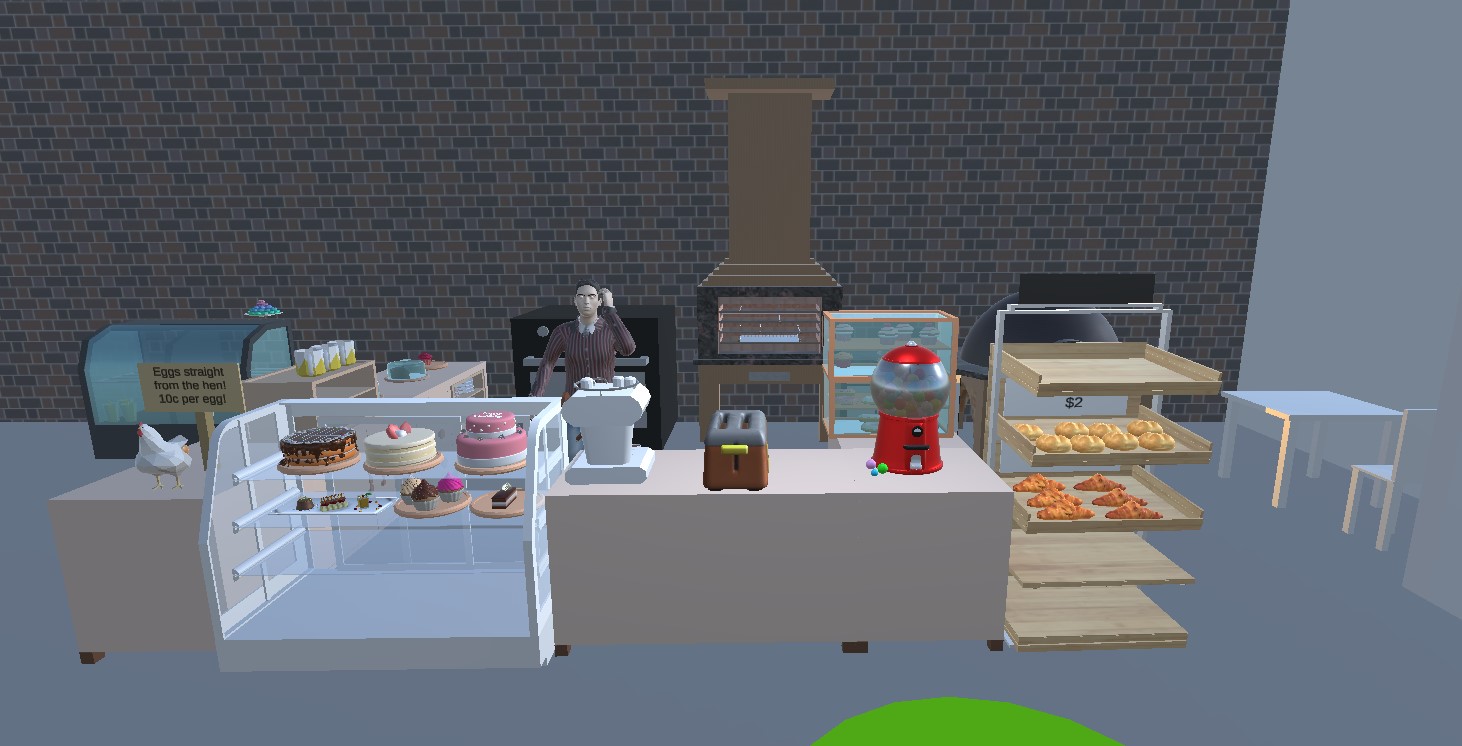
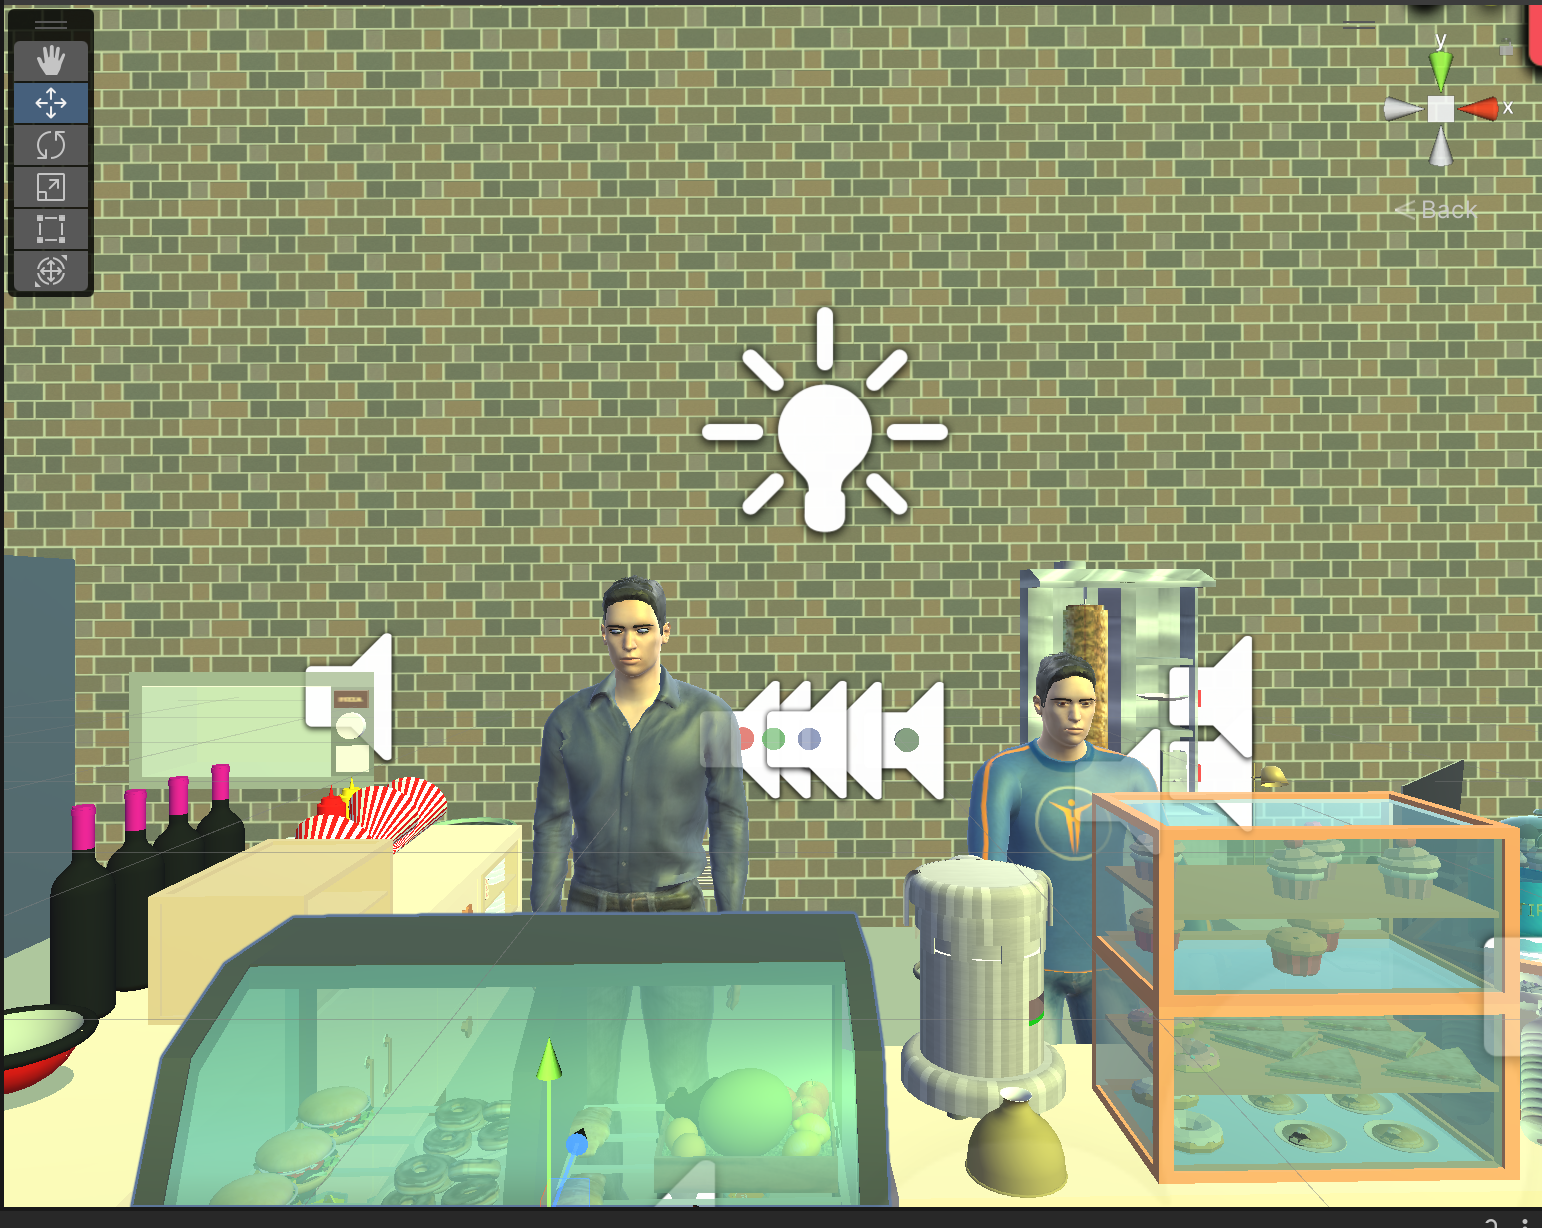
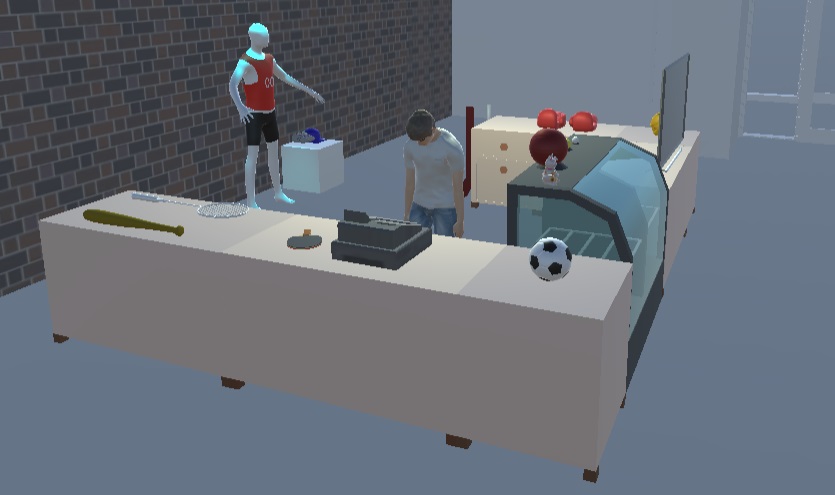
The most important decision you need to make is what you want to sell in your kiosk. Anything you sell needs to have a physical representation and a price shown - there has to be a 'thing' to pick up and hand to the cashier or a price scanner, even if that thing is a representation of an app or a song or a movie that is digital. You could sell doughnuts and coffee. You could sell toys, books, apps, drinks, pet rocks, tickets to events. That part is pretty flexible and ideally you should sell things that are of interest to you, but please clear your concession with andy. What you sell should also be G rated and generally not offensive. It does not need to realistically be able to make money as a kiosk.
You can remove all of the current items from the kiosk model, rearrange the kiosk model, or even replace the kiosk models with your own kiosk models, as long as it looks like it could function as a kiosk in that space. The walls, floor and ceiling of the CDRLC are off limits in this project - enhancing those will be project 3. You can not remove or change any models from the CDRLC and SEL building.
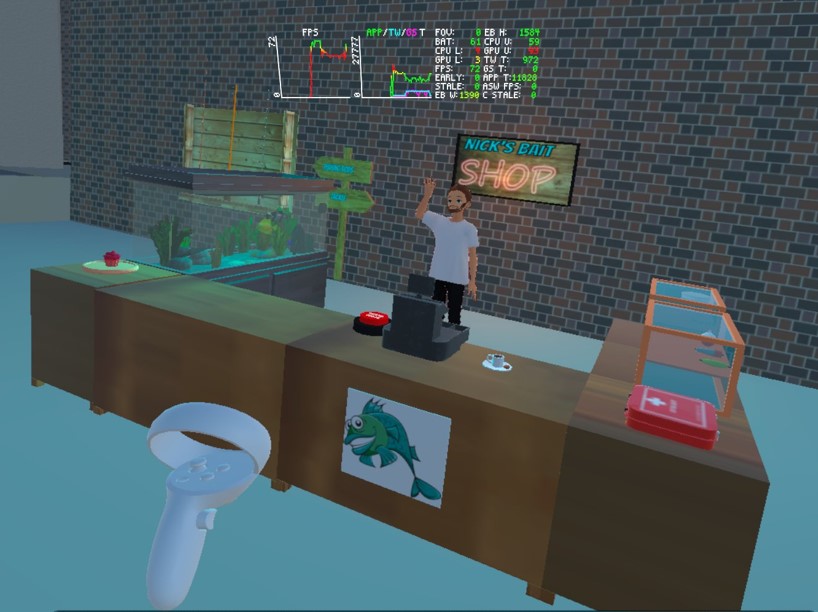
Be careful when you are collecting or creating models for your space as the polygons start to add up. You want to make sure you maintain a good interactive frame rate in stereo on the Quest 1 headsets. For measuring and documenting your frame rate we are going to use the OVR Metrics Tool which is discussed here and there is a nice YouTube video here. It should be pre-loaded on the main classroom Quest and you can see it as an overlay while you are testing your application.
For models you find on the web to use, if you take the entire model and place it somewhere then it counts as one model. If you take it apart and position those pieces separately then each of those parts counts as its own model. i.e. if you have a playground model and place it as a playground then it counts as one model, but if you take the playground model apart and position the swings, and the seesaw, and the jungle gym separately, then that would count as 3 models.
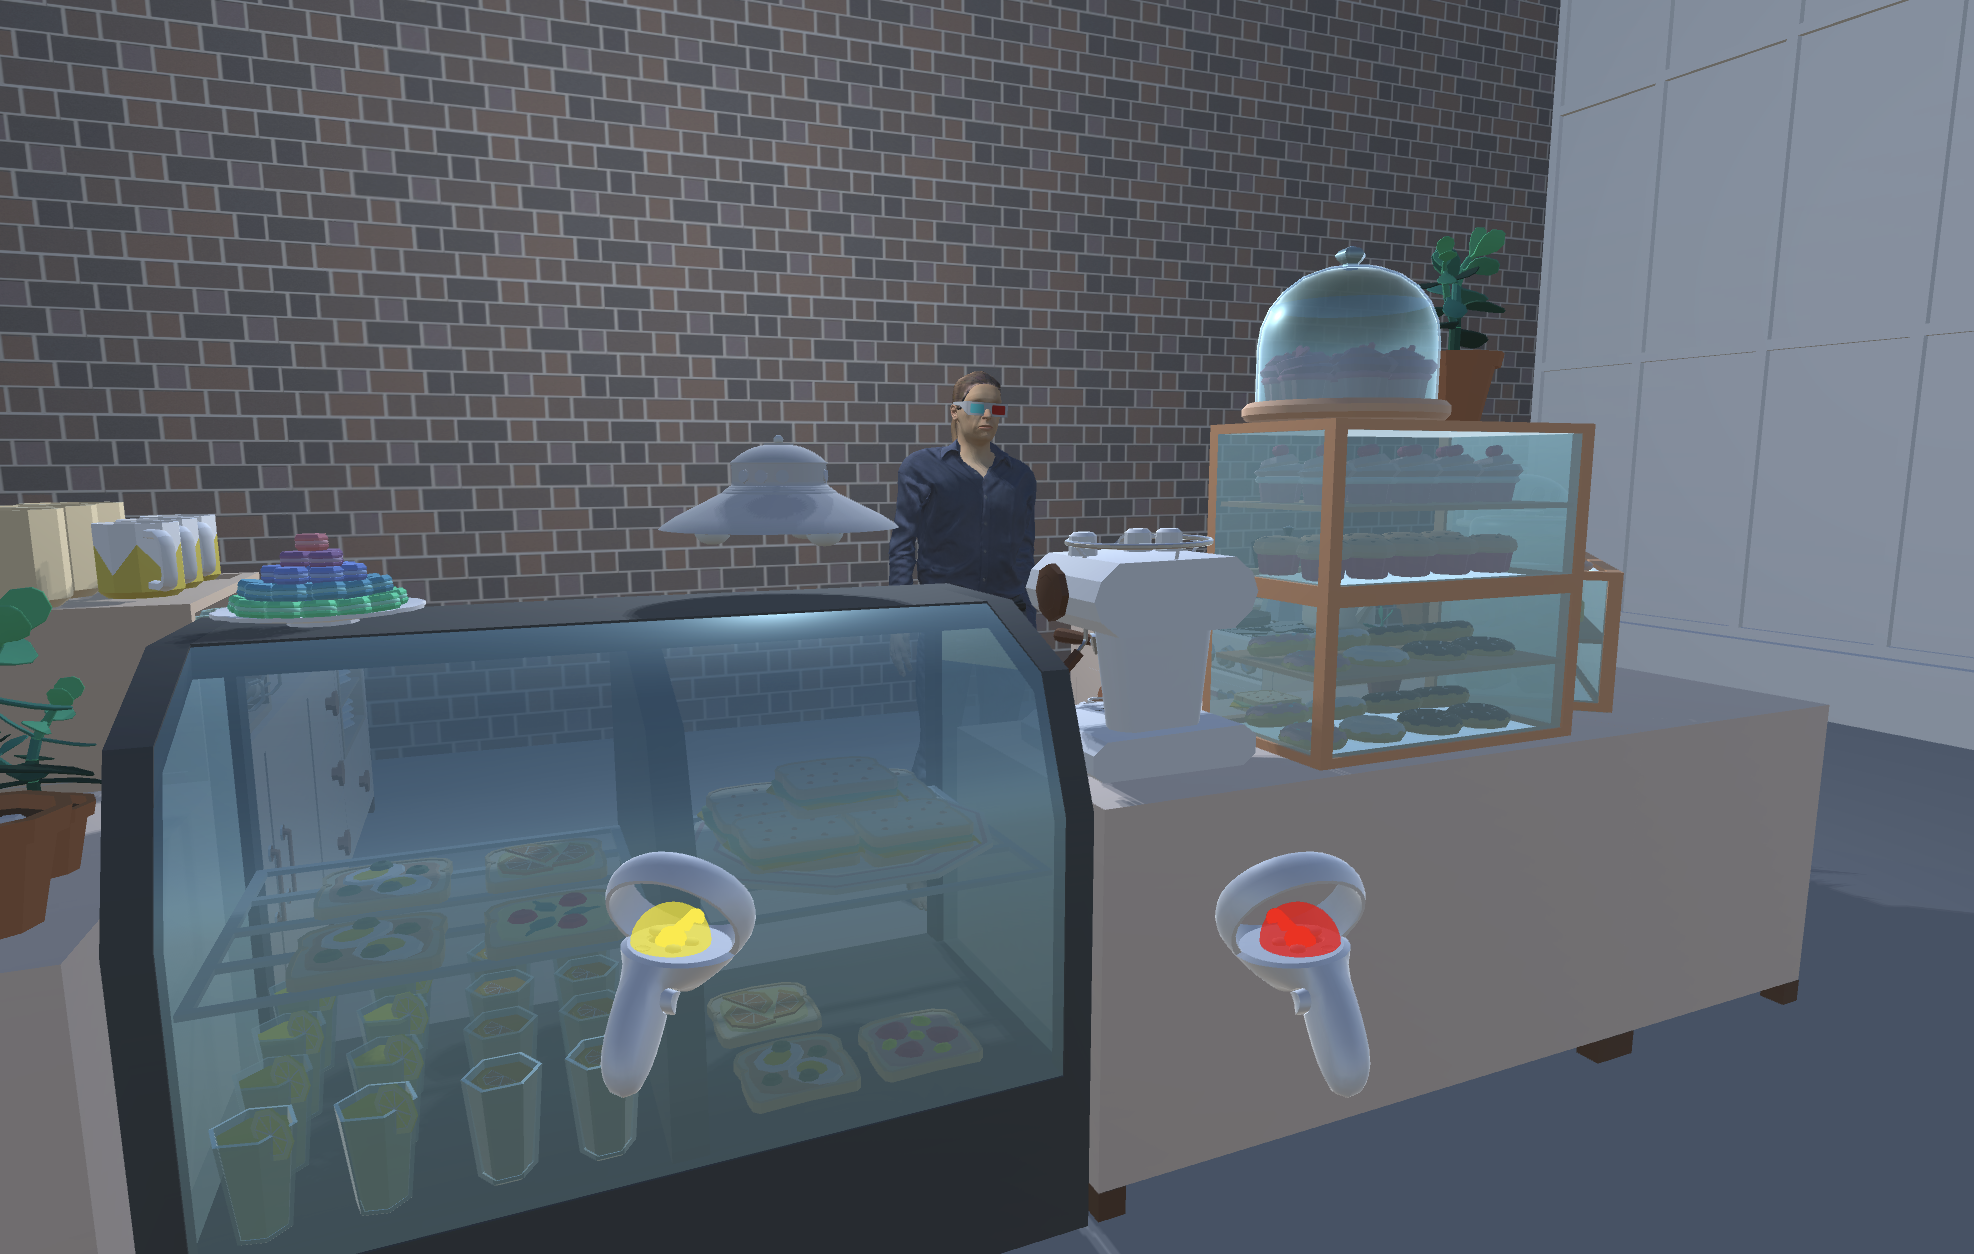
The models that you create on your own need to made of multiple geometric parts and should look like what they represent but do not have to be AAA game quality. The Kiosk scene shows a simplified cartoony representation of reality where the objects are still identifiable.
Keep in mind that your objects can be at different scales - some of them might be the size of tables that help fill the space but others might be smaller objects on a table, but they all need to be visible at some point (i.e. they could be hidden in drawers).
While developing your application you can teleport around the scene but for your final demo to the class and evaluation will be done by walking and not teleporting, so make sure your scene is human scale and walkable within a 10' by 10' (3m by 3m) area. There will be no interaction at a distance during your final demo or the evaluation so make sure people can reach and interact with your objects using the actual tracked controllers in that space.
Avoiding some common problems:
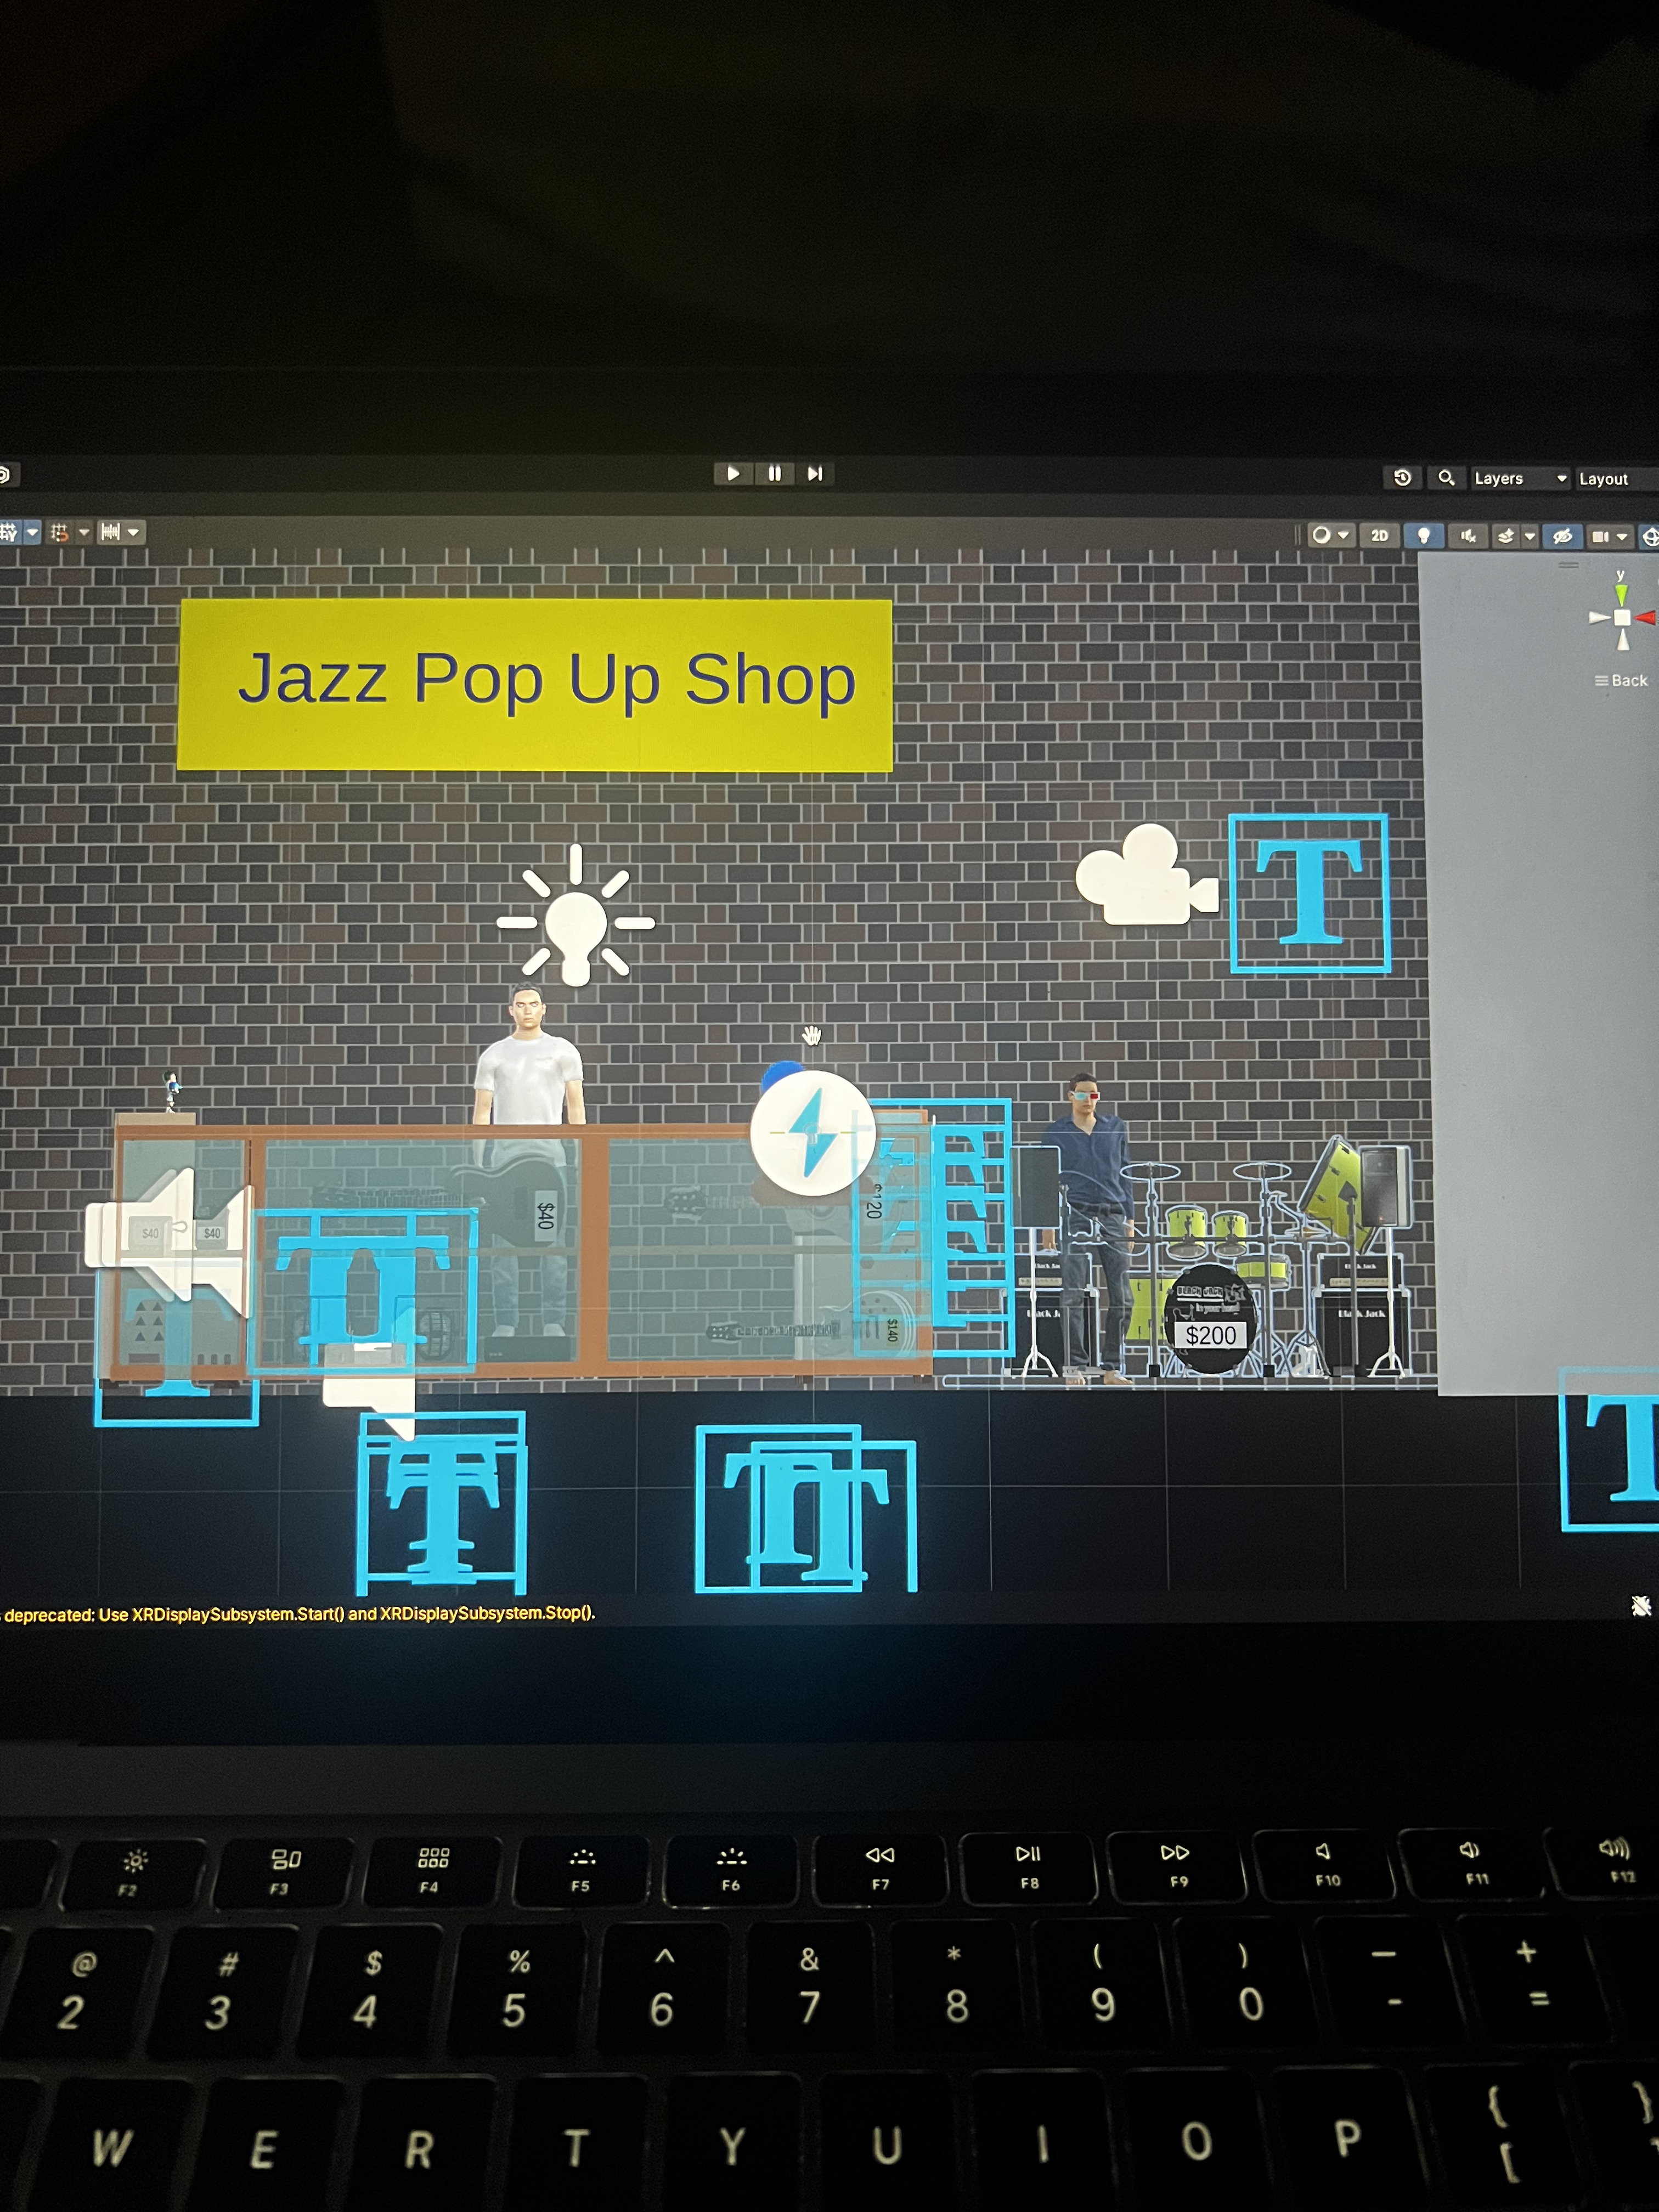
- make
sure that either CameraRigs.SpatialSimulator
or CameraRigs.UnityXRPluginFramework
is on and the other is off depending on whether you
want to run in the headset or the simulator. If both
are on then things get very confused, or if the wrong
one is on things wont work.
- make sure your Build Platform is set to Android for deploying on the Quest
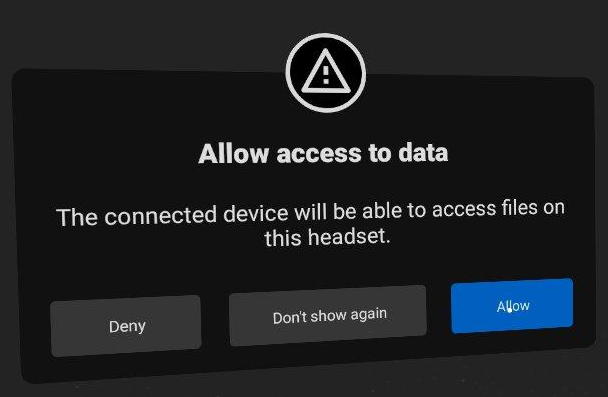
- If
the connected quest is not showing up as a Run Device,
check in the headset to make sure you have allowed the
connected computer to access files on the quest.
- some models come with built in cameras. These can confuse unity, so be sure to remove or deactivate them.
- this one could have a couple possible causes - the effect is that you see a lot of warnings in the simulator because the VRTK libraries do not completely compile and you can't use the left mouse button to grab. One possible cause is: having a space in the path to get to the project, i.e. /new folder/ and the alternative possible cause is having too long a path to get to the project.
- if unity is
not letting you upload your project to the
headset, you may want to check and see if there is
another copy of Project 2 already there. If that
is from another user then sometimes unity doesn't
want to overwrite it, especially if you haven't
given it a new name, so you may want to manually
delete that older version on the headset.
Getting your Unity project to run on the Quest headset:
- connect the Quest headset to your laptop via a suitable USB cable (one that passes data)
- put on the Quest headset and use the controllers to tell the Quest to accept the PC connection and always allow that connection.
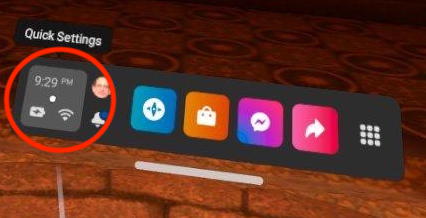
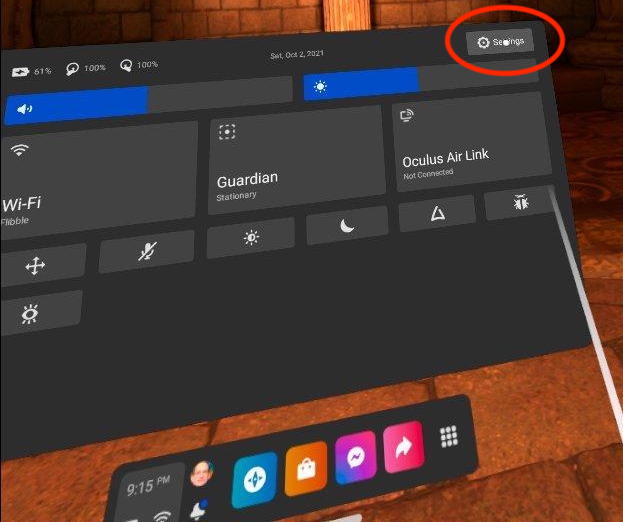
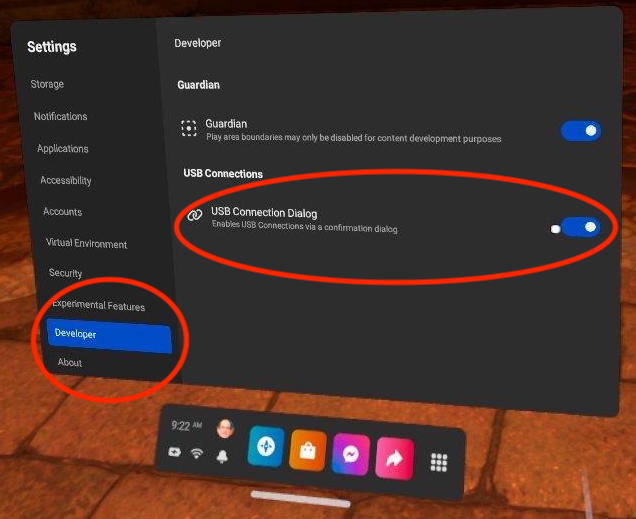
If you don't see that appear in the Quest then you should make sure that developer mode is on. It should be on for all the evl headsets. Click on the Quick Settings menu on the left side of the thin menu, then click on the settings menu on the upper right, then scroll down in the menu on the left to Developer and turn on the USB Connection Dialog.
- in your Unity project hierarchy make sure:
- you have CameraRigs.UnityXRPluginFramework enabled
- you have CameraRigs.SpatialSimulator disabled
- under Unity Build Settings make sure:
- you are building for the Android Platform
- the particular Quest you connected should show up under the Run Device list of compatible connected devices. If the Quest headset does not show up in the list you may need to unplug and re-plug the USB cable and again tell the quest to accept the connection to the laptop
you may want to save the project and restart unity to make sure Unity re-configures itself appropriately
- click on Build and Run
it may take a while (5-10 minutes) the first time while Unity converts all the assets to a form suitable for the Quest. Next time it will be faster.
- disconnect the USB cable from the Quest (so you don't pull your laptop off the table, or trip on the cable while in VR)
- put on the Quest headset and grab the two controllers
- make sure you have enough space around you so you wont hit anything (your laptop, the table) or anyone
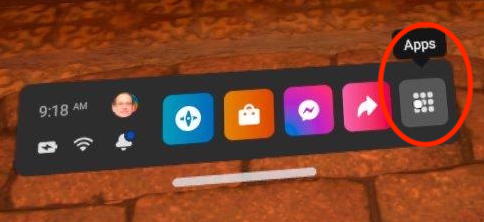
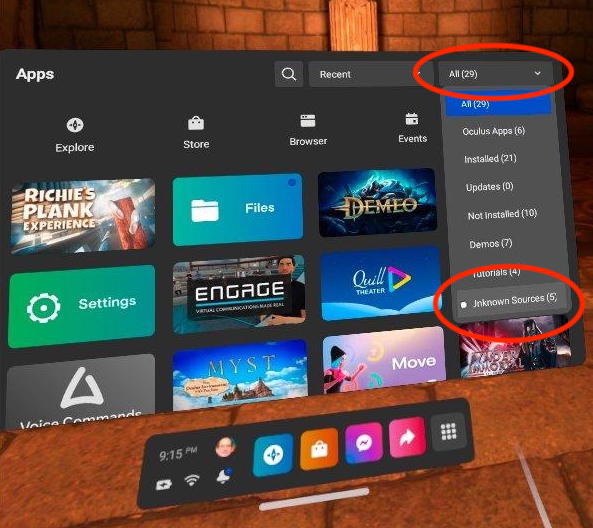
- your app should start automatically. If it doesn't, or if you just did a Build but not Build and Run then click on the application menu (9 dots in a grid on the right of the thin menu) then in the upper right of the big menu click on all Applications, then Unidentified Developers at the bottom of the list and click on your application to start it
Once your application is running:
- make sure your hands / controllers are tracking
- make sure you can physically turn around and walk around and the world reacts correctly. If not you may still be running the simulator configuration and you need to go back to Unity and make sure you are only running the CameraRigs.UnityXRPluginFramework.
The Quest has Stationary (sitting in a chair) or Room Scale (walking around) tracking. While you can test in Stationary mode, the app will be demonstrated and evaluated at Room Scale without teleporting in the classroom so you should do a fair amount of testing in that mode.
If you want to remove your project from the Quest then you can go back to Apps / Unidentified developers and find your application. If you click on the kebab 3-dot menu to the right you can uninstall the application.
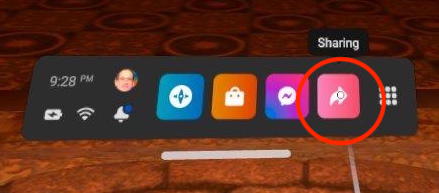
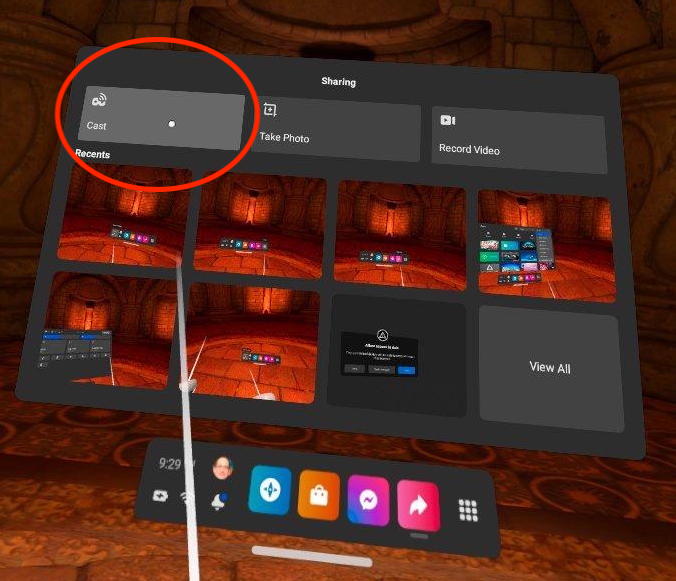
If you want to cast your application to one of the walls in the classroom (or to your phone) to show your work to others then go to the Sharing menu on the right side of the thin menu, then choose Cast from the upper left of the Sharing Menu, and then pick the destination device. The headsets should all be on the VRtheater wireless network giving them access to the Chromecast. You can check by clicking on the Quick Settings on the left as before.
If you want to take screenshots on the quest for your documentation you can quickly press the Oculus button on the right controller and then press any button on the left controller. You will see a dialogue telling you that a new photo was added to the collection. If you connect the Quest to your computer and you have allowed Unity to install apps on the Quest then you should be able to see the files on Windows, or use Android File Transfer (https://www.android.com/filetransfer/) on the mac. You can see all the snapshots under Oculus/Screenshots/