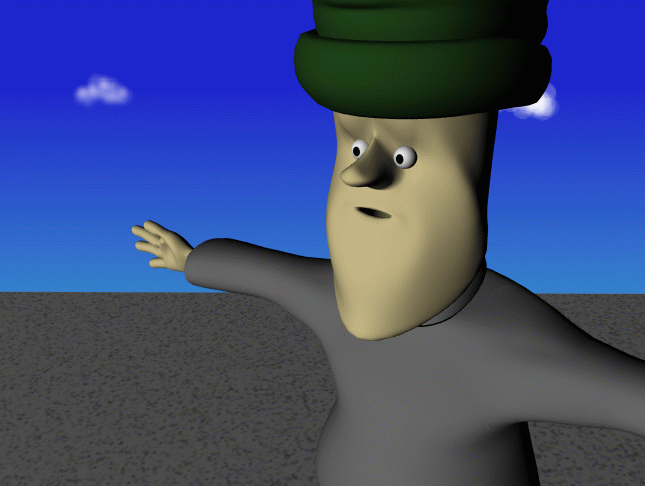
The Character Modeling Process
The Head
This head was one patch with a relatively low number of isoparms. I had problems generating the skin for the head because I didn't have closed curves, so a seam is apparent. It wasn't until a month or so after this render that I found the ObjectEdit->Close command.
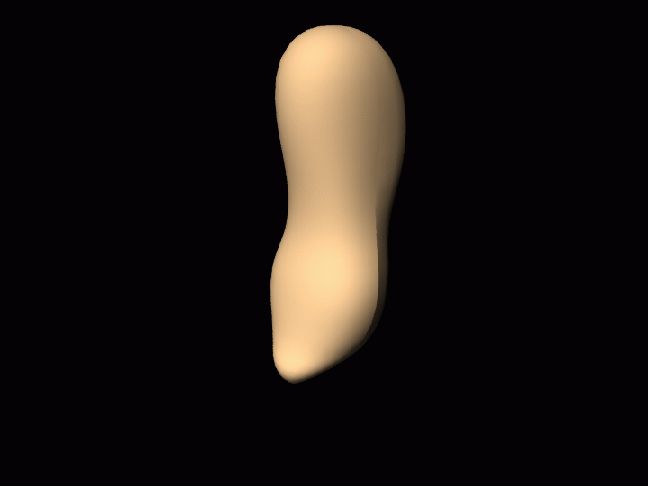
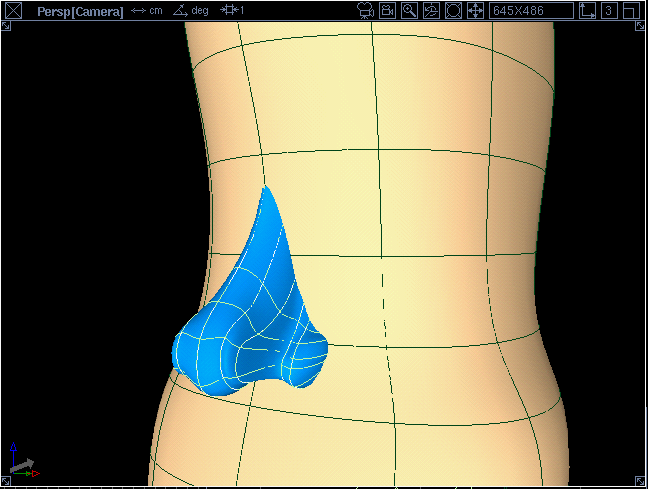
The modeling of the nose went smoothly, after I realised where to place the splines and how to curve them up for the nostrils. The nose actually looked great, and fit nicely with the head. The problem was in it's inability to be blended/attached to the surface of the face.
After all in animation, it is imperative to have a singular surface, especially in the face. Complex transformations that give life to the character can cause serious damage to geometry that isn't connected. Animation should be about the motion, not moving individual control vertices to cover holes in a poorly patched surface.
I began to fear that my modeling methodology wasn't the appropriate way to tackle a problem that had undoubtedly been solved by another more experienced person. So I set out on the web, and found some excellent tutorials at 3dCafe.com.
So I found a tutorial that gave two ways of making the mouth, both of which required a series of splines that would be skinned. The model would be skinned from a zero scaled spline at the back of the mouth, and then sculpt forward though the lip opening, and then up the face itself.
This method created a surface with the same number of control vertices over its topology. Hopefully creating an easier model to animate. The finished head/mouth combo took several weeks to perfect.
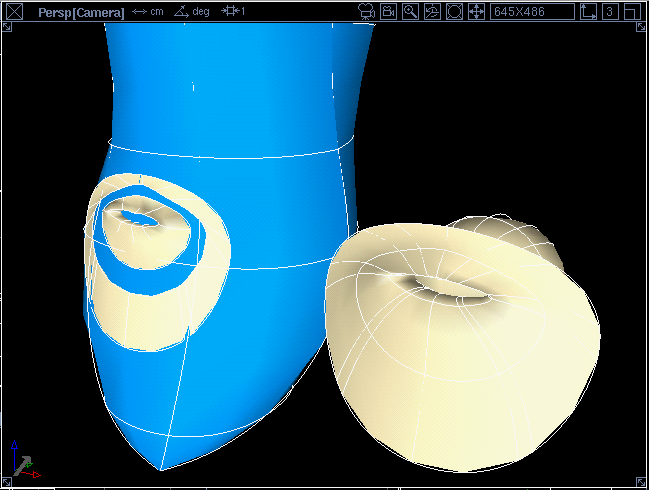
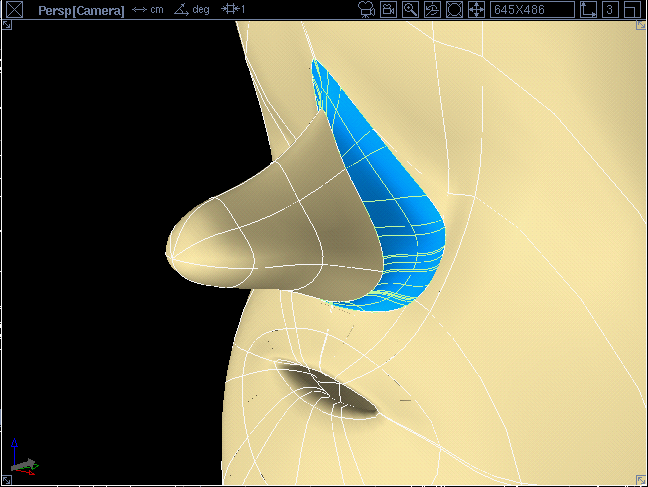
I found the answer in building a less detailed nose, with splines positioned in Z instead of along the X axis. This created a closed curve at the base of the nose, that I used to project a trim curve onto the surface of the face.
After creating the trim surface on the face, I scaled the nose down a bit, to provide a good distance for the Surface->Fillet->Blend function to work properly.
And after learning how to use the blend tool, I found modeling became much easier. In addition, after blending the surfaces, I was able to tweak the nose by pulling control vertices and giving the nose more shape than it had originally.
This criticism has helped me redefine this character, and to think in terms of designing characters in general. How does a character give the audience a key into who they are? Is it the eyes? Is it their stance? I have to find the hook for each one of my character. They should arrive on screen with a presence that predicts their future actions.
This was my main fault when designing the face of this character, it is too generic. No amount of expression animation will give this face the strength and determination that a bully needs. So I rebuild it again, but this time, we can build him better, stronger, faster, and more emotive.
