The Character Modeling Process
The Torso
I had the general deisgn set down, very simple and clean, not alot of wrinkles. Rendering time and interactivity were important factors in making this film, so the smoother the design of the surfaces, the faster they would render.
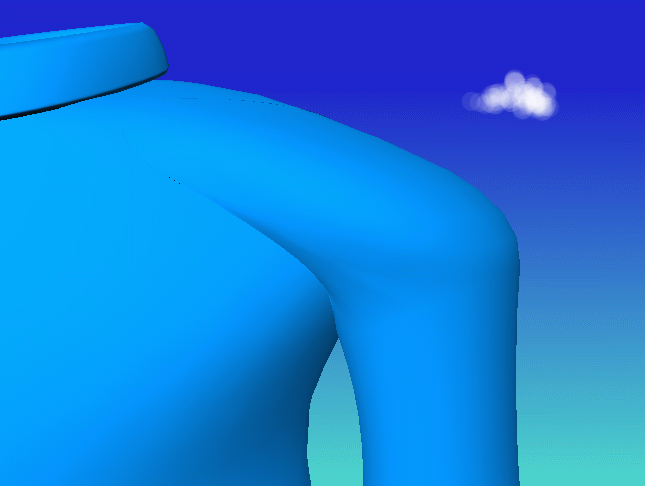
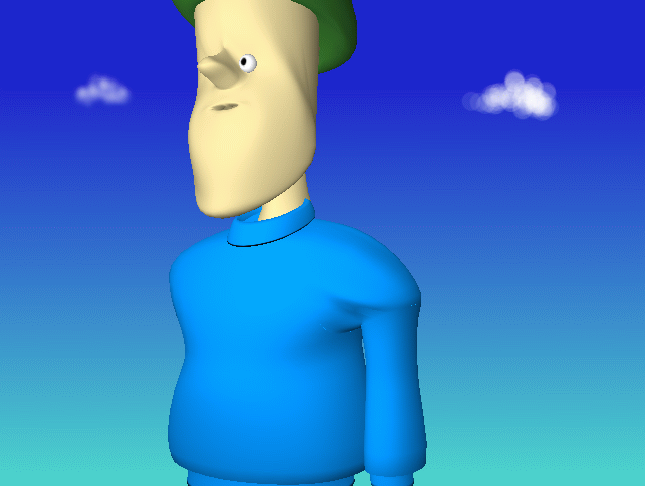
I soon found myself runing into similar problems with blending the jacket arms into the surface of the jacket body. This rendering here is an attempt at using the Surface->Fillet->Round tool, which made a fairly convincing connection between the two pieces. The only compaint I had was that the arm looked like it was just stuck on there, not a part of the whole body.

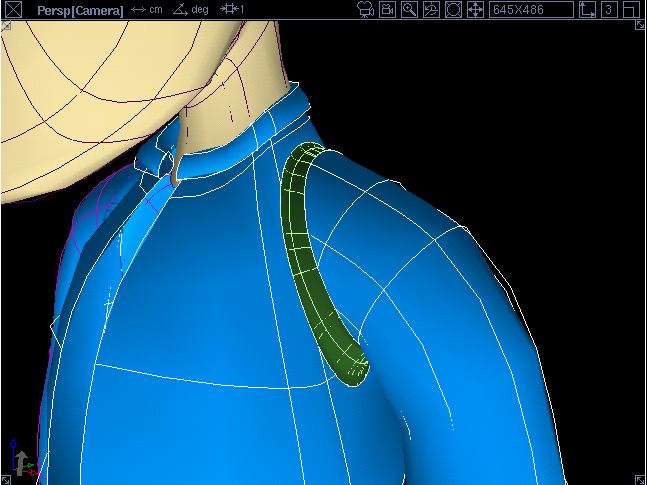
First I skinned the arm up and placed the last rib of the skin perpendicular to the surface of the jacket body. Then I otated the last curve 90 degrees and projected the curve through the jacket body, creating trim curves on both sides of the jacket body. After trimming away the holes for the shoulder, I used the Surface->Fillet->Blend tool to create the shoulder.
This had very mediocre results, and I spent the next week trying to find a solution. Joe Alexander sat me down, and determined that the holes for the shoulder where way to small, and uncharacteristic of how the shoulder muscles work. The shoulder pivots in one place, but it is controlled by a large field of muscles in your upper chest and upper back.

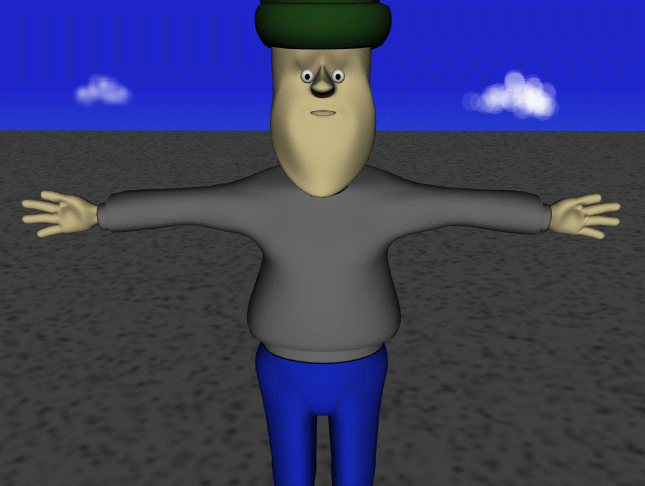
The blend didn't seem to come together at the bend under the arm. No matter how I moved the shoulder trim, or the arm, I always had a pinch that was uncontrollable. So I decided to build the arms horizontally spanning outword from the chest instead of down. The reasoning being that when I place the inverse kinematics in the skeleton, that I can create the bulge parameter for the armpit region. This gives me a level of control that I previously didn't have over that area.

The blended surfaces retain their construction history, and react to the translation, rotation and scaling of the two objects that they join. I used blend surfaces for the CHRIS's hips, knees, and joints in the wrist elbow and hands.
They remain a significant part of my model, however they take alot of memory to draw, and they make interactive modeling and animation not very interactive. To avoid putting a gun in my mouth, I have placed all of my blend surfaces on one layer, which I toggle on and off. When I am working on a part of the model that will effect the blend I make turn the layer on, otherwise I leave them turned off until render time.
