There are a total of 4 power switches for the entire system. These switches are located on the left side of the Furmann panels that look like this:
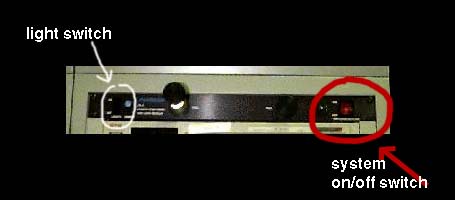
Each Furmann also has two lights which you pull out. The light switch is on the left side. The lights DO NOT turn off when you push them in, so make sure you use the light switch to turn them off when you are finished.
Make sure that the 9-pin serial patch panel is configured correctly. The 9 Pin panel is located on the audio rack on top of the tape and cd player. It is called 'Clear Signal Junction Panel' ( see figure).
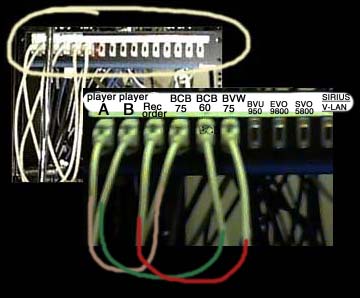
- Player A <----------> BCB75 (deck A)
- Player B <----------> BCB 60 (deck B)
- Recorder <----------> BVW 75 (recording deck )
If you need to use the sirius
option, then change the above to:
Player A <-----to-----> SIRIUS/VLAN (the others remain the same)
The overall speaker volume is controlled by a knob that is located between the B and R monitors. Here is a wonderful image of it:
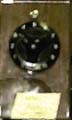
If you can help it, use the headphones instead, so you don't bother the other people working in the room.
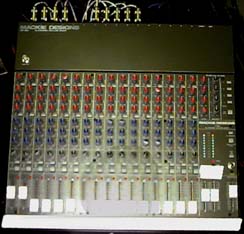
Other levels are controlled by the MACKIE mixer:
Preparing a new tape for editing
means:
- Laying black on the tape
- Recording color bars
- Recording tone
- on the JVC switcher: press * and 0 simultaneously
- on each deck: make sure it's on remote rather than local
| editroom@evl.uic.edu | main menu |
|---|